After creating and saving a message the document gets to the Drafts form (Fig. 1).
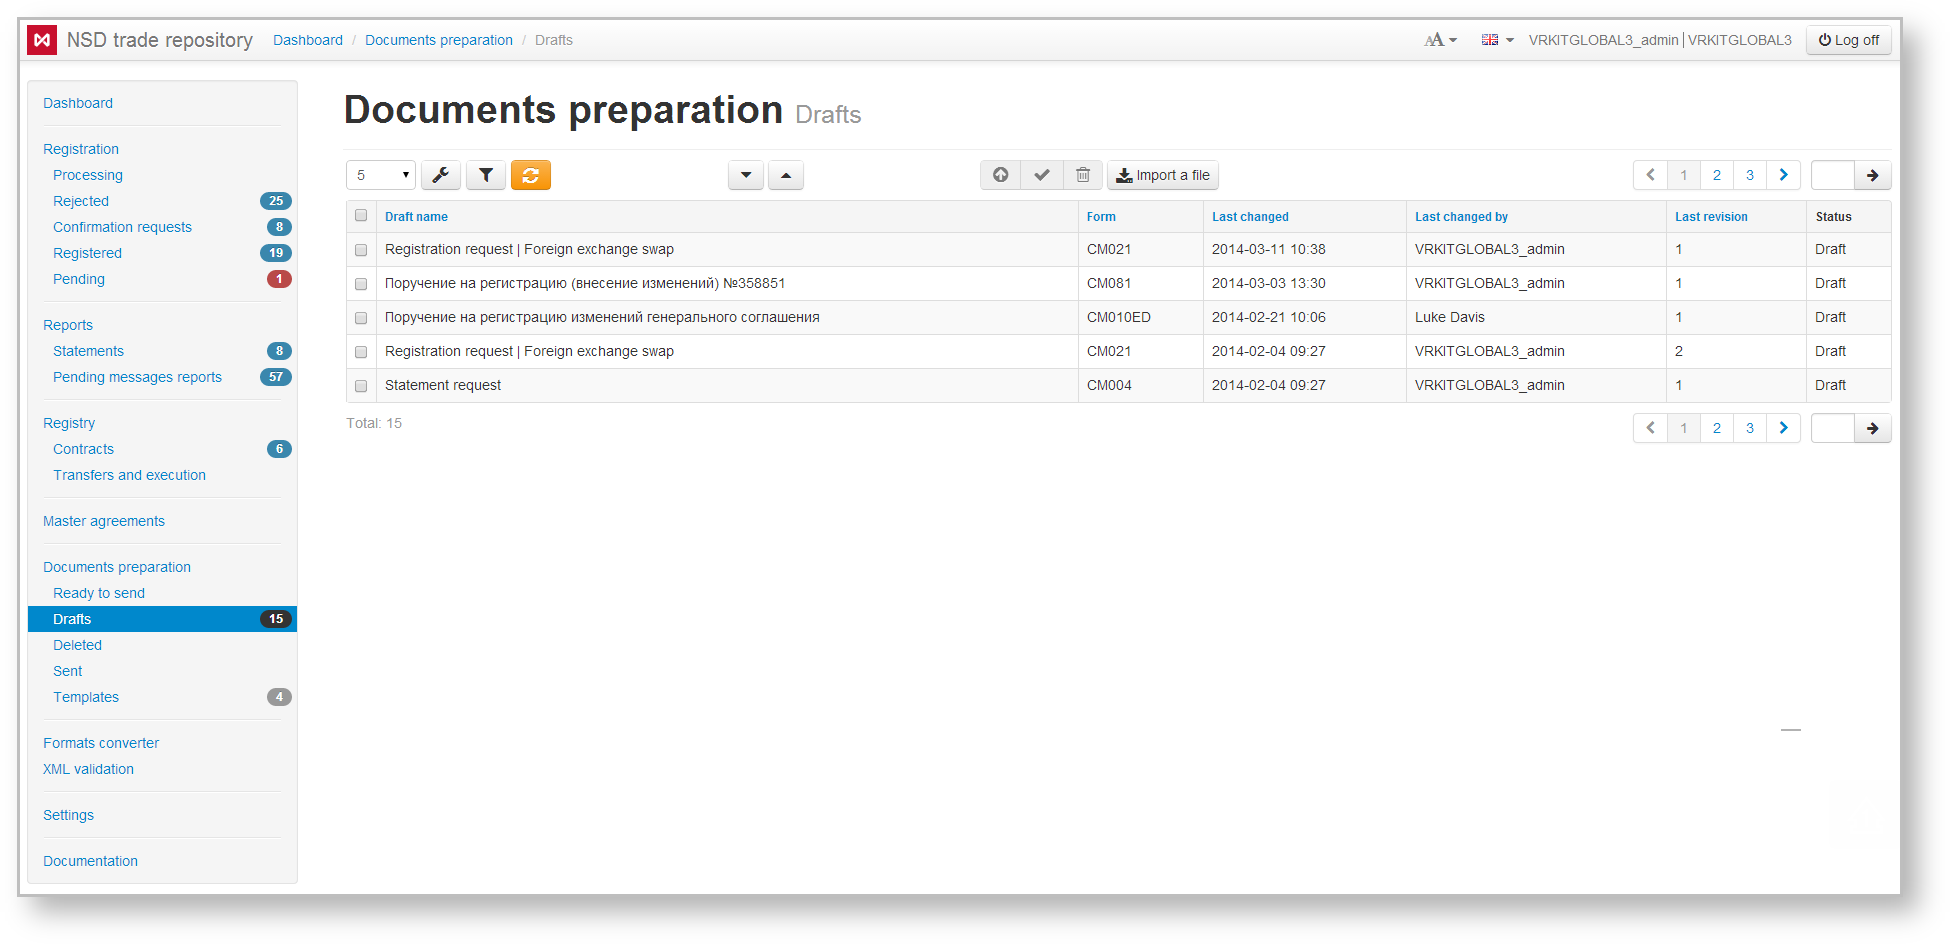
Fig. 1 – Drafts form
Information about the drafts is displayed in a table that contains:
- Draft name – message name assigned at creation and saving;
- Form – message form code;
- Last changed – date and time of last message modification;
- Last changed by – name of the user who made changes;
- Last revision – latest version of the document;
- UTI – UTI code (see Incoming/Outgoing UTI);
- Status – status of the document (Draft, Deleted, ToBeSend, HasBeenSent, Imported, Template, Sending).
If the file is attached to the draft, the icon will be displayed (Fig. 2).

Fig. 2 – attached file
Filtering
The drafts table can be filtered by:
- instrument types. The
 button indicates that the filtering will be applied only to the selected instruments. The
  button indicates that filtering will be applied to all instruments, except for the selected instruments;;
 - last change date;
- attachment;
- name – search by the draft name;
- status;
- parties (last changed by)

Fig. 3 – attached file
Clicking on the  button opens a block of filters settings. After the settings has been specified, click the button
 ![]() to apply filtering. This will generate a table with drafts corresponding to the filter parameters (read more here).
to apply filtering. This will generate a table with drafts corresponding to the filter parameters (read more here).
Additional table
Clicking on the row (Fig. 4.1) opens an additional table (Fig. 4.2), which displays the history of document modifications:
- date of modification;
- version of the document and the name of the user who created the revision. The version number is automatically assigned to the document by the Web-client every time you save your changes.
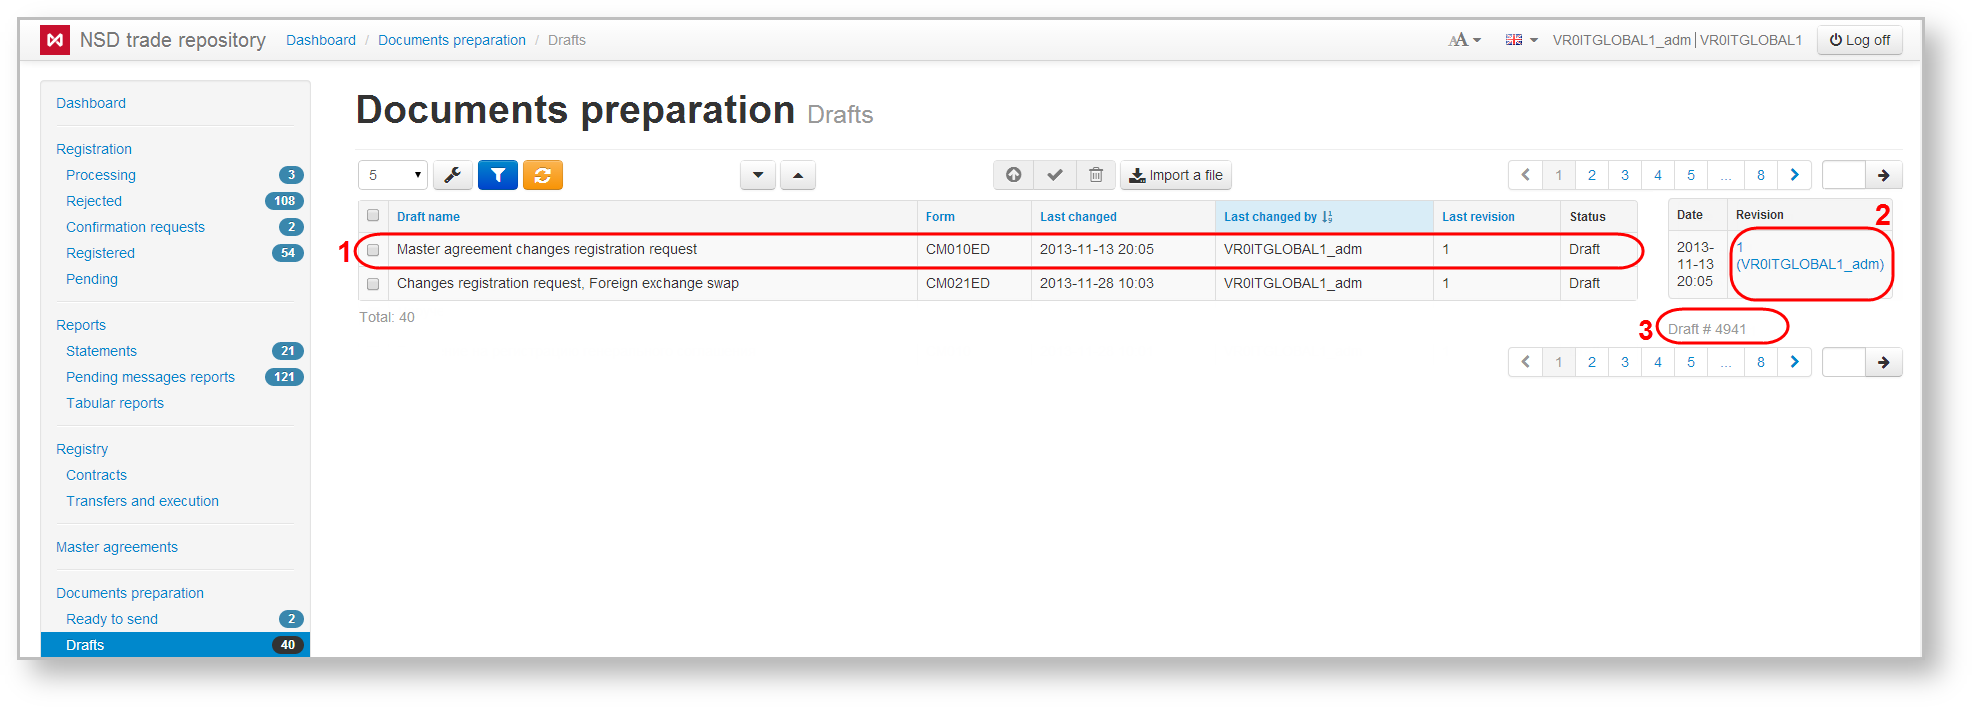
Fig. 4 – additional table
Under the table, the draft ID number is specified (Fig. 4.3), assigned by the system at message creation. The ID number is not changed.
To view any version of the draft click on its number. This will open a window to view message (Fig. 5).
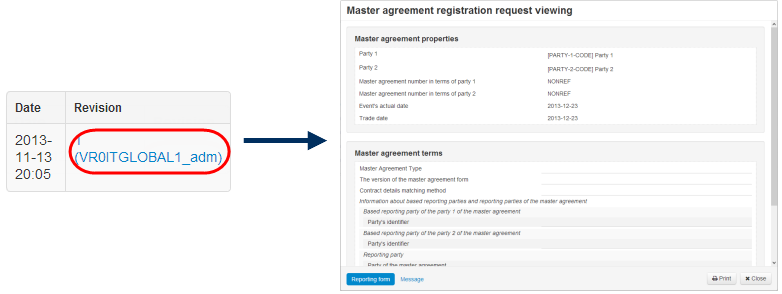
Fig. 5 – view draft
In the Draft form the document can be renamed, edited, a template can be created based on it, etc. All these actions are performed using the toolbar that appears when you hover the mouse over a row in the table. The toolbar is described in Table 1.
Table 1 – Description of the toolbar buttons
| Button | Description | Calling form |
|---|---|---|
 | Change draft status to To be sent Clicking on the button opens a window to confirm the action, in which you must click OK to change the draft status to To be sent. | 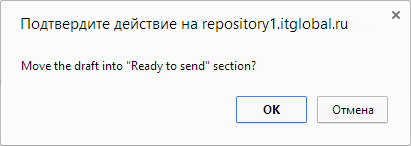 |
 | Signing with digital signature and sending for registration Clicking on the button opens the confirmation window, where you need to click OK to send message to the repository |  |
 | Calling the rename draft form Clicking on the button opens a window in which you can rename message, if necessary, then click OK to save |  |
 | Calling the view draft form Clicking on the button opens the electronic form of the document, where you can view and print the data. Additionally, you can view the attached file. When you click View a file, the file will be downloaded to the user's computer | 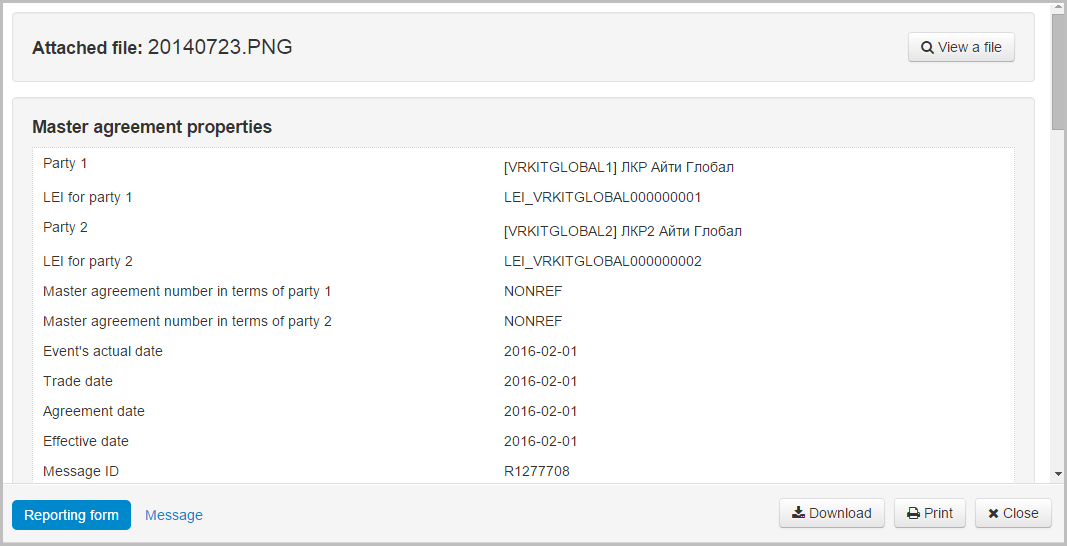 |
 | Calling the edit draft form | |
 | Keep the first message of the chain in the xml file | |
 | Creating draft copy Clicking on the button will take you to the message creation/editing form, where you need to make the necessary changes and save draft. | |
 | Creating a draft-based template Pressing the button opens a window allowing to save draft as a template. In this window specify the name of the template and click OK. This will take you to Edit template form, where you can make changes and save the document. | 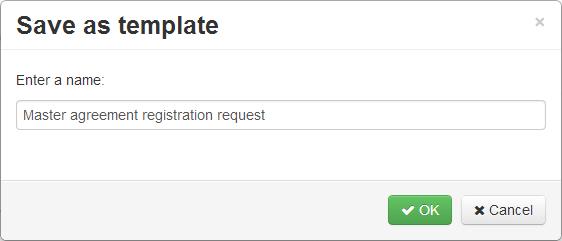 |
 | Deleting a draft Clicking on the button opens a confirmation window, in which you need to click OK to delete.
|  |
Web-client allows to carry out the following operations:
- moving orders to the To be sent form;
- sending orders to the repository for registration;
- deleting orders.
The selection of the orders is performed by checking the appropriate checkboxes in the first column of the table (Fig. 6,1). Then you need to click the button on the toolbar to perform an operation (Fig. 6,2).
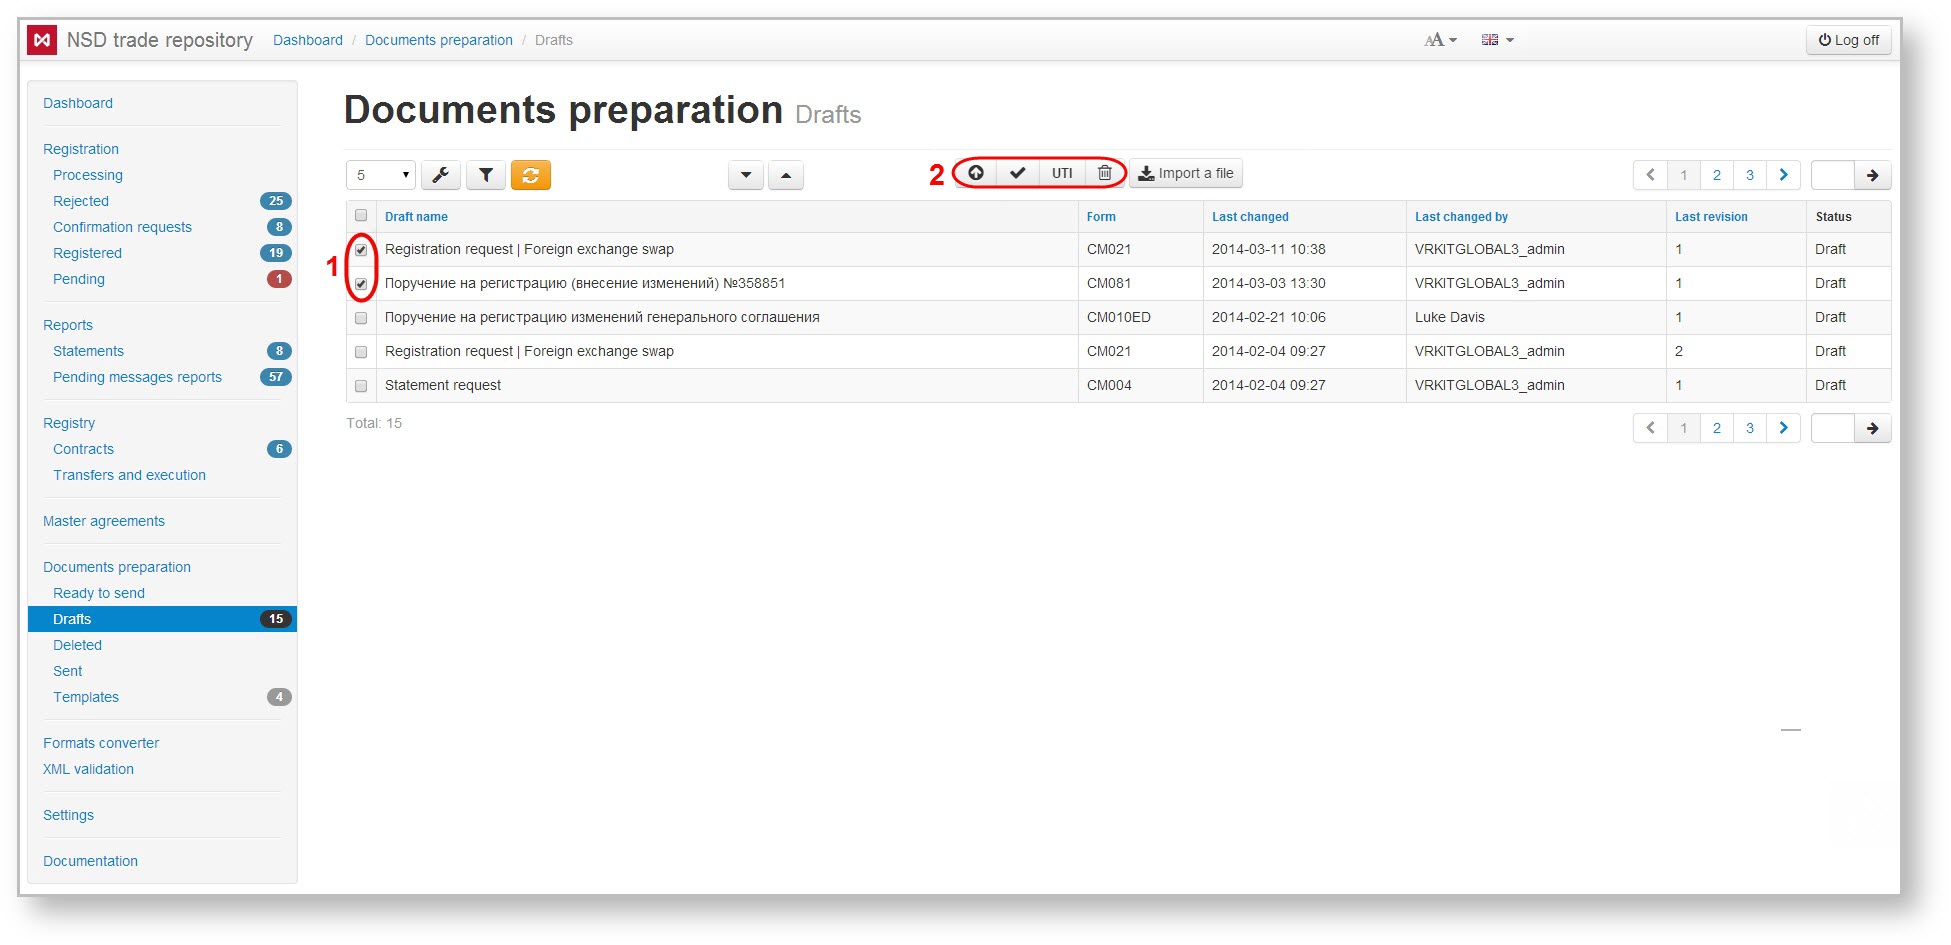
Fig. 6 – working with several orders
For details on how to import messages to the the Web-client see section Import.
These tables are subject to information display settings, described in section General Settings.
Overview
Content Tools