Page History
...
| Section | ||
|---|---|---|
|
...
|
...
|
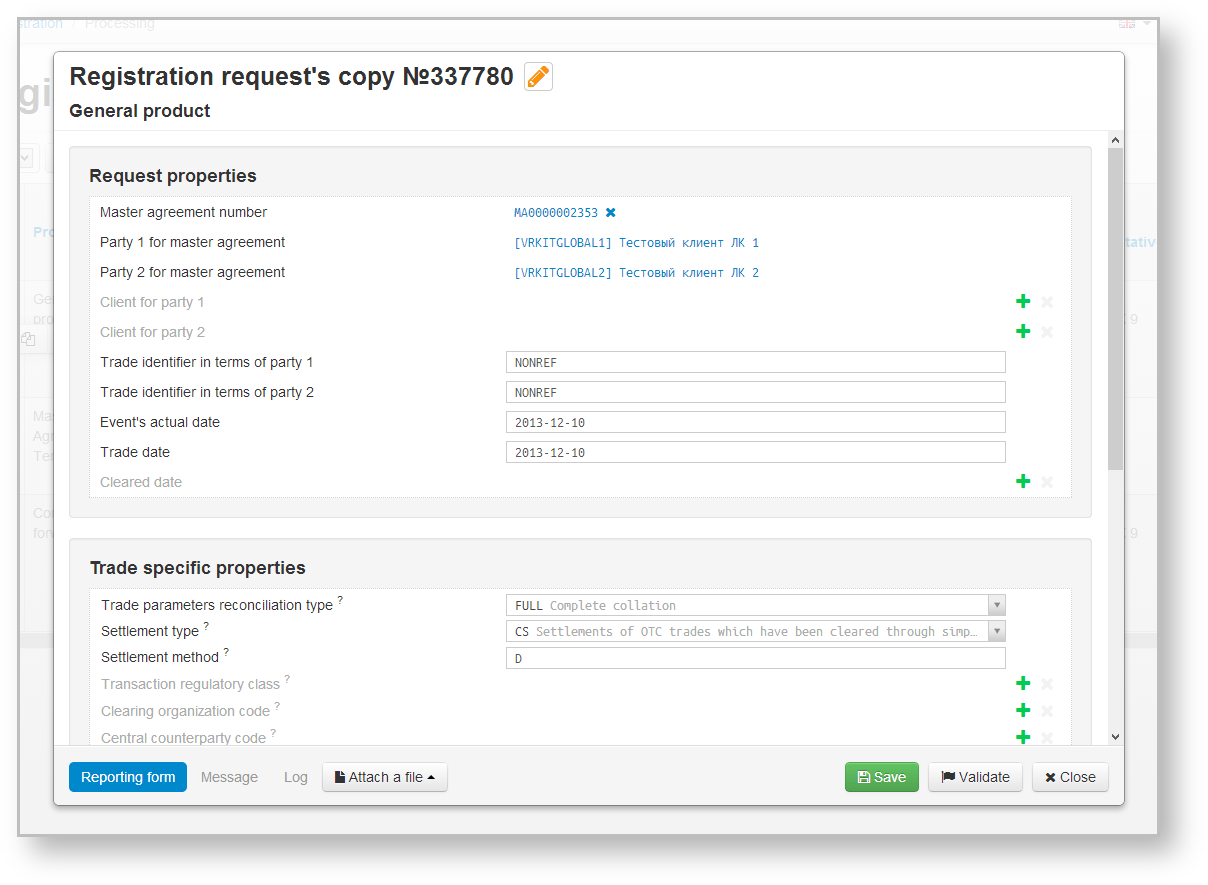
Fig. 2 – modal window form display
...
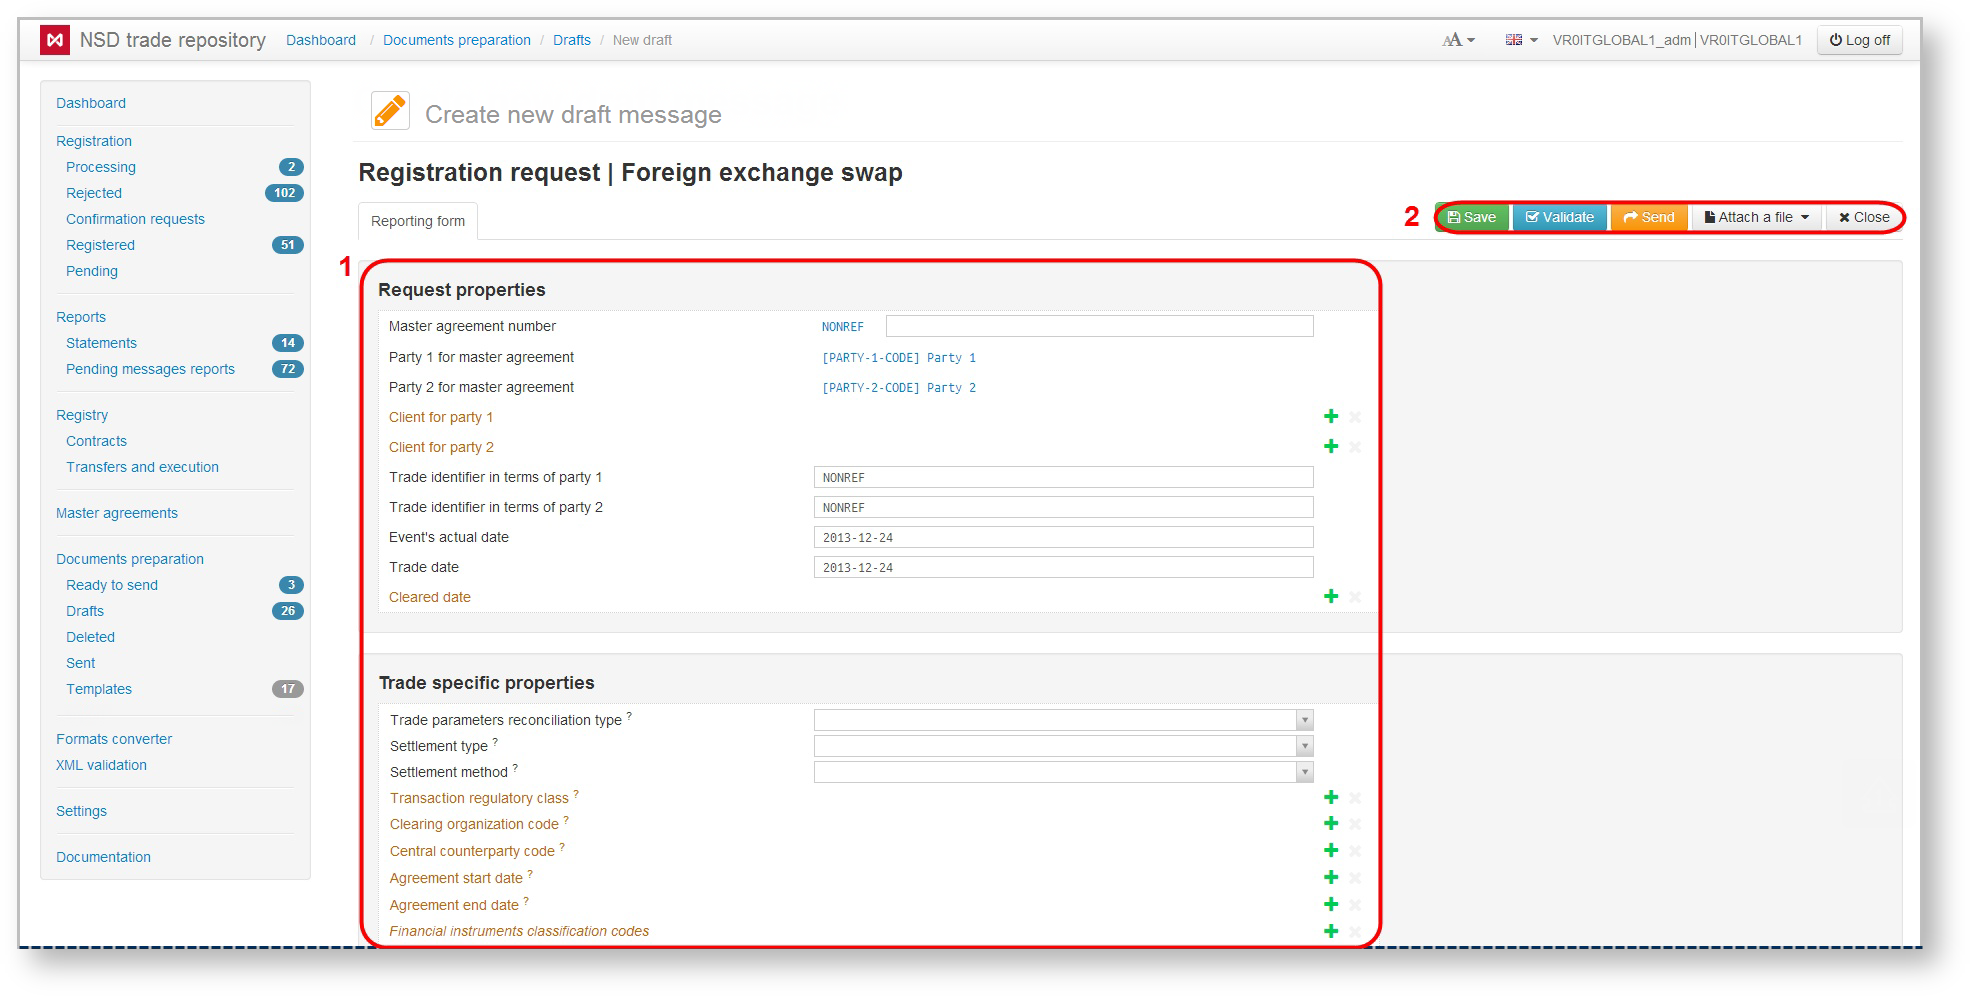
- data input area – designed to fill the parameters and conditions of the contract/report (Fig. 1,1);
- toolbar – used to perform tasks of saving, sending and checking of the filled message form (Fig. 1,2).
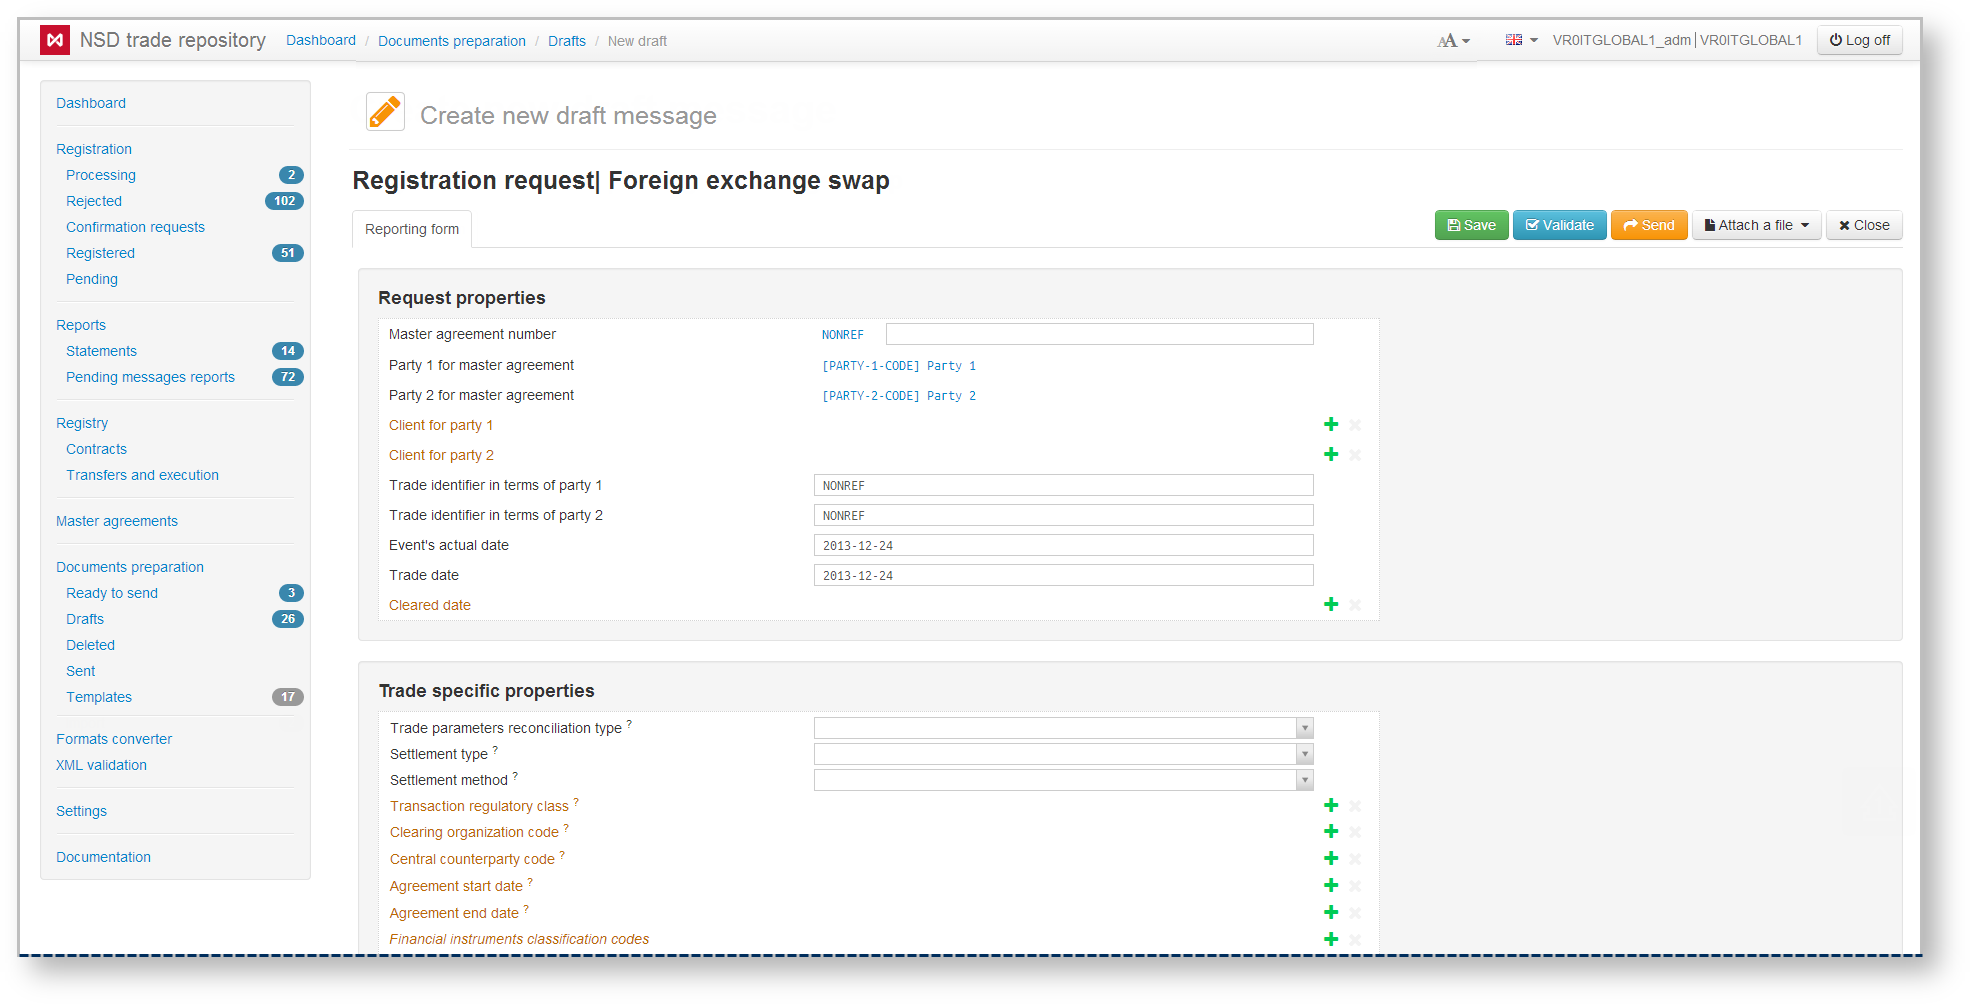
Fig. 3 – elements of the order creation form
...
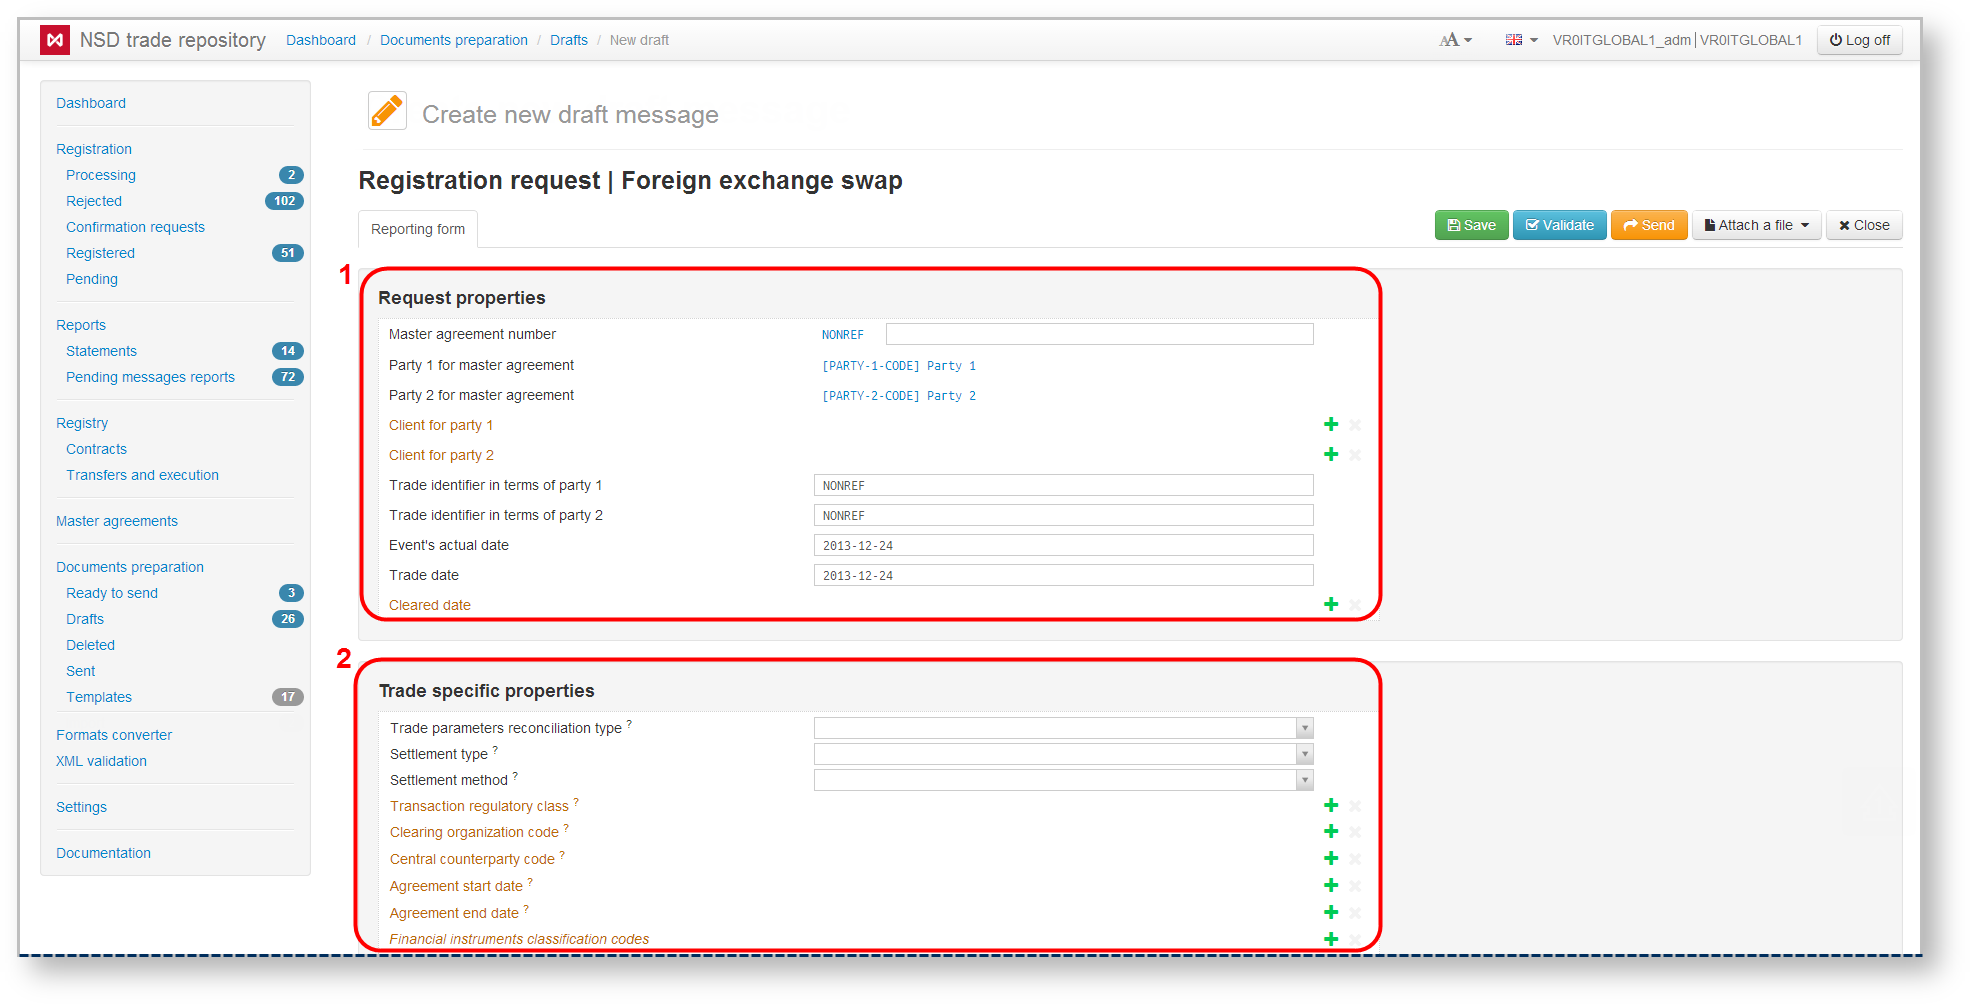
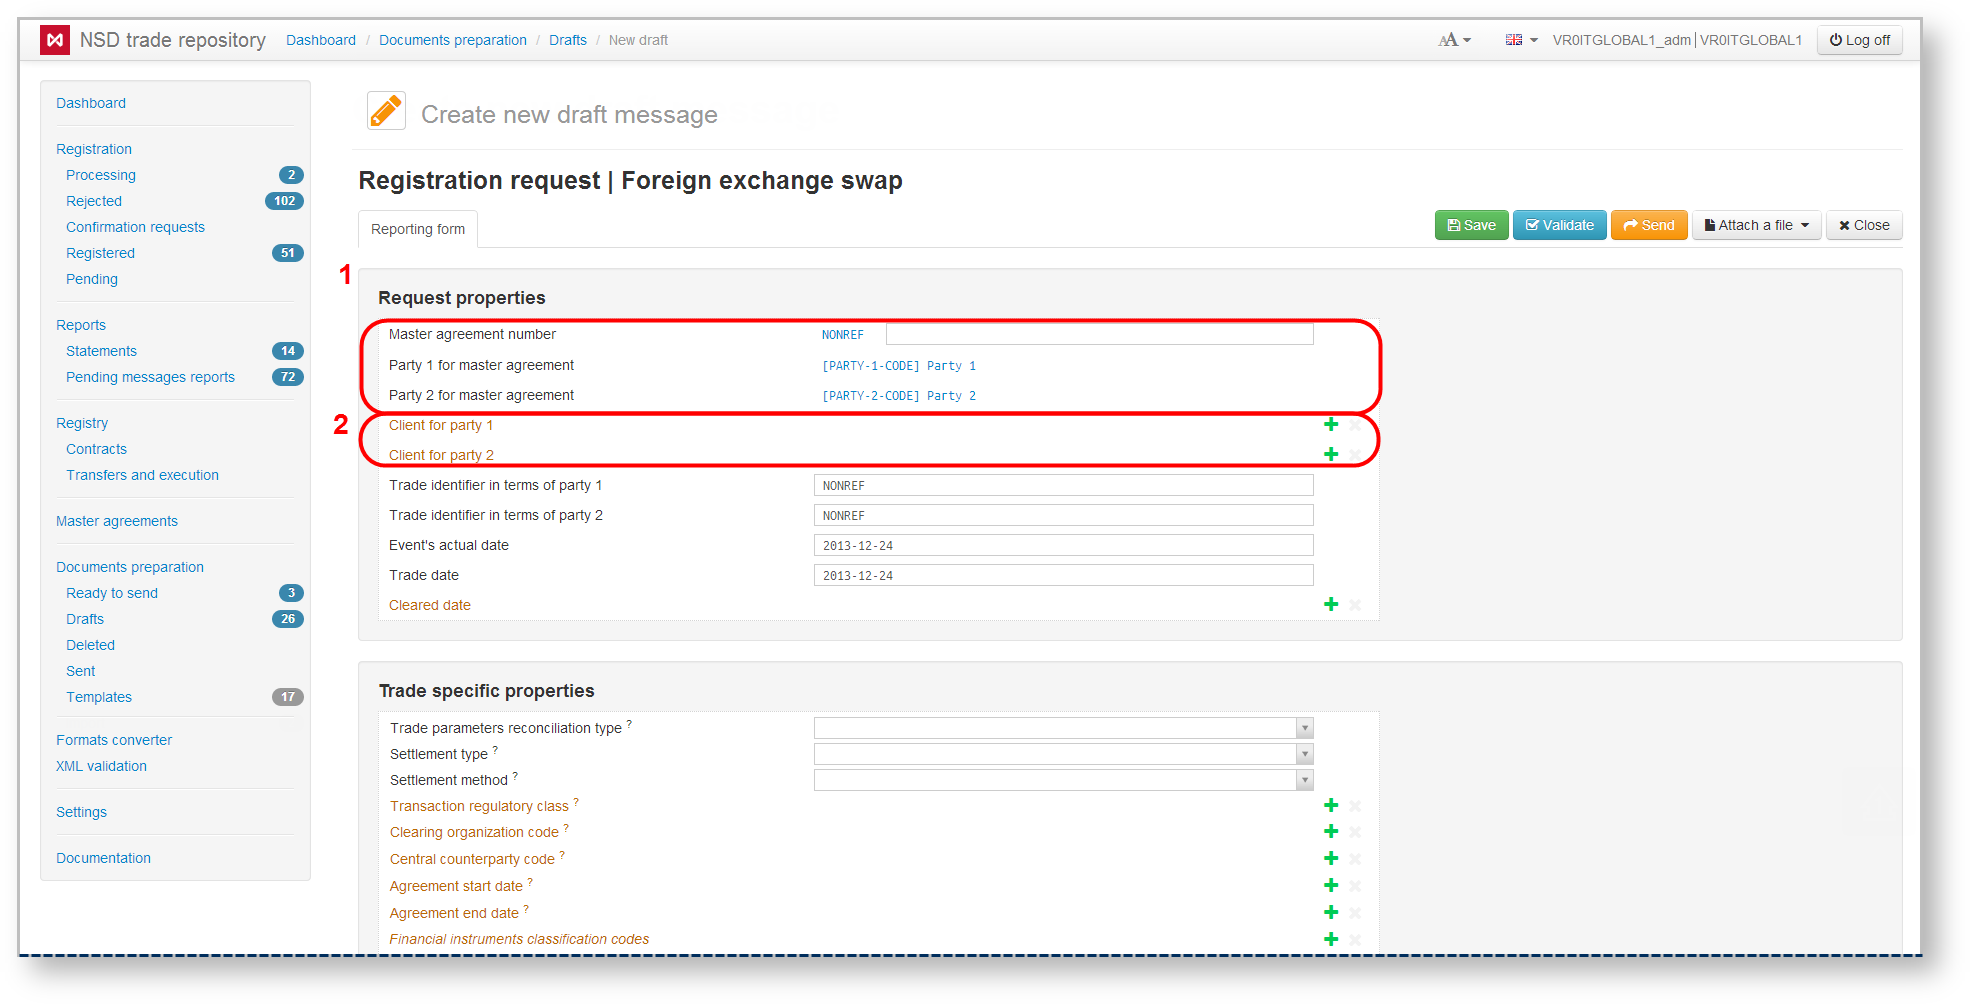
The data input area is divided into several blocks, the contents of which depend on the type of message (Fig. 2). Table 1 describes the blocks for contracts, MAs, reports and statement requests.
Fig. 4 – example of information blocks
...
- the field will be possible to fill in;
- the button will be hidden;
- the disable field button will appear.
Fig. 5 – required and optional fields
...
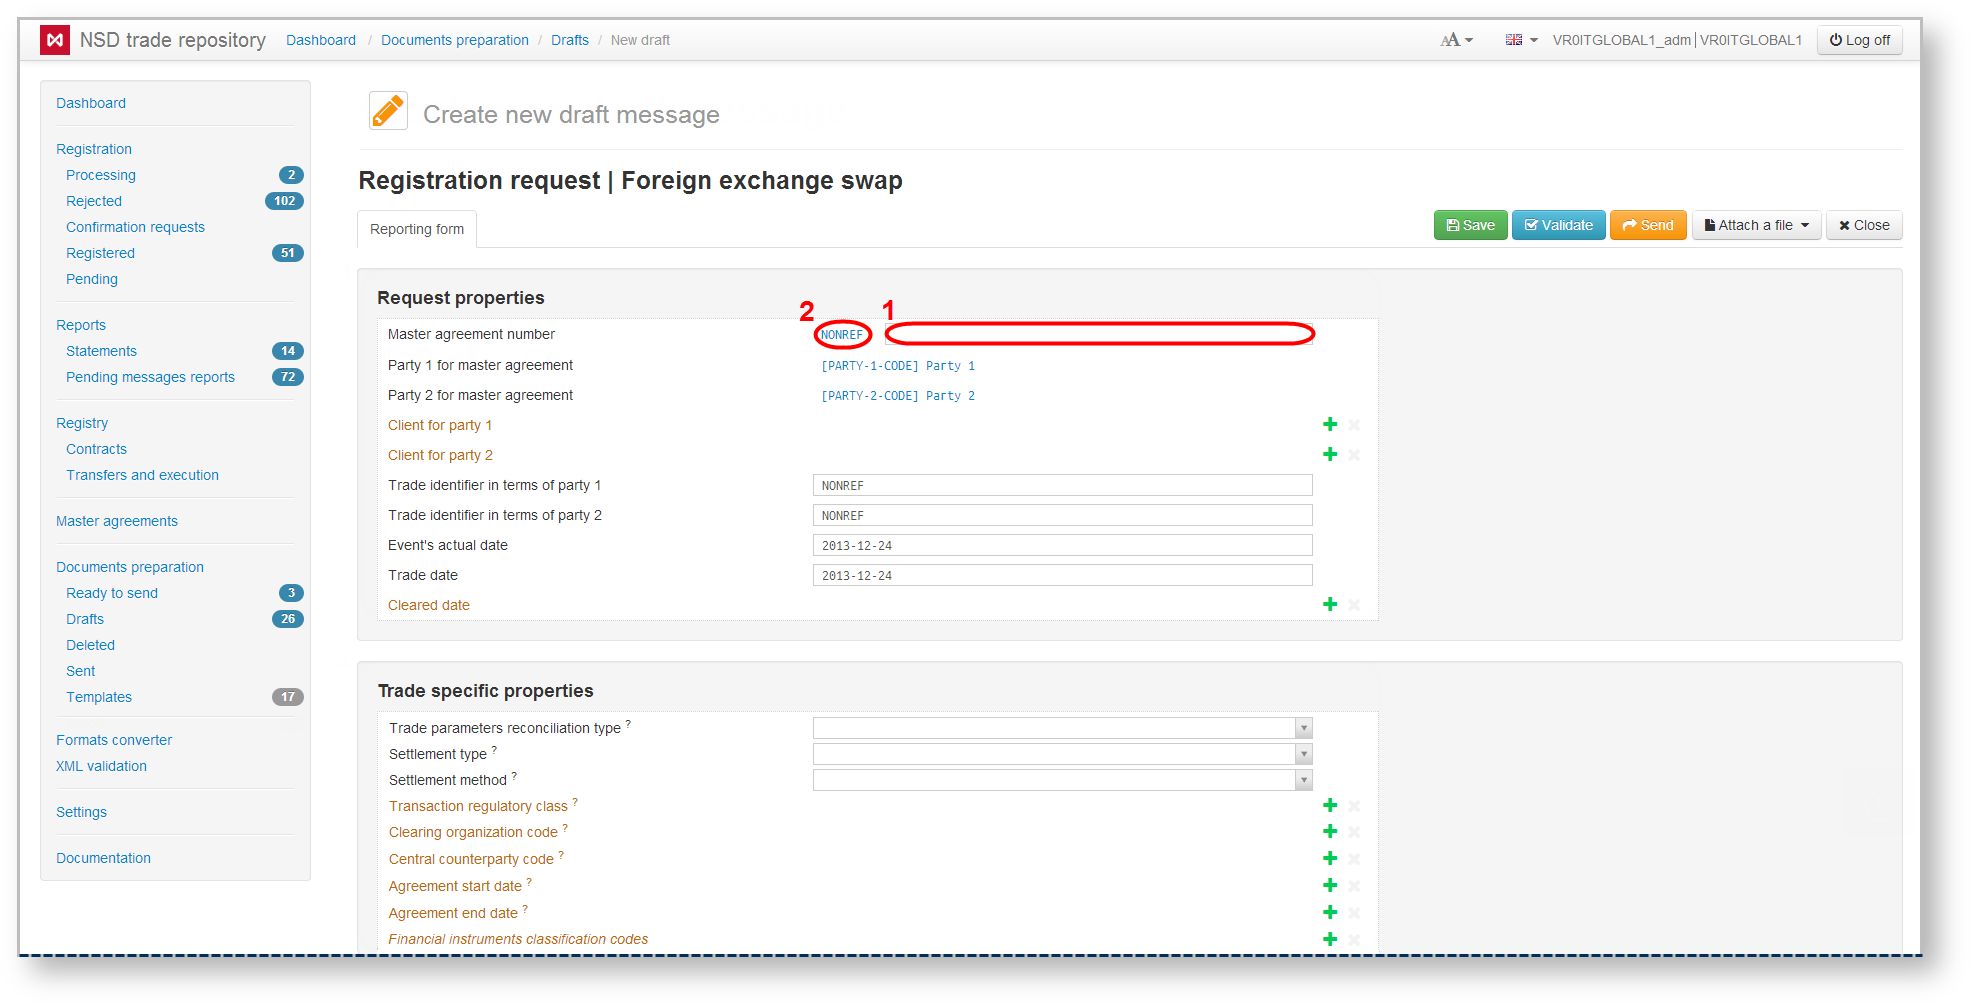
- manually typing the data into the row, to the right from the NONREF link (Fig. 8,1);
- selecting data in the pop-up window that opens by clicking on the NONREF link (Fig. 8,2).
Fig. 8 – filling out the Master Agreement Number field
...
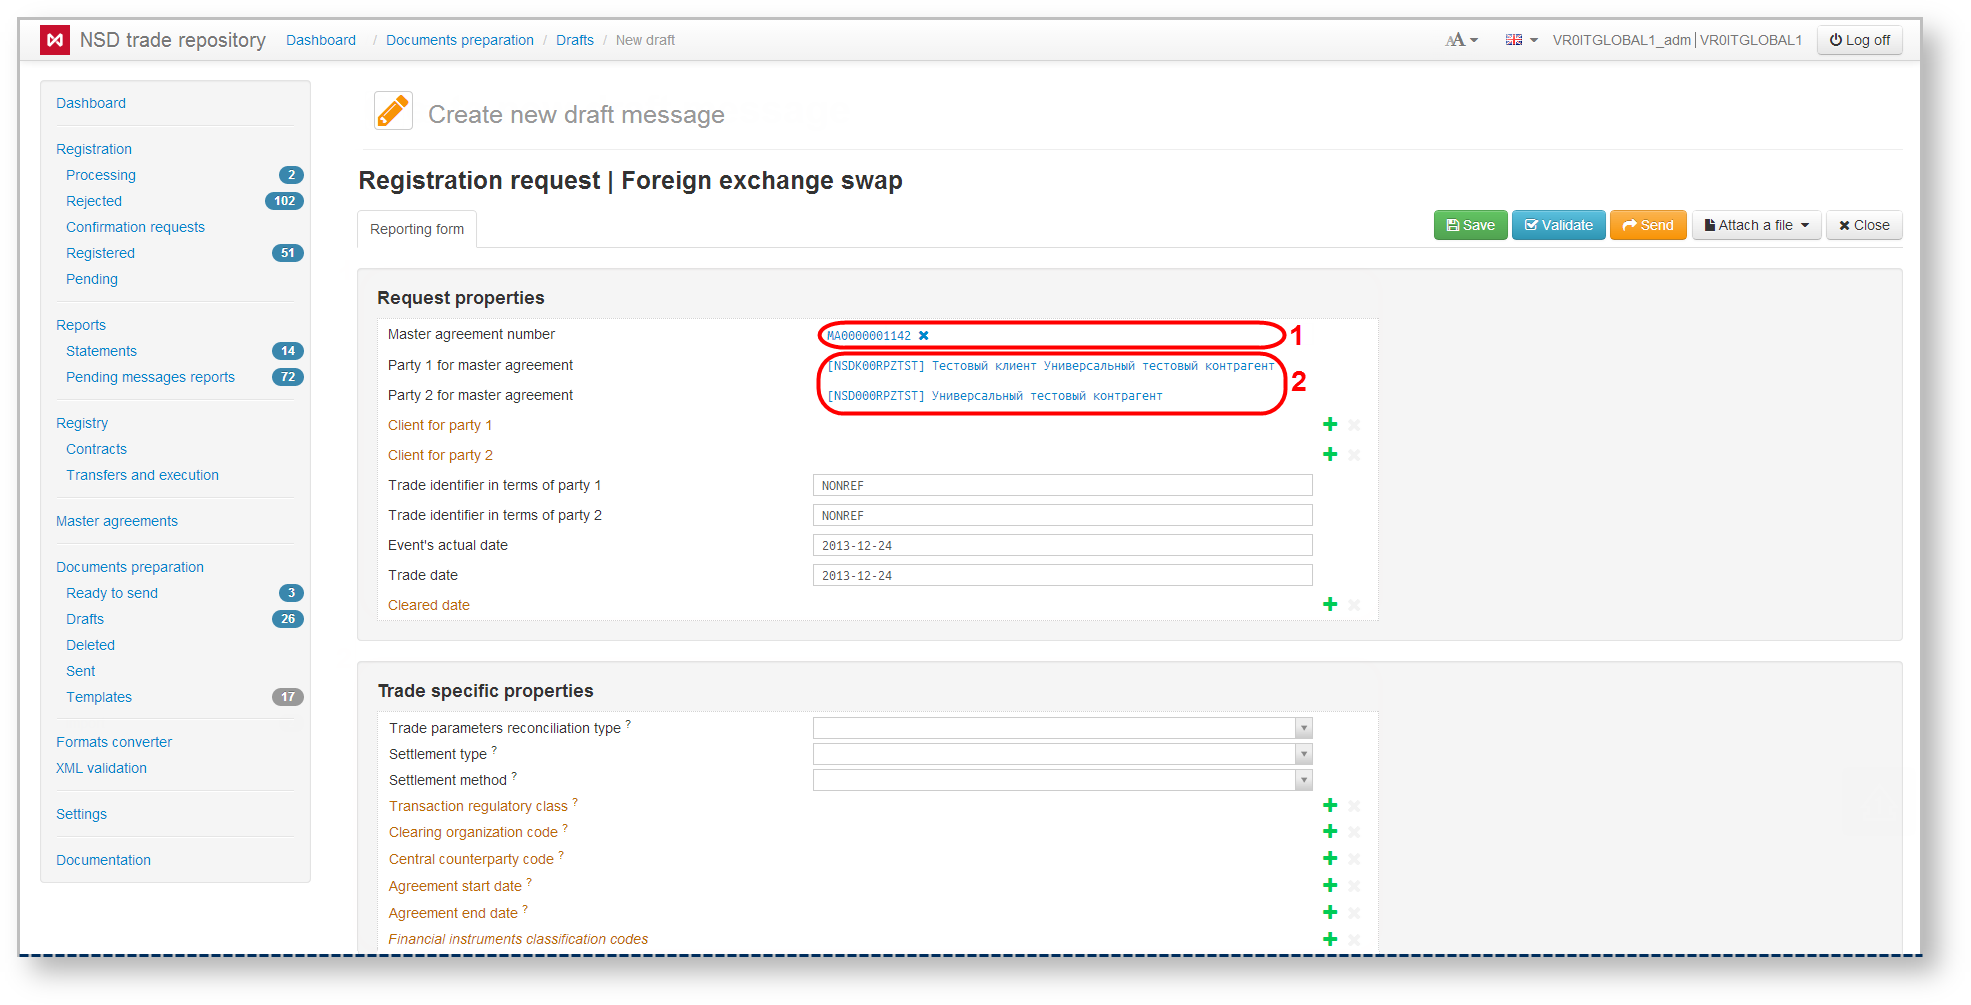
As a result, the main form will indicate the identifier of master agreement (Fig. 10,1), fields Party 1 of the master agreement and Party 2 of the master agreement will be filled automatically (see Fig. 10,2).
Fig. 10 – filling in form fields when selecting the MA number from the list
...
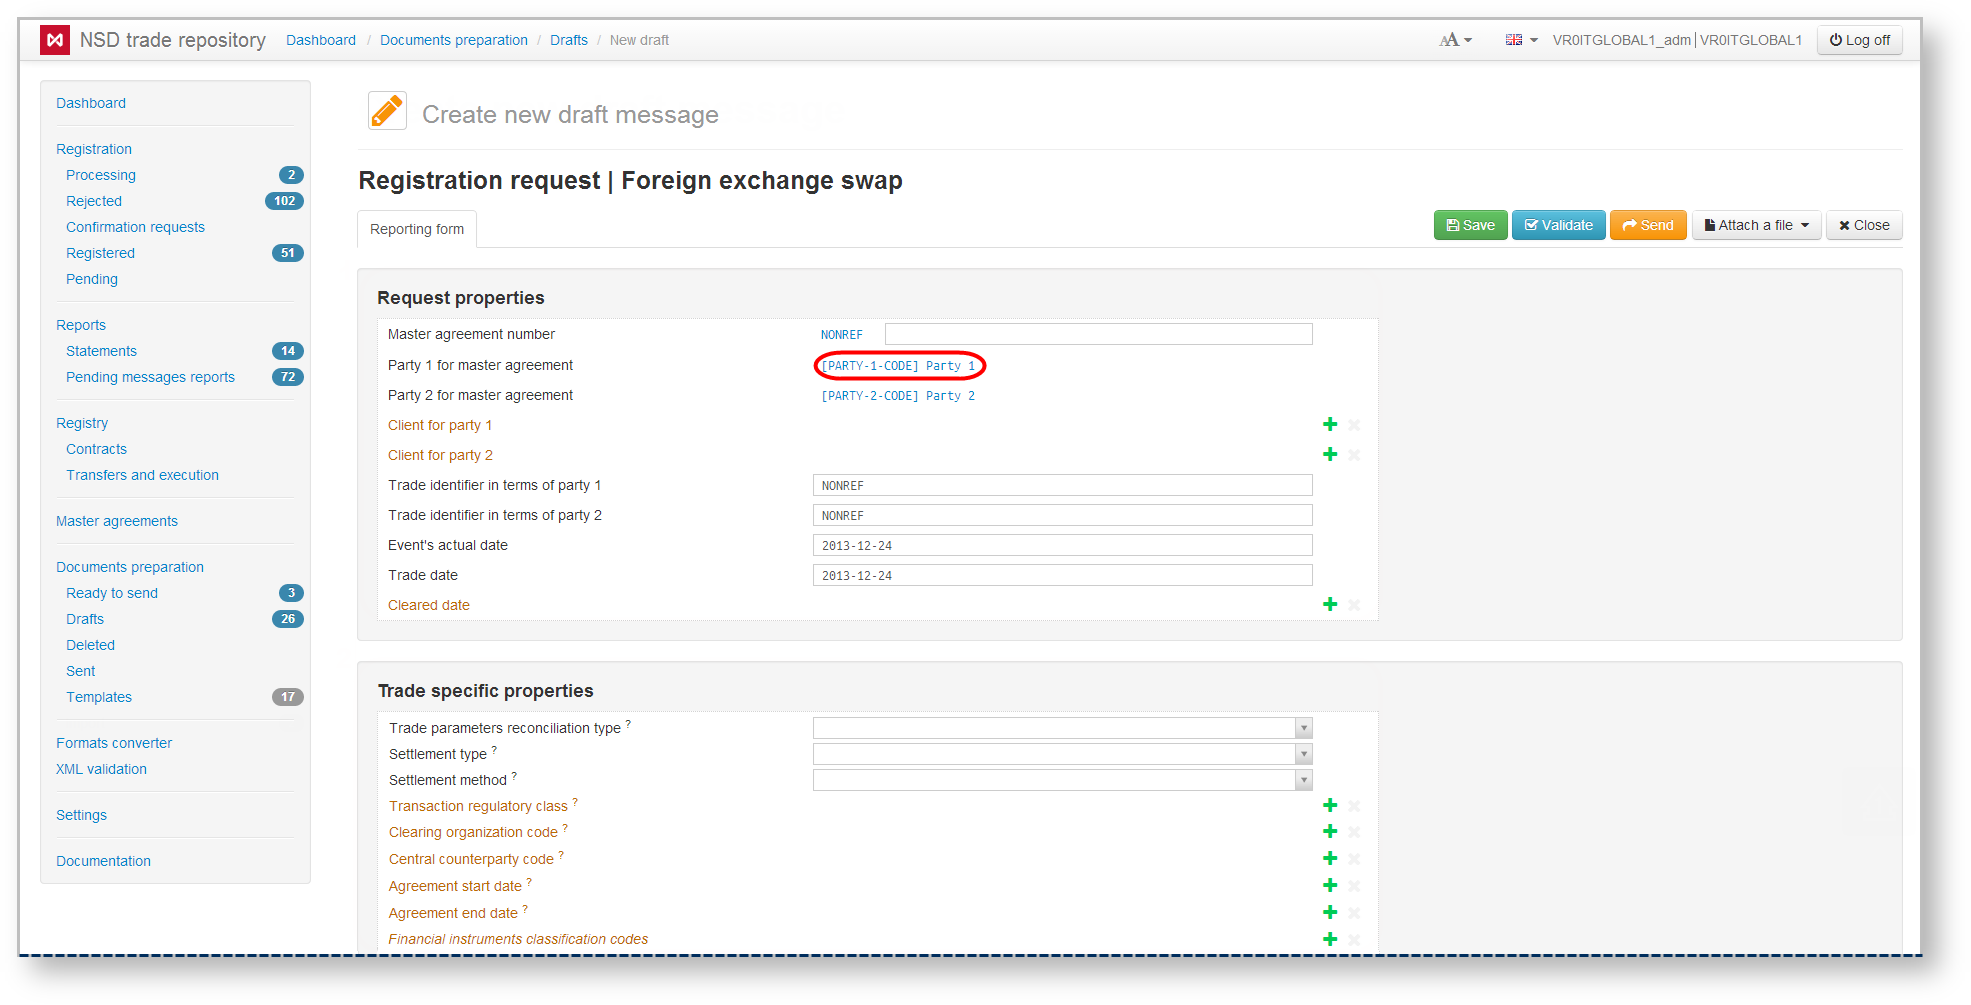
If the MA identifier was entered manually (see Fig. 8,1), fields Party 1 of the master agreement and Party 2 of the master agreement will be filled in from the list of the Choose counterparties pop-up window (Fig. 13), which is opened by clicking on the link [PARTY-1-CODE] Party 1 (Fig. 12).Anchor сторонаГС сторонаГС
Fig. 12 – filling in the Party of the master agreement field
...
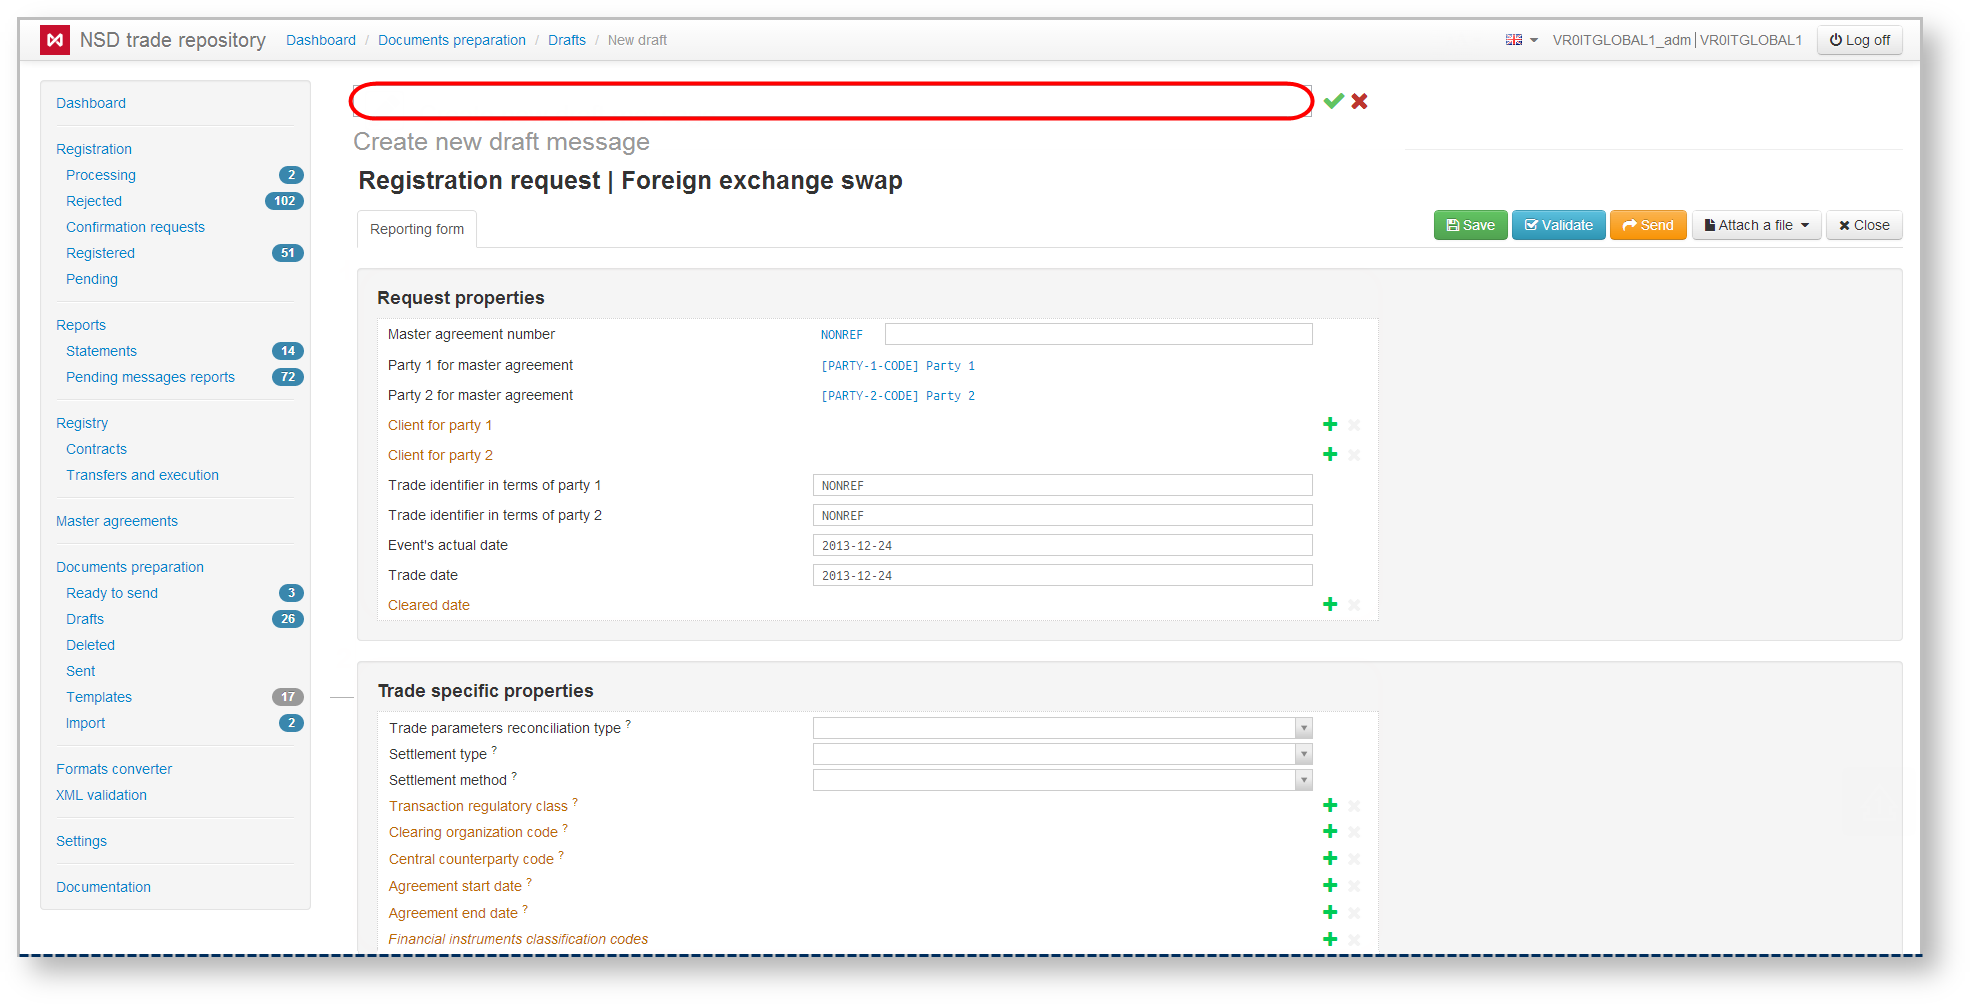
To specify the draft name (also for modal window form), activate the name input field by clicking (Fig. 17), enter the order name into the field (Fig. 18) and click button to save the changes. To discard changes, click .
Fig. 17 – button enable the name input field Fig
Fig. 18 – order name input field
...
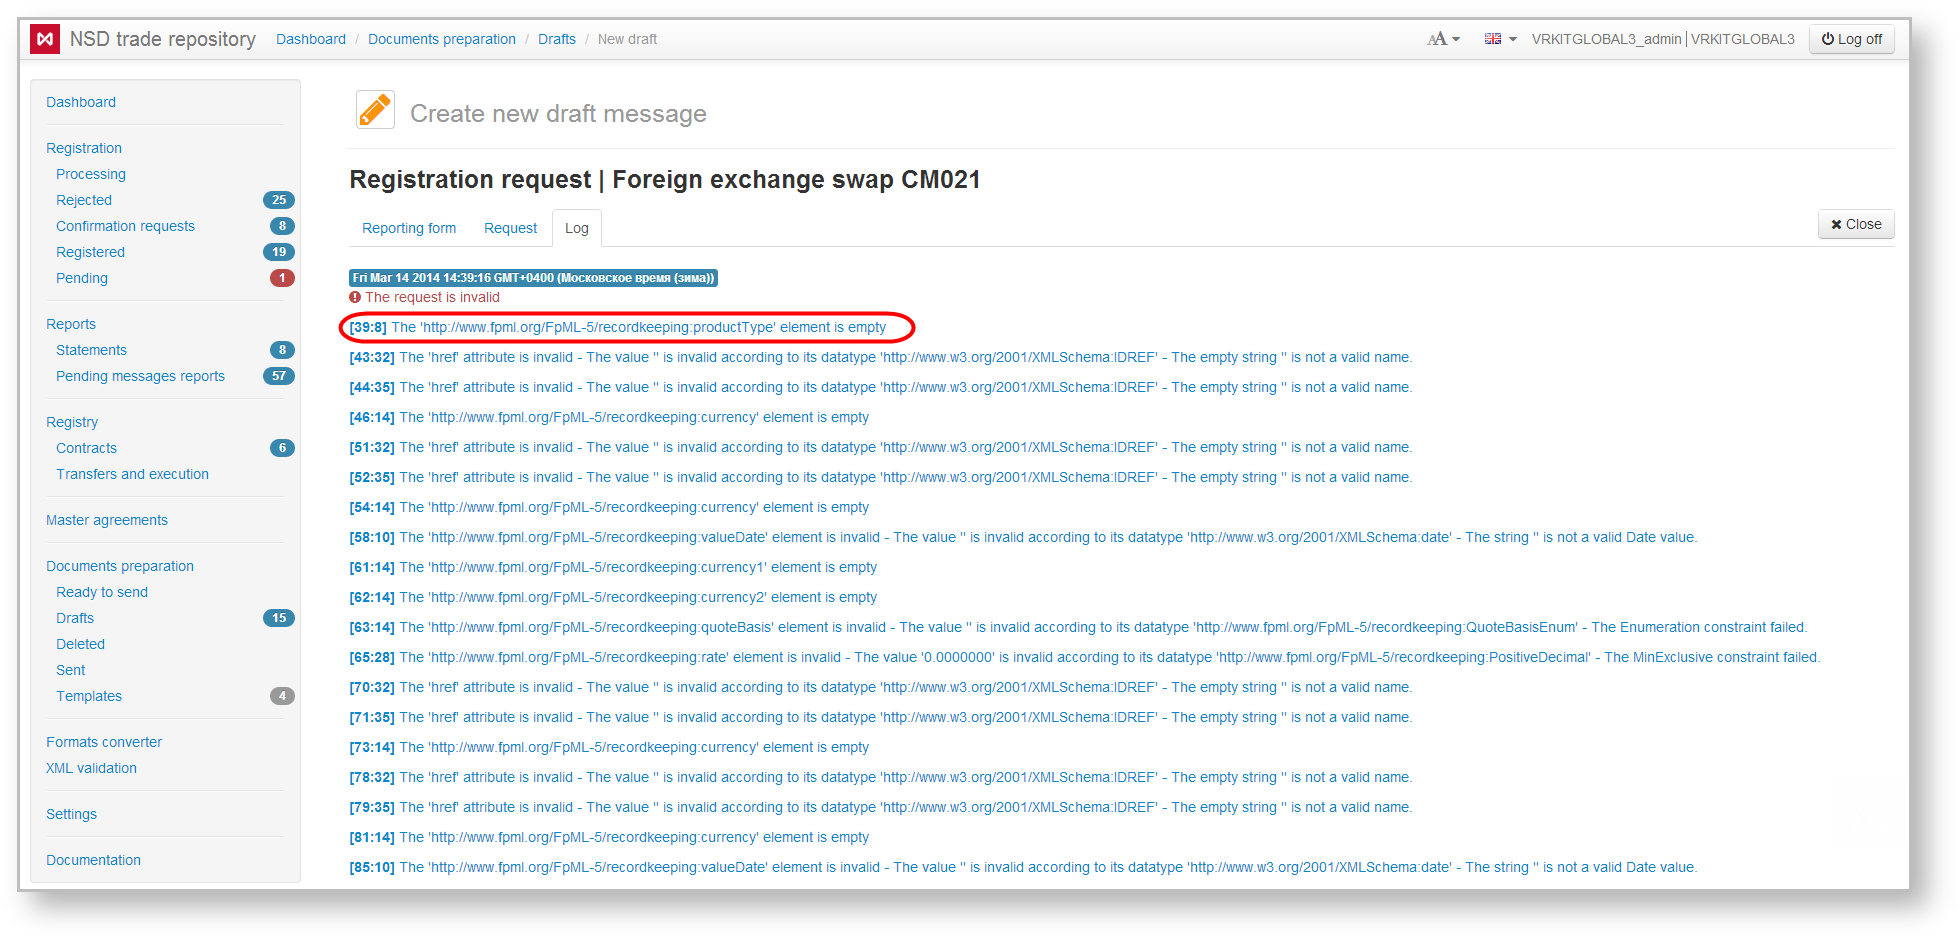
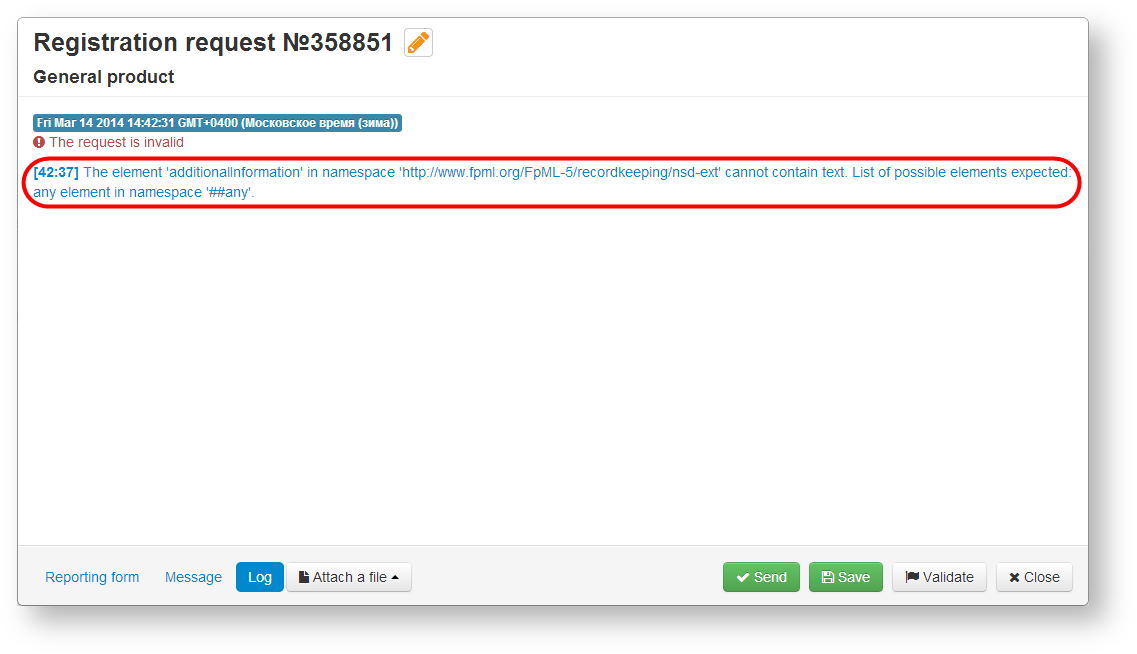
After clicking the button, the system will automatically check the order for compliance with NSD formats. Check results will be displayed in the Log tab in the form of a list of system errors. (Fig. 20 and 21 – modal window).
Fig. 20 – – Log tab
Fig. 21 – modal window
Click on the error takes the user to the Reporting form. The incorrectly filled fields will be highlighted in red. The specific error, on which you have clicked, will be highlighted in yellow (Fig. 22).
...
If the check does not detect any errors, the Log tab will indicate that the order is valid. The validation is also performed automatically when clicking Send. An invalid order cannot be sent to the repository.
– sending order to the repository for registration (not available when creating, editing a template, order based on the template).
...
Fig. 23 – sending order
– – adding a file to an order.
...
After selecting one of the upload options opens the screen form with using which you need to select the necessary file and click . When sending an uploaded document to the repository the file name will be changed automatically in accordance with the rules of NSD electronic document flow.
– – exit the order creation/editing form.
...
