Page History
Versions Compared
compared with
Key
- This line was added.
- This line was removed.
- Formatting was changed.
...
| Dialog box | Action |
|---|---|
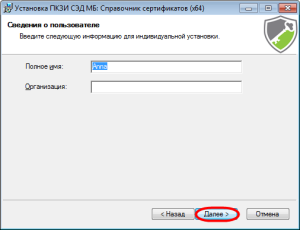 | In this window you will be prompted to enter full name and company name. We recommend skipping this step by clicking on the Next button |
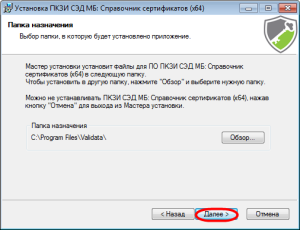 | In this window you will be asked to specify a destination folder (by default C:\ Program Files (x86)\ Validata\), using the Browse button. We recommend skipping this step by clicking on the Next button |
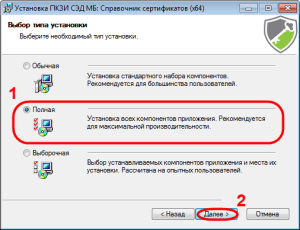 | In this window you can select Full installation (installing all components required for the Web-client to work) (clause 1) and click Next (clause 2). |
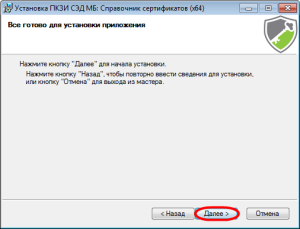 | In this window click Next to start installation |
...
| Anchor | ||||
|---|---|---|---|---|
|
To work in the Web-client it is initially necessary to connect to the Electronic Document Interchange (EDI) system. To do this:
- sign an agreement about participation in the EDI system. To conclude a contract provide the Moscow Exchange with the following documents or certified copies thereof (list of documents obtained when connecting to EDC);
- conclude a contract for the provision of the Authorized organization services;
- execute and deliver an Application for the generation of electronic signature;
- pay for the EDI services;
- obtain from the Moscow Exchange a certificate of registration document and a CD disk, comprising of:
- software (MOEX EDS DSSK: Certificates storage, MOEX EDS DSSK: Java API);
certificate of registration with private key;.
| Panel |
|---|
|
Once all the necessary documents are prepared, you can proceed to the technical part.
Technical part
Installing the certificate of registration
Certificate of registration are used for:
- generation of a profile;
generation of user's private and public key;
creation of a request to issue a public key certificate.
Depending where the certificate is stored (external hard drive or a computer), the order they are added to the Certificates storage and making a request will differ.
If the key and the certificate of registration are stored on the user's computer | If the key and the certificate of registration are stored on an external drive | |||||
|---|---|---|---|---|---|---|
| During the first start a window will open informing you that you need to insert an external drive. As the key and the certificate of registration are located on your computer, skip this step and click Cancel |
| Before you begin, insert an external drive in the usb-port on your computer, then run the Certificates storage. This opens a window where you will need to select device containing the key and certificate of registration (1) and click OK (2)
| 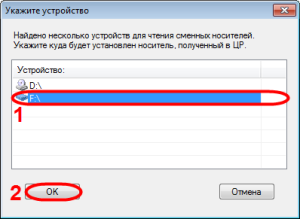 | ||
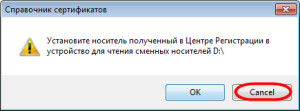
 | During the initial connection the user only has a certificate of registration, so skip this step by clicking Cancel
| 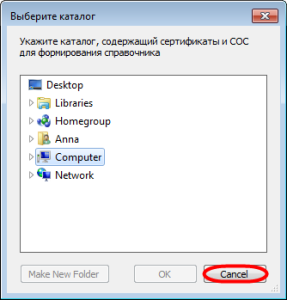 | As a result the key and the certificate of registration will be added automatically. The screen will display a message containing information about the added files, where you need to click OK | 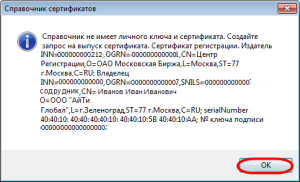 | ||
 | Next the storage will be automatically checked for the presence of a personal certificate. During the first start a personal certificate and copies of storagies are not available. Skip step by clicking No | 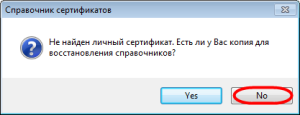 | The certificate of registration will serve as a basis for creating a personal and local storage (profile). The personal storage is confirmed with an electronic signature using the registration key. The personal storage will display the certificate of Moscow Exchange, and the user’s registration certificate in Certificates of registration section | 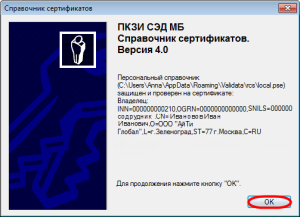 | ||
 | Then the screen will sequentially display windows for selecting the certificate of registration, where you need to click OK and Yes respectively | 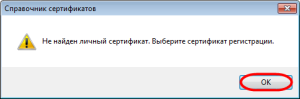 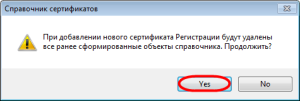 | Next, a message will appear informing you that the personal storage is protected with the registration certificate. In this window you need to click OK to create private keys and make a request for their confirmation (see Generation of user keys and creating a request) | 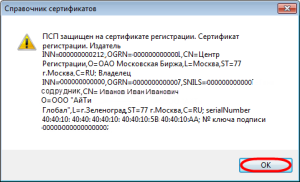 | ||
 | The window for adding a certificate of registration will appear, where you need to select the certificate file and click Open. The registration key will be imported automatically (provided that it is next to a certificate, in the same folder)
| 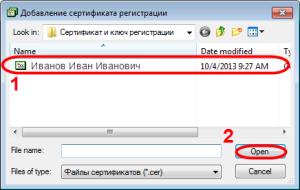 | ||||
 | Next, the screen displays information about adding certificates of registration The certificate of registration will serve as a basis for creating a personal and local storage. The personal storage is confirmed with an electronic signature using the registration key. The personal storage will display the certificate of Moscow Exchange, and the user’s registration certificate under Certificate of registration Click OK to continue working in the storage | 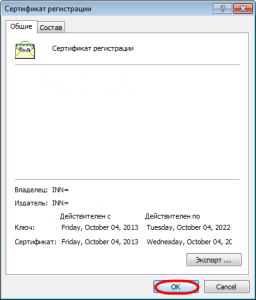 | ||||
| Next, you will need to generate your public and private key and a request for their confirmation by the Moscow Stock Exchange by clicking OK
| | ||||


| Anchor | ||||
|---|---|---|---|---|
|
Public and private key are created simultaneously with the request to the Certification Authority to issue a certificate. Keys cannot be used to protect information transmitted until they are certified by the Certification Authority (the Moscow Exchange). Therefore, a request is made for their confirmation, which contains information about the generated public key (Fig. 12) and information about the user, automatically added from the certificate of registration. The Moscow Exchange (CA) responds with an email containing certificate signed by the CA root certificate.
If the certificate of registration are stored on the computer, after step 7 in the table above, Certificates storage will automatically generate user's private and public keys and a request to issue a public key certificate (Fig. 12).
If the certificate of registration are stored on an external drive, to generate keys and make a request select the Справочник сертификатов (Certificates storage in the menu) (Fig. 11.1) → Сформировать запрос на получение сертификата (Generate certificate request) (Fig. 11.2), or click an icon  on the toolbar.
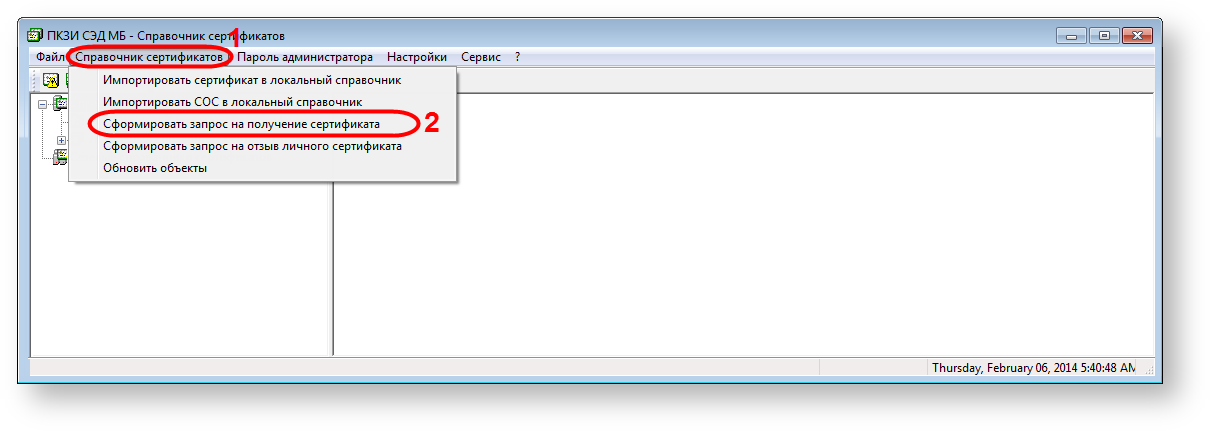
Fig. 11 – generation of a request
In the Certificate request dialog box, click OK (Figure 12). This will open the Export files for the Registration Centers, where you should select a folder to which the request will be saved and click the Save button (Fig. 13).
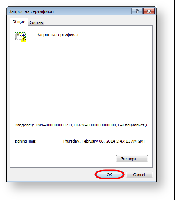
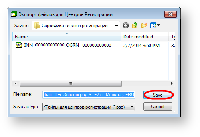
Fig. 12 – request parameters Fig. 13 – export files
The resulting request (a *.pse file) needs to be compressed and sent to pki@moex.com, with a scanned and signed registration certificate (document) attached. The subject field should specify the name of the organization and the required scope of the certificate (for example, the Oblachnye Investitsii CJSC – exchange market EDI, stock market EDI). The Moscow Exchange will respond with a letter with an attached ZIP-file of the certificate. This certificate must be added to the Certificates storage.
| Panel |
|---|
|
| Anchor | ||||
|---|---|---|---|---|
|
To add a certificate to the Certificates storage:
- run Certificates storage menu using the Start menu→All Programs→ ПКЗИ СЭД МБ (MOEX EDS DSSK)→Справочник сертификатов (Certificates storage);
select Справочник сертификатов (Certificates storage)→Импортировать сертификат в локальный справочник (Import Certificate) to the local storage (see Figure 14). This will open a window to select the certificate file (Fig. 15);
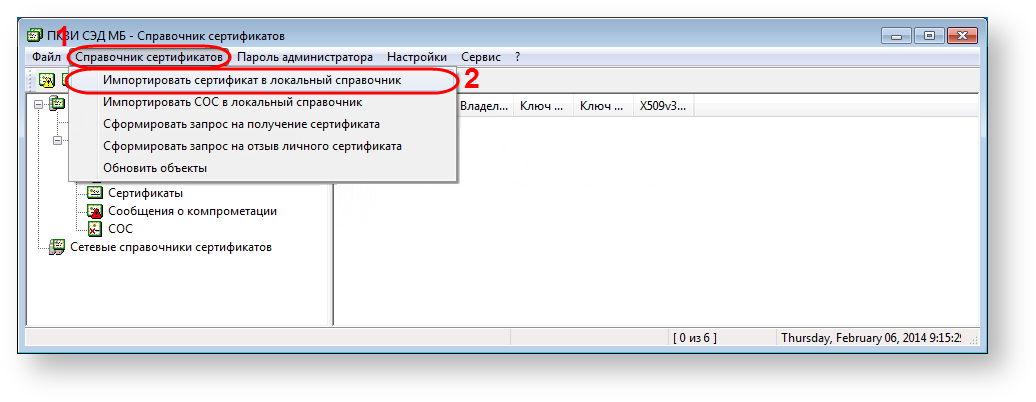
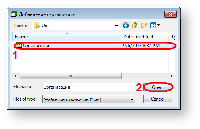
Fig. 14 – starting to import file Fig. 15 – selecting a certificate
- select the certificate file (see Fig. 15.1 ) and click OK (see Fig. 15.2 ). Before adding a window will open displaying the certificate to be added, in which you should click OK (Fig. 16).
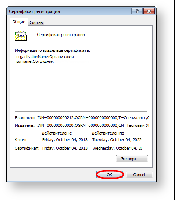
Fig. 16 – information about the certificate to be added
This will open a window informing the certificate was successfully added to the Certificates storage, where you need to click OK (Figure 17). Example of adding a certificate is presented in Fig. 18.
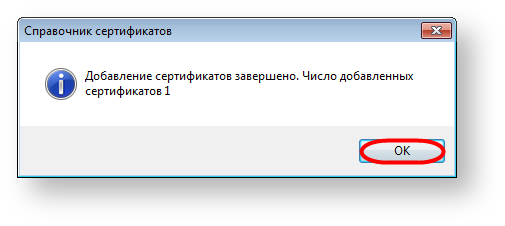
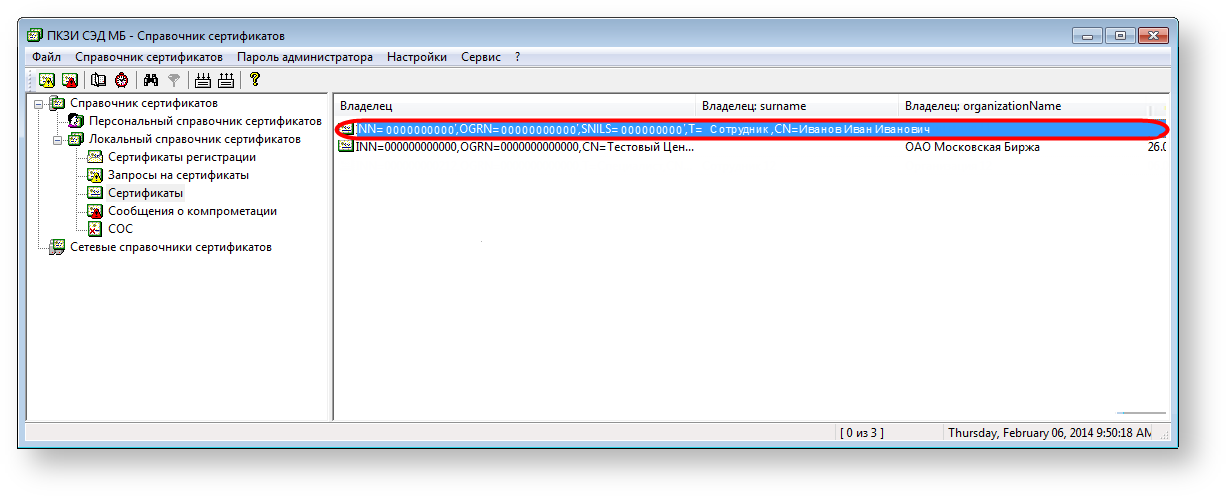
Fig. 17 – informative message Fig. 18 – example of adding a certificate
Then the certificate must be set as default. To do this, select the added certificate, right-click on the shortcut menu, and select Сделать сертификат рабочим (Make certificate workable) (Fig. 19).
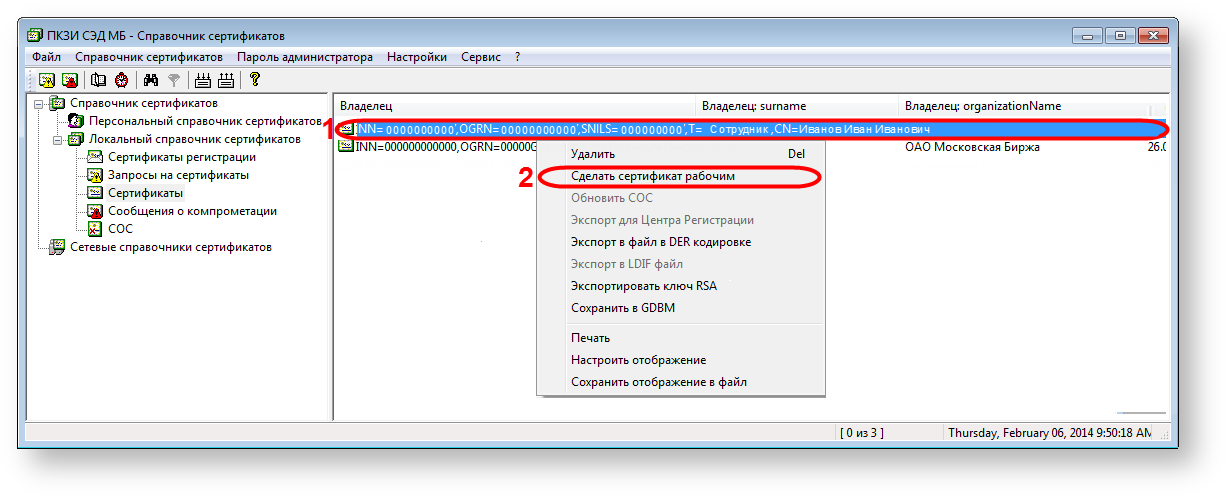
Fig. 19 – selecting the working certificate
After adding a personal certificate to the Certificates storage, the personal storage is signed on the member’s personal certificate. The generation of a digital signature for sent messages is ensured by the private key.
| Panel |
|---|
|
| Anchor | ||||
|---|---|---|---|---|
|
To install Java, follow the diagram shown in Fig. 20
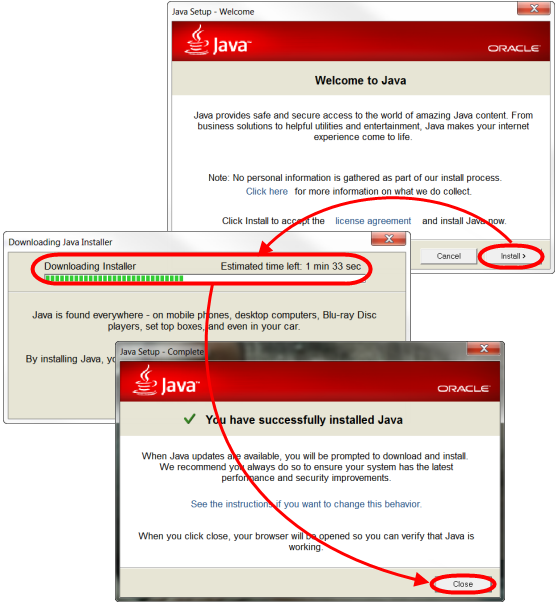
Fig. 20 – scheme of Java installation
| Anchor | ||||
|---|---|---|---|---|
|
To make Java applet work with Certificates storage, the user must install the appropriate Java API. To do this, download the Java API package (download link) and run the installation file. This opens a security Windows OS window (Fig. 21), where you need to click Run.
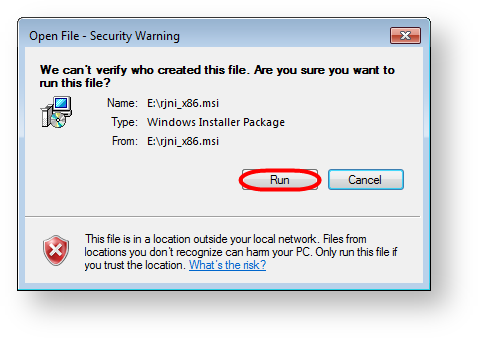
Fig. 21 – start of installation– security window
Then the screen will display the Setup Wizard Welcome screen, where you should click Next (Fig. 22).
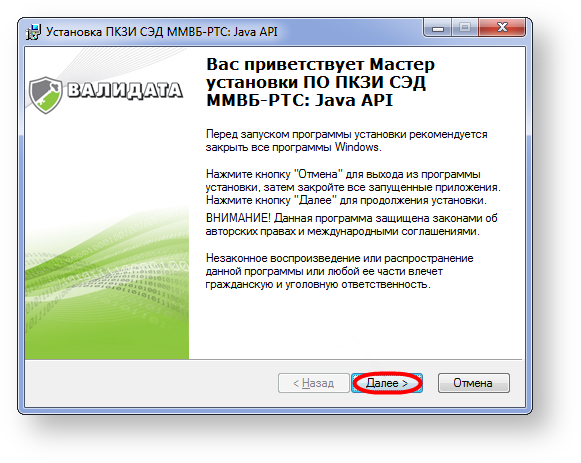
Fig. 22 – start of installation
After that the screen will open dialogs, preparing for installation as described in Table 2.
Table 2 – installation of the Certificates storage
| Dialog box | Action |
|---|---|
 | In this window you will be prompted to enter full name and company name. We recommend skipping this step by clicking on the Next button |
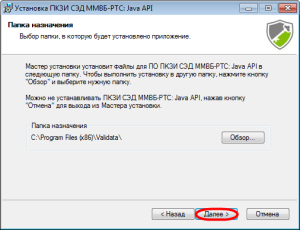 | In this window you will be asked to specify a destination folder (by default C:\ Program Files (x86)\ Validata\), using the Browse button. We recommend skipping this step by clicking on the Next button |
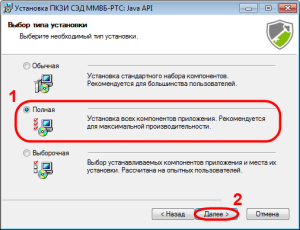 | In this window you can select Full installation and click Next |
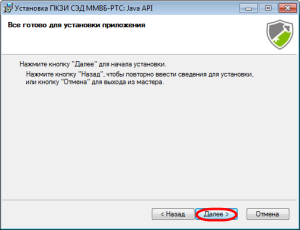 | In this window click Next to start installation |
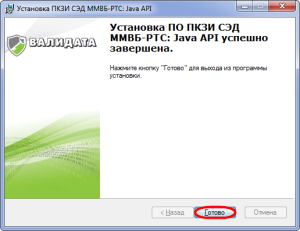
After a few minutes the program will be installed on the computer and a dialog will pop up (Fig. 23), where you need to click Finish.
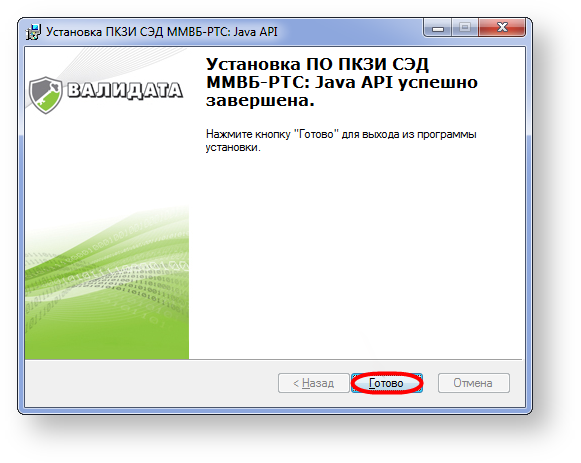
Figure 23 – installation complete
Software installation is complete.
The information for further preparation of the computer and the configuration of the installed components is presented in the following articles:
- configuring Java;
- configuring Windows OS;
- gaining access to the Web-client;
- decryption of login and password to enter the Web-client.
Overview
Content Tools
- Powered by Atlassian Confluence 7.19.1
- Printed by Atlassian Confluence 7.19.1
- Report a bug
- Atlassian News