Page History
...
- data selection in the pop-up window (MA number, MA party and dates of the transaction);
- manual data input (eg, contract number in the accounting system of the first/second party);
- selecting data from the drop-down list (for example, fields of the Specific transaction parameters group Specific transaction parameters group).
Master agreement identifier
The Master agreement identifier field can be filled out by:Anchor НомерГС НомерГС
...
To change the MA identifier delete the current number with button and choose another one, following the instructions on filling out the Master agreement number field.
Parties of the master agreement
If the MA identifier was entered manually (see Fig. 8,1), fields Party 1 of the master agreement and Party 2 of the master agreement will be filled in from the list of the Choose counterparties pop-up window (Fig. 13), which is opened by clicking on the link [PARTY-1-CODE] Party 1 (Fig. 12).Anchor сторонаГС сторонаГС
...
The Choose a party window contains a list of all organizations that are clients of the repository (Fig. 13,1).
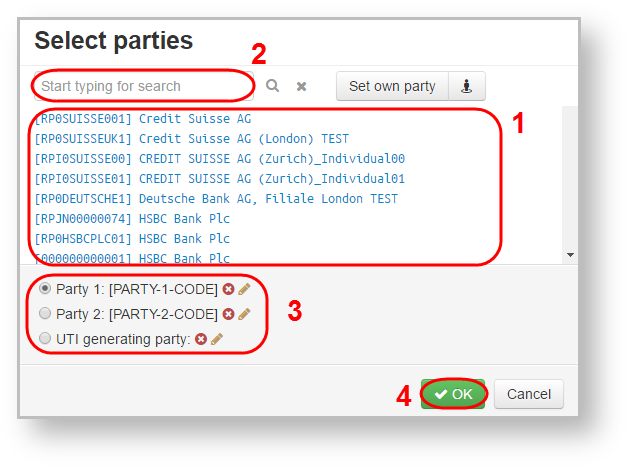
Fig. 13 – choose parties of the MA
To choose the necessary organization:
- select the company from the list or enter the company name in the search box (see Fig. 13,2). As a result, the customer list will display companies whose names fully or partially match the name typed in the search box.
...
- select the necessary company
...
- .
- click OK to fill in the main form field (see Fig. 13,
...
- 5).
The second party of the MA can be simultaneously selected in this window. To do , first this:
- check the Party 2 box (see Fig. 13,3)
...
- .
- choose the necessary organization from the list
...
- .
- click OK to save the data.
...
If you need to specify the organization, which is not in the list, click the Set own party button (Fig. 14,1). The [NONREF] will be added to the field. Next, enter the organization name (Fig. 14,2) and click OK.
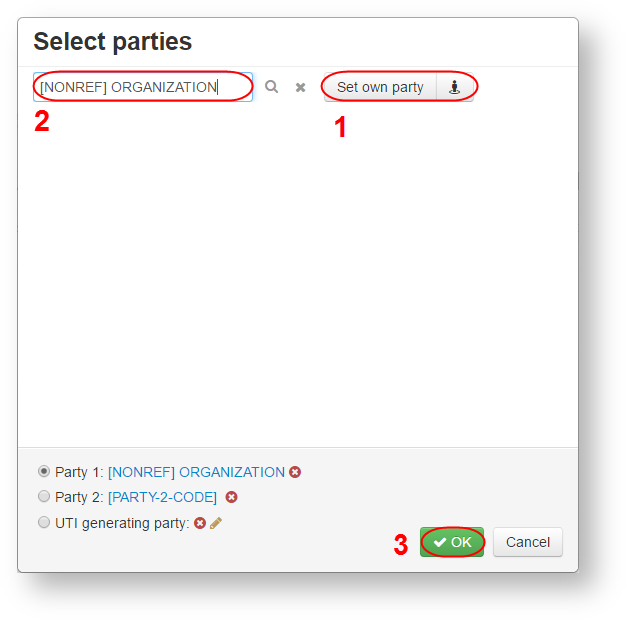
Fig. 14 – NONREF
For details on how to fill in the fields Party 1 of the master agreement or Party 2 of the master agreement in case of registering a transaction with non-clients of the repository, see section Registration of transactions with non-repository clients (russian version).
Anchor
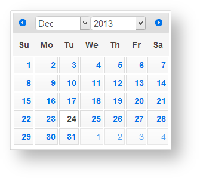
Fig. 14 – calendarTo change the MA party delete the current organization in this window with button
Internal storage
Some of the fields are filled in with values from the system’s internal directories, for example, comparison modes, currency codes. To see the list of values click Anchor справочники справочники . This will open the list (Fig. 15), in which the values are displayed in alphabetical order. If you enter the value in the search box (see Fig. 16,1), the list will display values that partially or fully match the indicated one (Fig. 16,2). To fill in the fields, select the necessary value from the list. For a detailed description of the directories see the documentation NSD’s trade repository messages specifications.
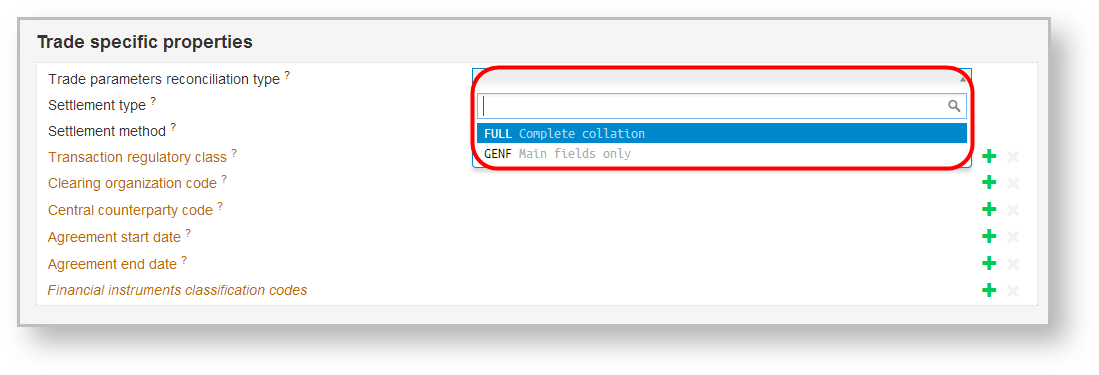
Fig. 15 – example of filling the fields using directories Fig. 16 – searching a value in the list
Draft name
To specify the draft name (also for modal window form), activate the name input field by clicking (Fig. 17), enter the order name into the field (Fig. 18) and click
button to save the changes. To discard changes, click
.
...
Overview
Content Tools