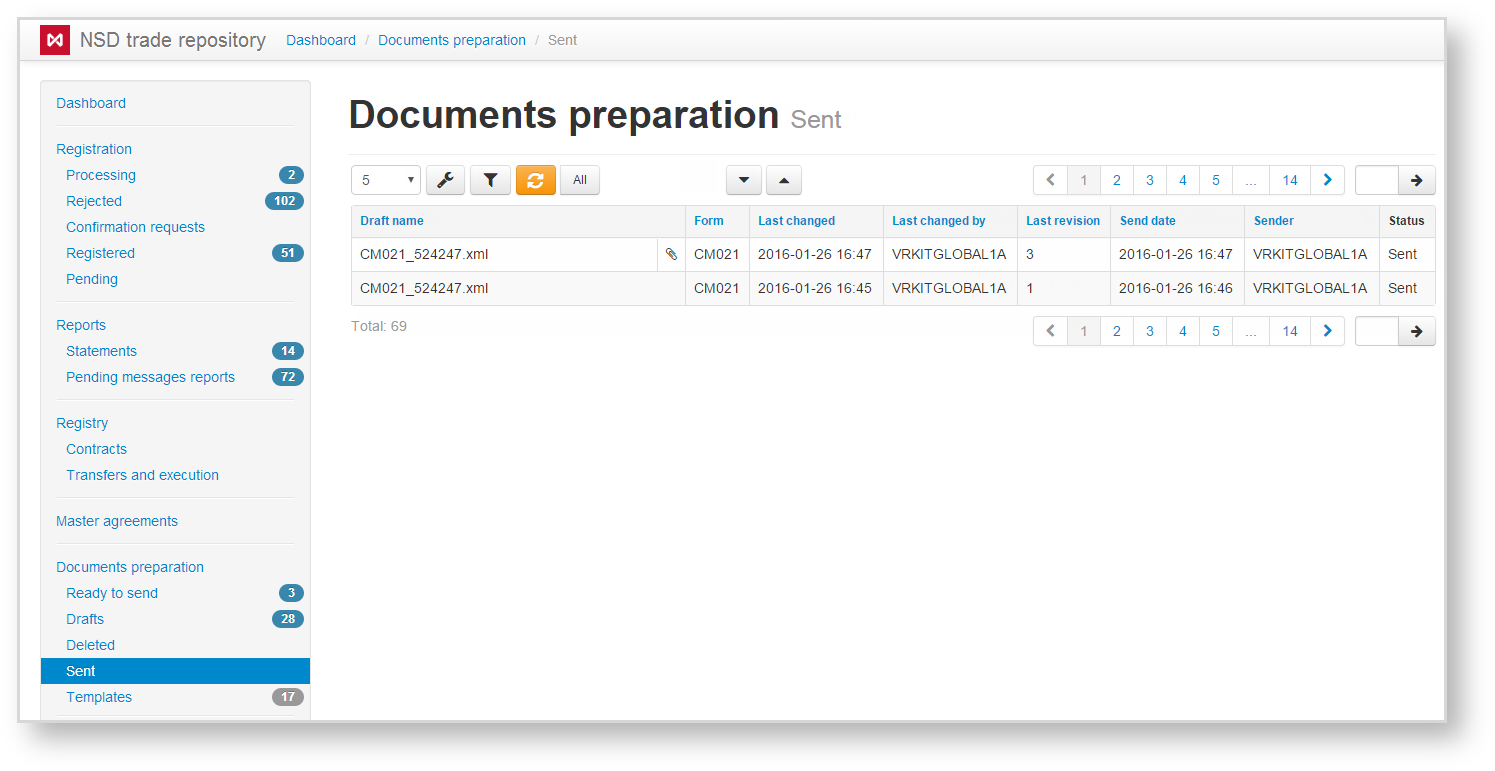
The form contains a list of messages sent to the repository for registration (Fig. 1). After signing, the message is queued for sending. The status column displays the messages status: Sent or Queued for sending.
Fig. 1 – Sent form
The table can be filtered by:
- instrument types. The button indicates that the filtering will be applied only to the selected instruments. The button indicates that filtering will be applied to all instruments, except for the selected instruments;
- last change date;
- attachment;
- name – search by the draft name;
- send date;
- parties (last changed by)
Clicking on the button opens a block of filters settings. After the settings has been specified, click the button to apply filtering. This will generate a table with drafts corresponding to the filter parameters (read more here).
The list of messages is displayed in the form as a table, the contents of which are similar to those of the Drafts form, except for additional information: date of sending and the name of message sender. If the file is attached to the draft, the icon will be displayed. The tools available for working with the drafts are described in Table 1.
Table 1 – Description of the toolbar buttons
| Button | Description | Calling the form |
|---|---|---|
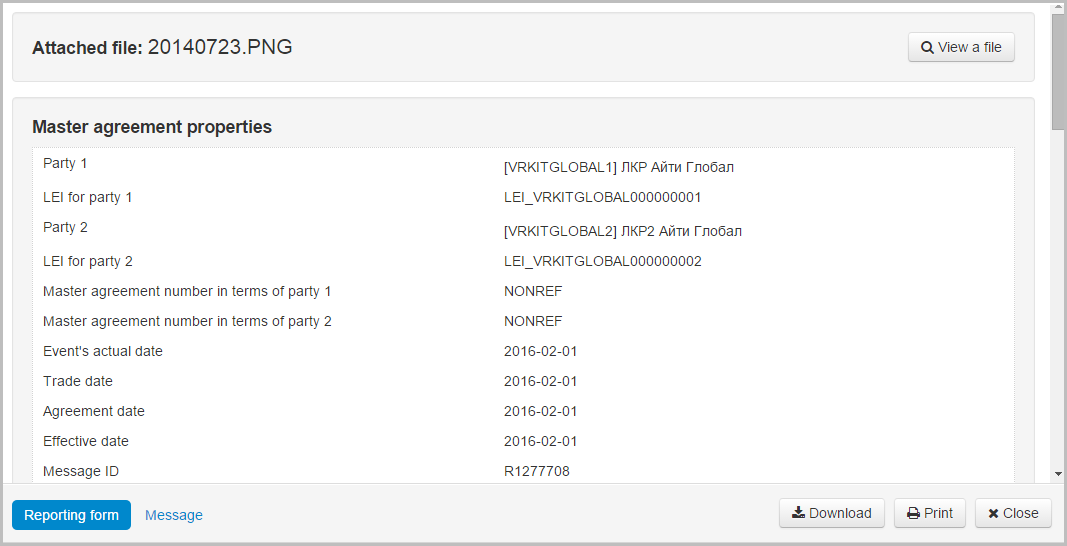
Calling the view draft form Clicking on the button opens the electronic form of the document, where you can view and print the data. Additionally, you can view the attached file. When you click View a file, the file will be downloaded to the user's computer
| ||
| Keep the draft in the xml file | ||
Creating draft copy Clicking on the button will take you to the Message creation/editing form, where you need to make the necessary changes and save draft. | ||
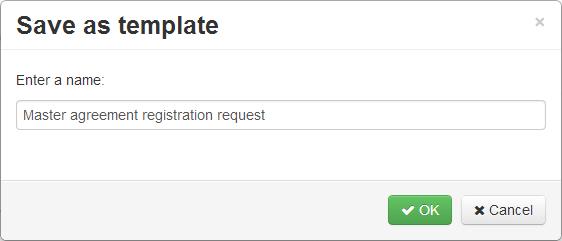
Creating a draft-based template Pressing the button opens a window allowing to save draft as a template. In this window specify the name of the template and click OK. This will take you to the Edit template form, where you can make changes and save the document. The button is not used for drafts of CM001, CM002 and CM003 forms (messages sent to revoke message chains) | ||
These tables are subject to information display settings, described in section General Settings.


