To work with NSD EDI system client has to have a pair of public and private keys and a certificate issued by Moscow exchange and bound to those keys.
In test environment
In a test environment NSD prepares a pair of keys and a certificate on it's own side and send them to a client. So client needs only to request certificate and then install it.To request a certificate client should write an email to soed@nsd.ru with the following meaning:
On this page:
{company name} requests to provide us with RSA keys and certificate to participate in repository testing. Our repository identifier is {the identifier}.
{contacts}
If you don't yet have an account in repository's test environment (not the Web-client account, but exactly the record in repository's test environment), you should request it by sending email to repository@nsd.ru with the following meaning:
{company name} requests to include us into repository test process and provide us with a repository identifier.
{contacts}
After receiving certificate you should install it as described below.
In production environment
Moscow exchange is a certificate authority which issues certificates for clients, and those certificates are then used in several systems including NSD EDI.
In production environment the whole process of obtaining certificate is much more strict, since absolute security must be provided and all sides must be sure, that their keys are not compromised. The same or almost the same process of receiving certificates are used by all well known certificate authorities like Comodo, Thawte and others.
To obtain a production certificate client should do the following steps:
- Enter an the electronic data interchange participation agreement.
- Fill an Application for Production of the Electronic Signature Verification Key Certificate.
- Receive a registration certificate from Moex. Under 'receive' we assume physical delivery in Moex office in Moscow on CD to the person itself or his representative with power of attorney.
- Install corresponding software on his computer.
- Generate a pair of public and private keys.
- Create a request to issue certificate for that pair of keys. Sign the request with the registration certificate and send in to MOEX (pki@moex.com).
- Receive a production certificate.
Installing certificate
Before taking any actions with certificates, client should install corresponding software, as described here.
Production or test certificate
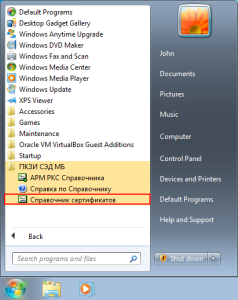
After installing the Certificates storage you can run it by clicking the corresponding menu item in Windows programs list as shown below.
Fixing locale issue
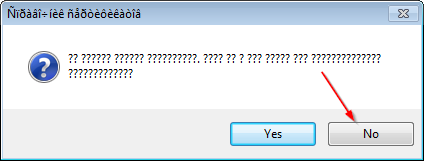
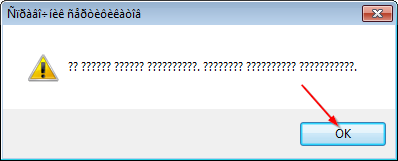
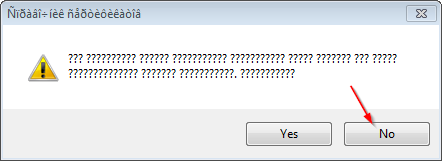
Since the program doesn't have English interface, on operating systems with English locale you'll see broken interface with question signs instead of readable text.

To fix this issue first of all we have to close the program by clicking Cancel button on the dialog which you see on the image above, then No on the next dialog, then Ok, then No and then Ok, Program will be closed.
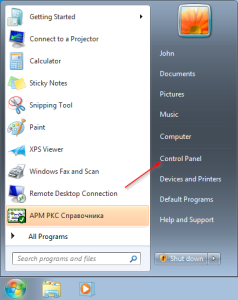
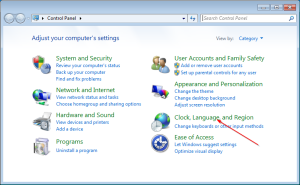
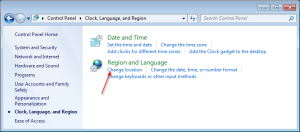
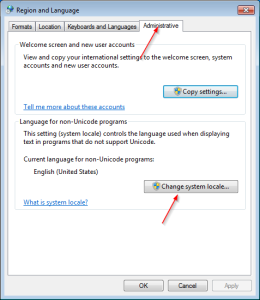
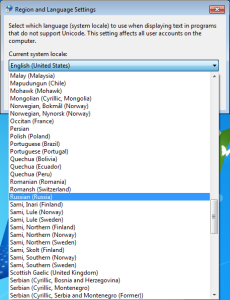
Then we need to change system language for non-unicode programs. To do that we go to the Control panel and there select Clock, Language and Region section. In this section click on Change location link. On the shown form go to the Administrative tab and press Change system locale button. Select Russian. System will ask to reboot, do that. Set of screenshots below illustrates the described process.
Now run Certificates storage again, it's interface now doesn't have question signs.
Saving certificate to disk
Certificate authority sends certificate as a zip archive. Unpack it to any separate folder. There will be a folder named Spr, one file with *.cer extension and one with *.rsa extension.
Installing certificate
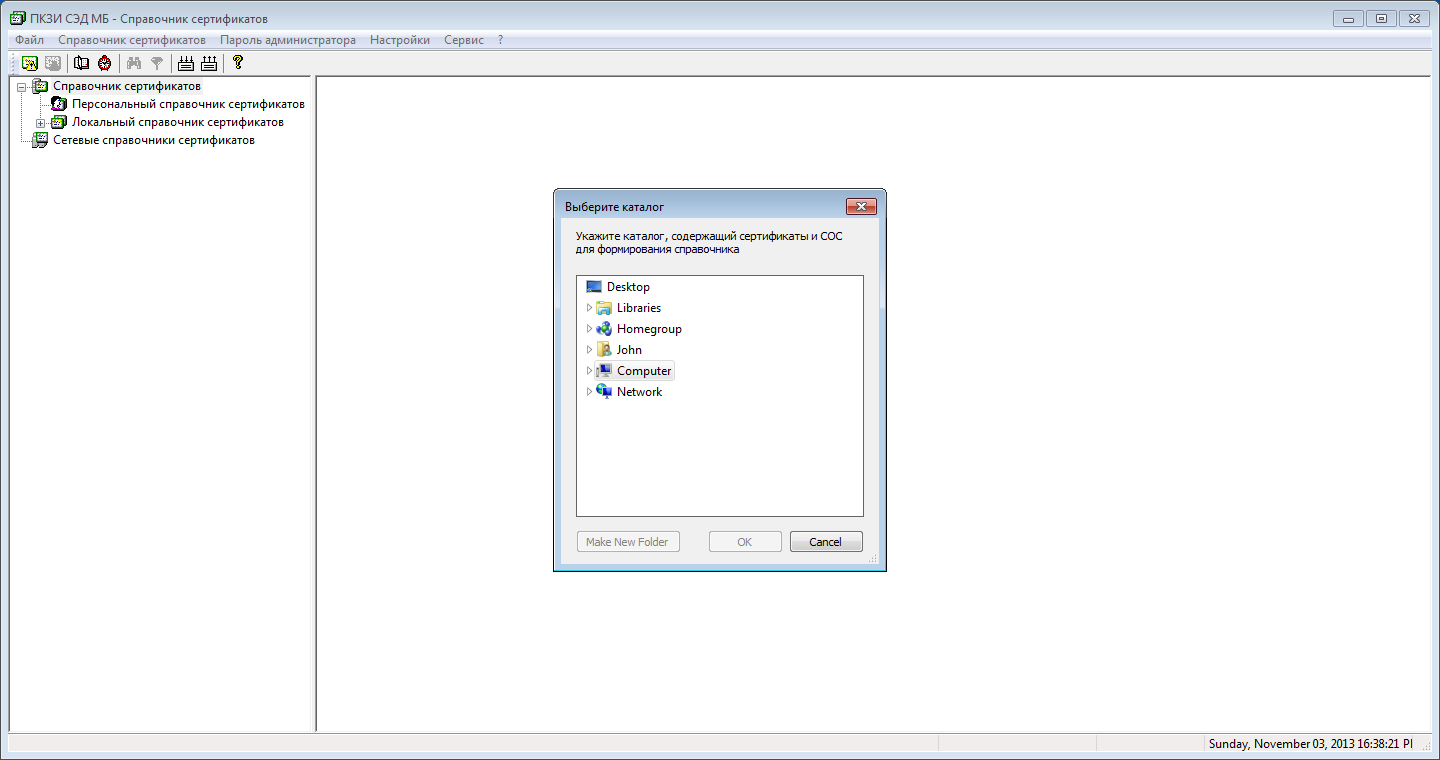
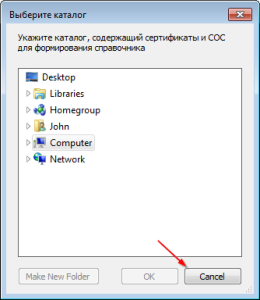
After running Certificates storage shows a dialog which makes user to select a folder. Press Cancel there and then Ok on the next error dialog.
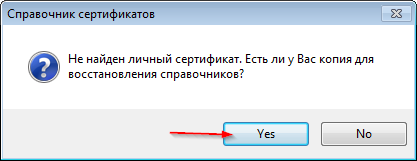
With next dialog program asks user whether he has a copy of certificate to restore. Press Yes.
and on the next dialog select the Spr folder from the folder, in which we've unpacked the archive. Press Ok on the next dialog, the program will be closed.
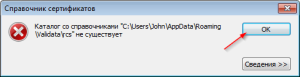
Run program again. If previous actions succeed, we'll see the following dialog:
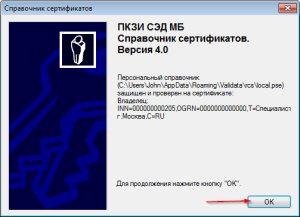
Press Ok.
In certificates list user can see the following picture:
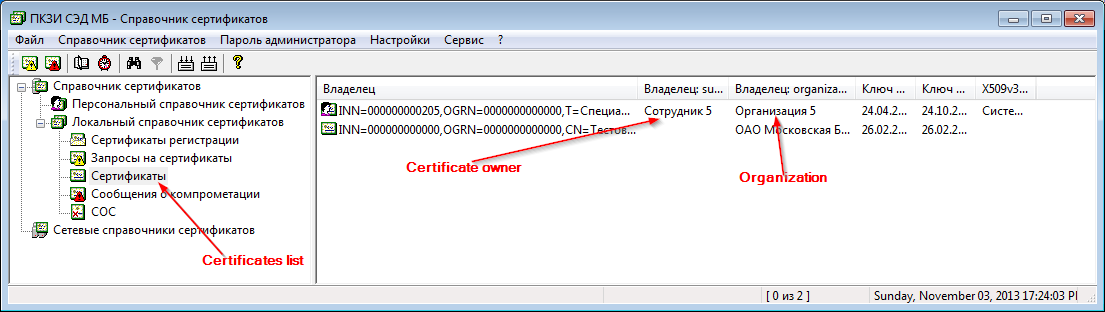
Now on this computer it's possible to sign documents with digital signature.
Overview
Content Tools