Page History
...
| Section | |||||||||||||||||||||||||
|---|---|---|---|---|---|---|---|---|---|---|---|---|---|---|---|---|---|---|---|---|---|---|---|---|---|
|
...
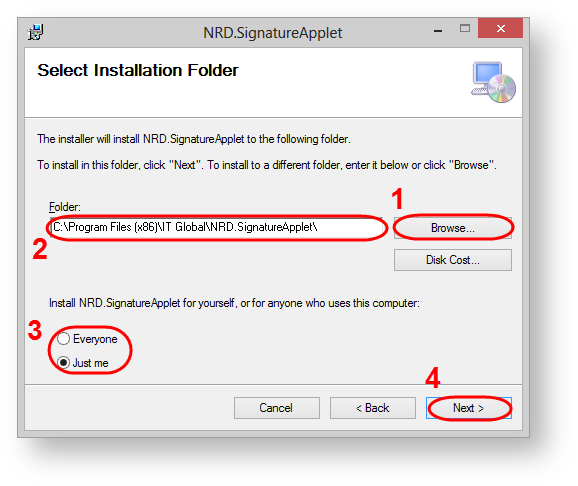
In the next window you need to:
- use click the Browse button to select the folder (Fig. 2,1) (by default:
С:\Program Files (x86)\IT Global\(Fig. 2,2)); - to choose the type of installation (Fig. 2,3):
- Everyone – the plugin will run on this computer for all users;
- Just me – the plugin will run only for the current user.
- click the Next button (Fig. 2,4).
| Info |
|---|
Recommendation is leave It's recommended to use default settings |
Figure 2 – select the folder
...
Figure 3 – run the installation of components
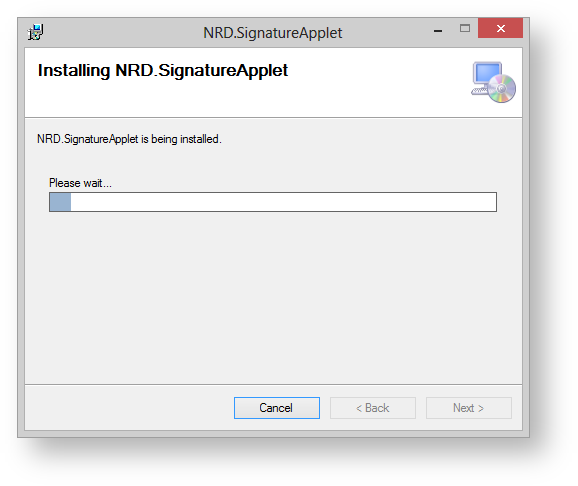
The installation process takes might take a few minutes and will be displayed in the Status field (Fig. 4).
Figure 4 – installation progress
...
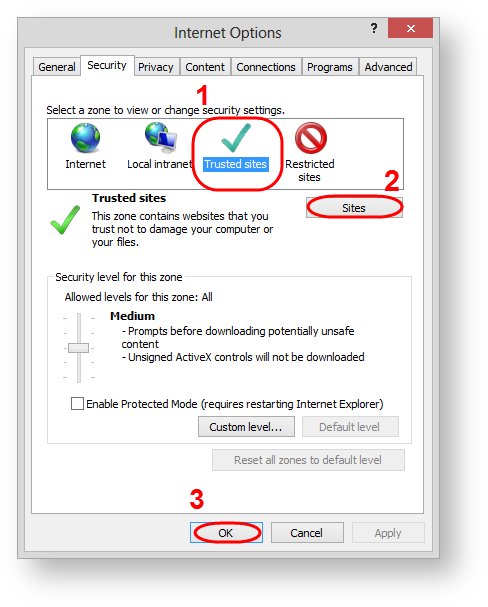
- go to menu Tools → Internet Options → Security;
- select the Trusted sites (Fig. 6,1) and click the Sites (Fig. 6,2);
Figure 6 – go to security settings
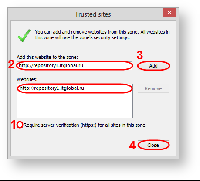
- remove the switch box (Fig. 7,1);
Figure 7 – add the URL of the Web office in the list of trusted sites specify the URL of the Web-client (Fig. 7,2) and click the Add button (Fig. 7,3). As the result, the URL will be added to the list of trusted sites (Fig. 7,4);
Info If you plan to use Web-client as in the test and production environment, you must add the URL of the required versions:
- URL (test) –https://repository1.itglobal.ru/lkr;
- URL (production):
- GOST – https://edog.nsd.ru/lkr;
- RSA – https://edor.nsd.ru/lkr.
- click the Close button (Fig. 7,5);
- click click the ОК button in the Internet Option (Fig. 6,3).
...
As a result the ActiveX plugin will be using for used as the implementation of the EDS.


