The ActiveX plugin is an alternative to the Java API , which used to work with the means of cryptographic protection. ActiveX components are supported only in the Internet Explorer. ActiveX is launched when the client connects to the Web-client.
On this page:
ActiveX plugin installation
Setting up ActiveX plugin starts with running the NRD.ActiveX.Setup. This will open the Setup Wizard window, in which you need to click Next (Fig. 1).
Download links
ActiveX plugin installation is carried out under an administrator account.
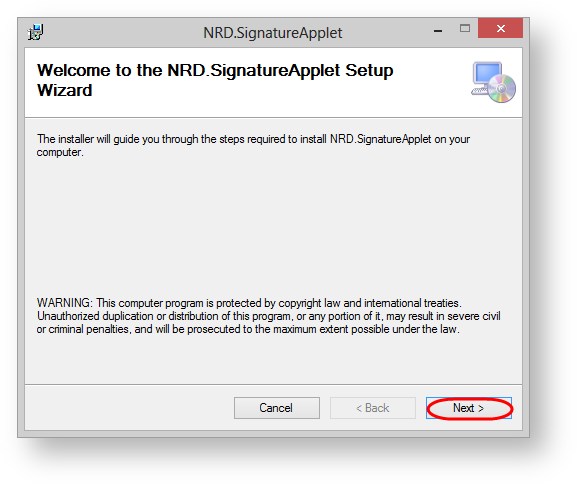
Figure 1 – the Setup Wizard window
In the next window you need:
- use the Browse button to select the folder (Fig. 2,1) (by default: С:\Program Files (x86)\IT Global\ (Fig. 2,2));
- to choose the type of installation (Fig. 2,3):
- Everyone – the plugin will run on this computer for all users;
- Just me – the plugin will run only for the current user.
- click the Next button (Fig. 2,4).
Recommendation is leave default settings
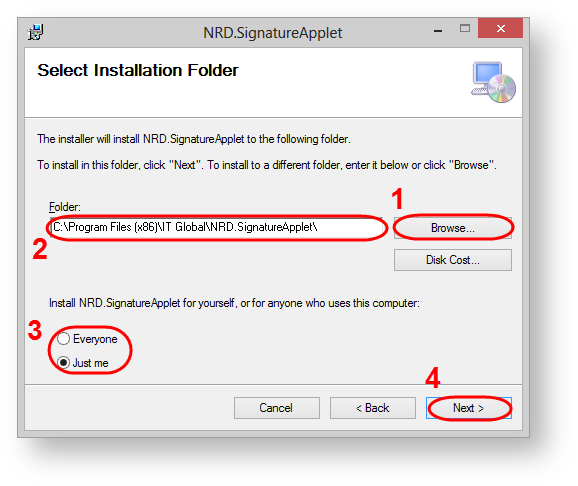
Figure 2 – select the folder
Then click Next to install components (Fig. 3).
Figure 3 – run the installation of components
The installation process takes a few minutes and will be displayed in the Status field (Fig. 4).
Figure 4 – installation progress
After completing the installation an information window will be displayed (Fig. 5), where you should click Close to exit the installation wizard.
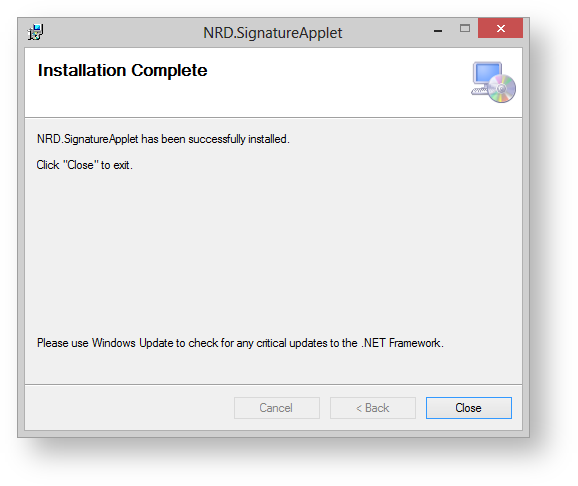
Figure 5 – completing installation
Next, you need to perform the additional browser settings for plugin operation.
Аdditional settings
To run ActiveX plugin in Internet Explorer, you must:
- go to menu Tools → Internet Options → Security;
- select the Trusted sites (Fig. 6,1) and click the Sites (Fig. 6,2);
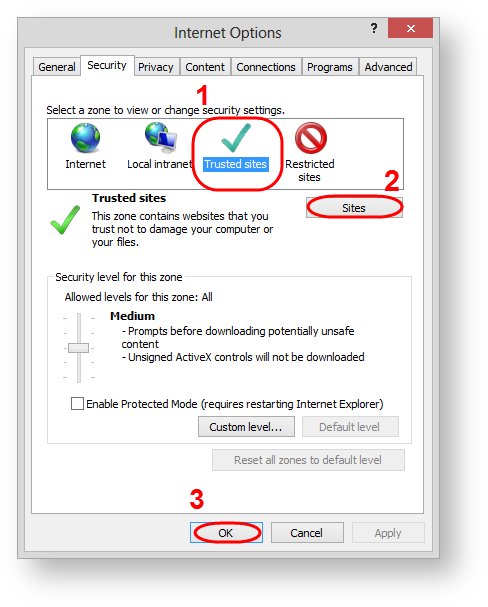
Figure 6 – go to security settings
- remove the switch box (Fig. 7,1);
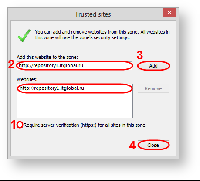
Figure 7 – add the URL of the Web office in the list of trusted sites specify the URL of the Web-client (Fig. 7,2) and click the Add button (Fig. 7,3). As the result, the URL will be added to the list of trusted sites (Fig. 7,4);
If you plan to use Web-client as in the test and production environment, you must add the URL of the required versions:
- URL (test) –https://repository1.itglobal.ru/lkr;
- URL (production):
- GOST – https://edog.nsd.ru/lkr;
- RSA – https://edor.nsd.ru/lkr.
- click Close button (Fig. 7,5);
- click ОК button in the Internet Option (Fig. 6,3).
After that you need to activate the ActiveX plugin in the browser. To do this:
- go to menu Tools → Manage add-ons;
- find in the list the ActiveX plugin (Fig. 8,1);
- click the button (Fig. 8,2).
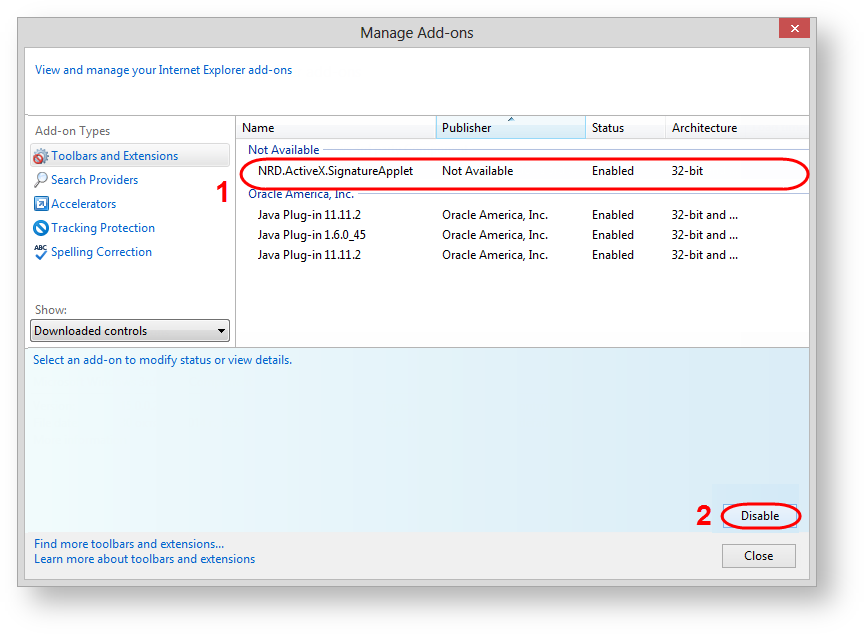
Figure 8 – plugin activation
As a result the ActiveX plugin will be using for the implementation of the EDS.
Overview
Content Tools