Password change
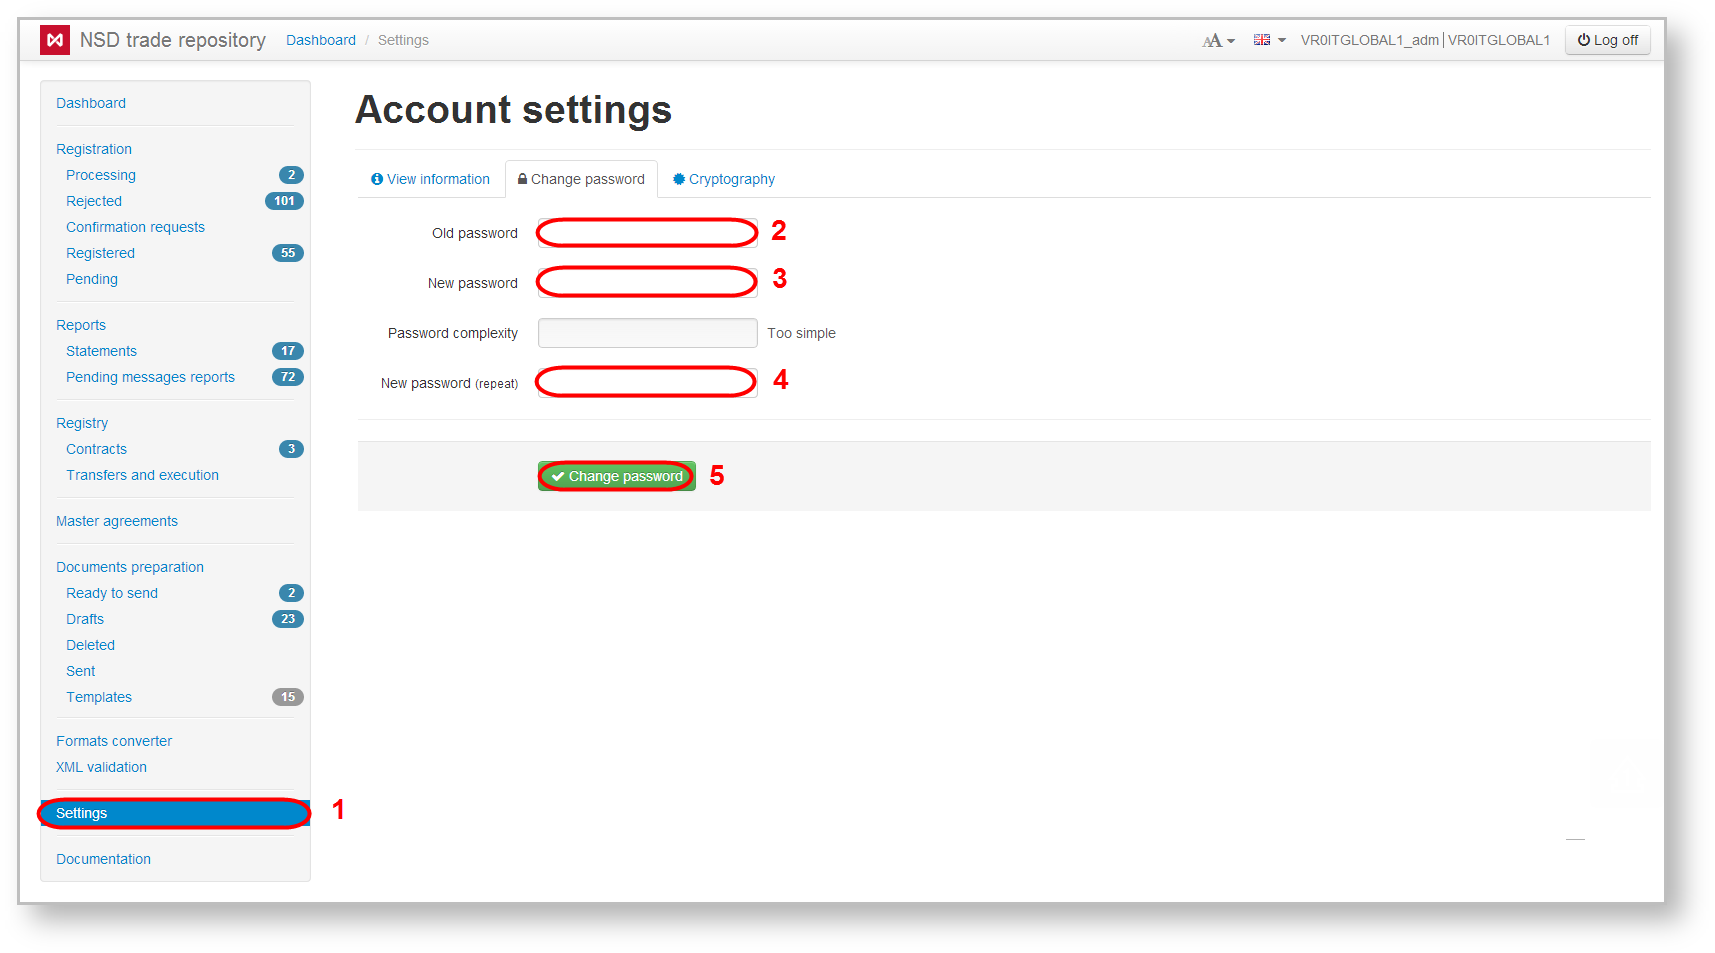
- open the Settings form (Fig. 1.1);
- enter old password (Fig. 1.2);
enter new password (Fig. 1.3);
On this page:
- consist of at least ten characters;
- contain Latin uppercase and lowercase letters and numbers.
The new password must differ from the last ten used passwords.
- confirm new password (Fig. 1.4);
- click Change Password (Fig. 1.5).
Fig. 1 – password change
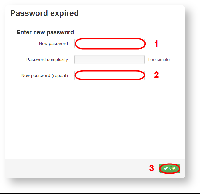
At first login into the system the Password has expired form will apeear, and user will need to enter new password (Fig. 2.1), then repeat the password (Fig. 2.2) and click OK.
Fig. 2 – password change after its expiry
If you forgot the password, contact the technical administrator to create a new password.
Viewing information about the current certificate
In the Web-client you can view information about the current certificate by clicking on the icon on the top toolbar (fig. 3).
Figure 3 – certificate info
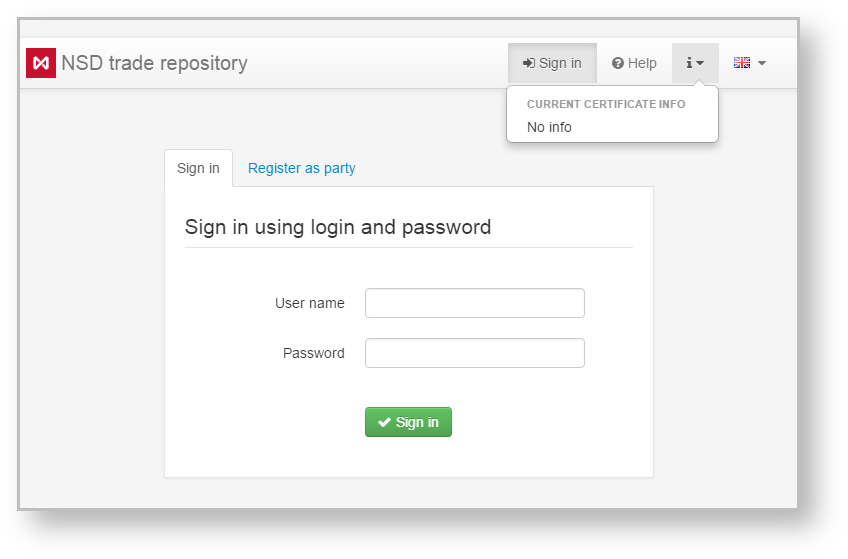
Information about the certificate appears after the certificates storage initialization (the signing or authorization in the Web-client in the production environment) (fig. 4 и 5).
Figure 4 – no information about the certificate
If the NSD Crypto service is used for cryptography in the browser, the button to reset the certificate for browser is available. Usually the button is used to test the certificate storage profiles. For the Java-applet and ActiveX the button is not available.
Figurefuf 5 – to reset the certificate
Information display settings
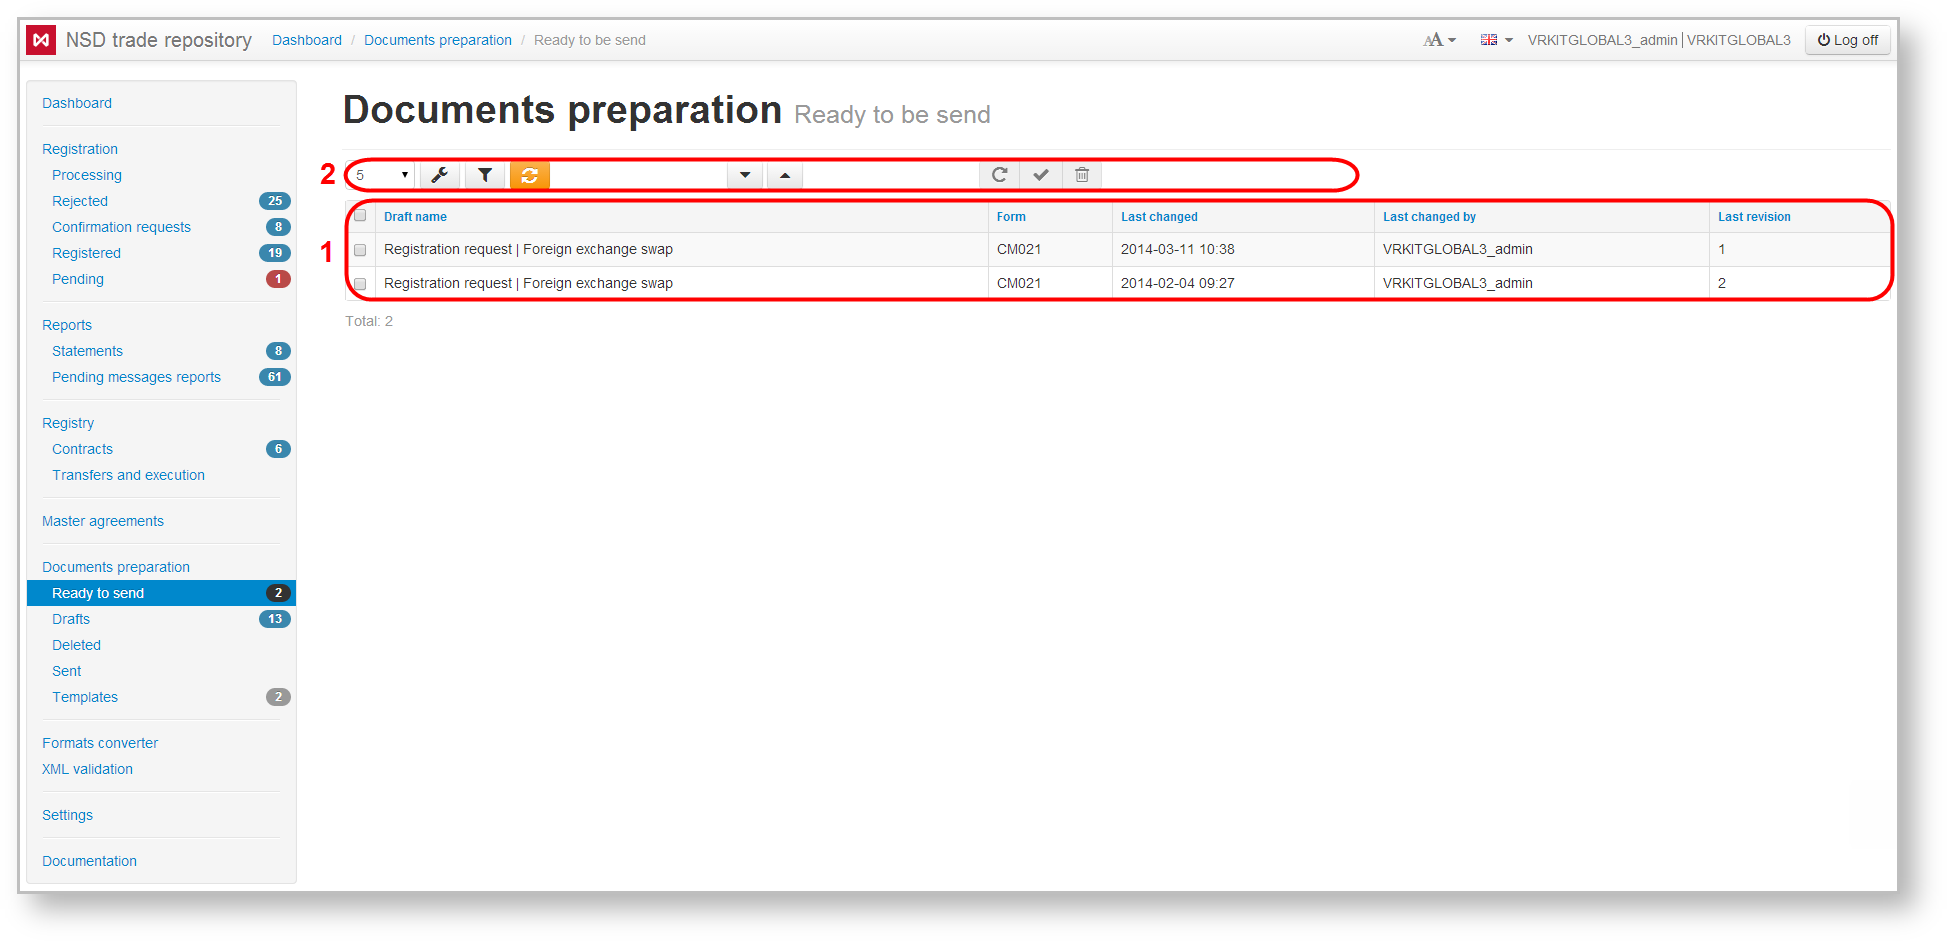
The data on master agreements, transactions, reports, applications and other documents are displayed in tables on the Web-client forms (Fig. 6.1).Fig. 6 – Preparation form
For the convenience of working with information the user can do some display settings. Settings are configured using the toolbar, located above the main table (see Fig. 6.2). The toolbar differs depending on the form. All possible buttons are described in Table 1.
Table 1 – Description of the function panel buttons
| Button | Configuration |
|---|---|
Configures the number of rows displayed in the table. After selecting option from the drop-down list it is applied automatically | |
Configures displayed columns. Clicking on the button opens a visible columns settings dialog | |
Configures filters for the table. Clicking on the button opens a block of filter settings | |
Updates table | |
Marks all rows as read | |
Saves all table rows from all pages in one CSV file | |
Switching between the rows of the table | |
Goes to a defined page. Enter a page number in this field, then click the arrow button to go to that page | |
Switching between pages |
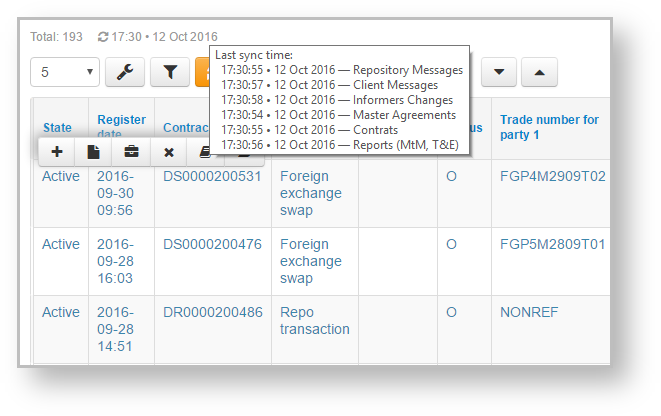
On the top panel there are an indicator of sync with the repository.
Fig. 7 – Synchronization of the tables
The ordering of data rows in the table can be changed by clicking on the column header. A click on the header will display an icon that indicates the corresponding order of data sorting (ascending or descending order).
Fig. 8 – changing the order of data display
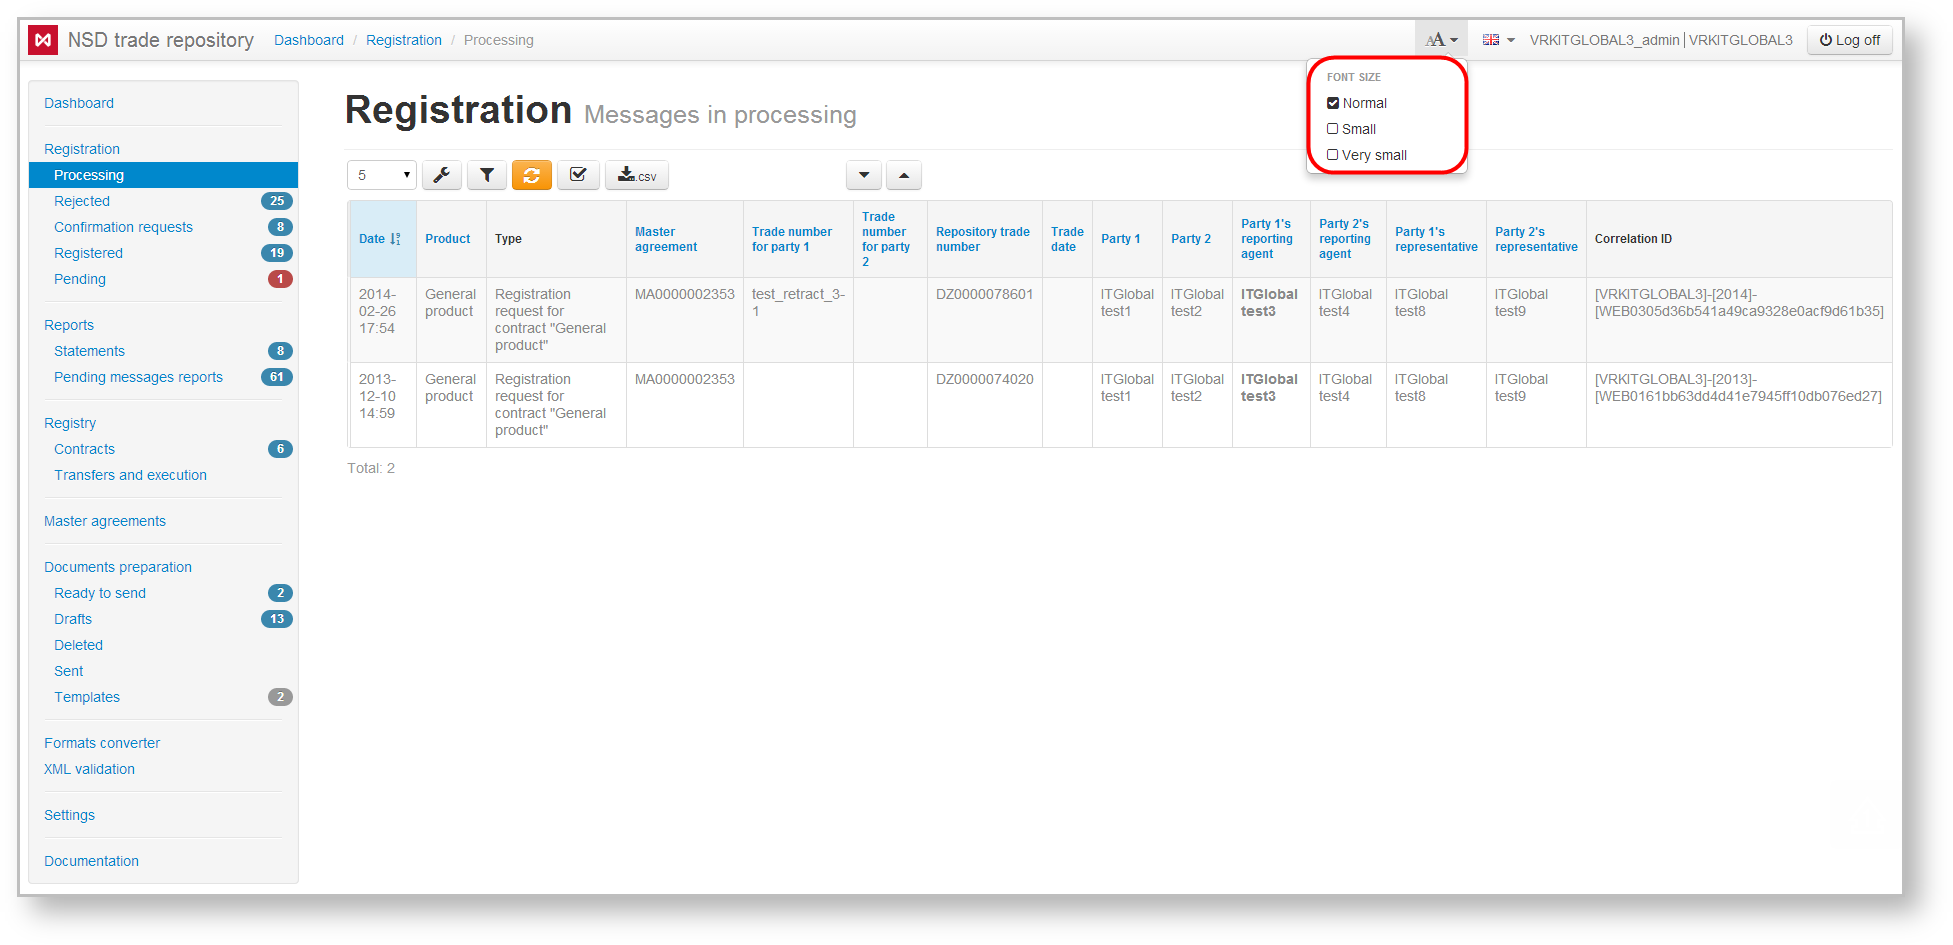
Fig. 9 – font size settings
Threads of inactive master agreements are highlighted in yellow. Master agreements treated as inactive in cases when they has been terminated or not registered yet (not confirmed by counterparty).
The name of user’s company that plays a role in the thread (under the master agreement the thread belongs to) is written in green.
Viewed message threads are written in gray.
Settings of displayed columns
The button is used to configure a set of displayed columns. The form of table settings, as exemplified by the master agreement table settings, is presented in Fig. 10.
Fig. 10 – master agreement table settings
The Show hidden column data checkbox controls the display of unmarked columns in additional table rows. The Displayed columns list defines a set of displayed columns. Closing a form automatically applies the specified settings. The example of a table in case if the Show hidden column data box is unchecked, and some of the Displayed columns checkboxes are unchecked, is shown in Fig. 11.
Fig. 11 – example of master agreement table settings (if the Show hidden column data box is unchecked)
Example of a table if the Show hidden column data box is checked is shown in Fig. 12.
Fig. 12 – example of master agreement table settings
The idea of table settings is the same for all forms.
Filter settings
Clicking on opens a block of row filters settings for the main table. Depending on the form content, filter settings can be different. Fig. 13 shows an example of a filter settings block for the Processing form of the Registration section.
Fig. 13 – filter settings block for the Processing form
The principle of filters settings is the same for all forms. Filter parameters are selected in the settings block.
For the parametr Instrument types and Master agreements the Include/Not included buttons are available:
- – Filter will be applied only to selected types of instruments;
- – Filter will be applied to all instruments with the exception of selected.
Then click to apply filtering. As a result the table displays information meeting the specified conditions. If the filter was applied the appperance of the button will change to . The second click on the button hides the block of filters settings. The Clear/ button clears the filter parameters.
The filters settings are stored in the database. If there are several users on different computers, who use the same account, the filter settings will be applied on all computers. At the next login into the system the last used filters settings will be applied.
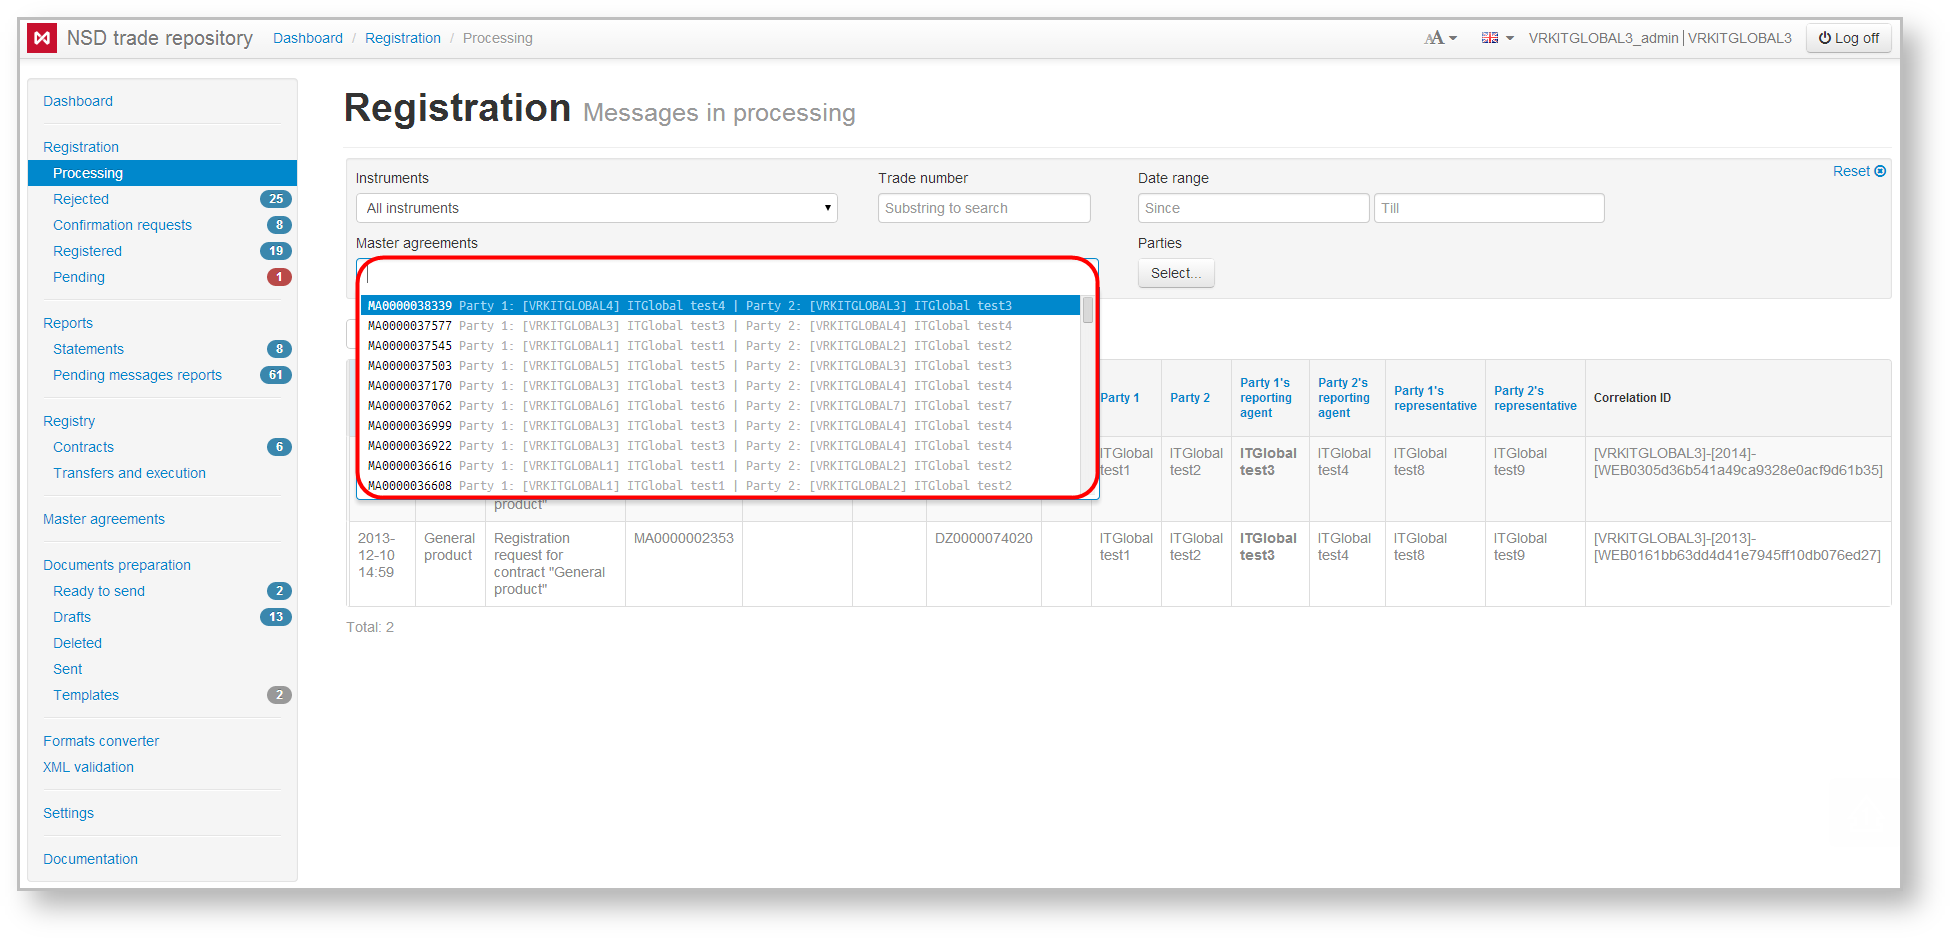
To make the main table of the form display records by certain master agreements you need to click in the search box and enter agreement code. As a result, the list will display agreements whose code fully or partially match the name typed in the search box (Fig. 14). Next, select the necessary agreement and click Apply to apply filtering.
Fig. 14 – selecting the master agreement
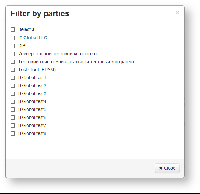
To start viewing messages, the master agreements of which have the necessary parties playing certain roles, click on the button Select on the filter settings bar (Fig. 15).
