Page History
| Section | |||||||||||||||
|---|---|---|---|---|---|---|---|---|---|---|---|---|---|---|---|
|
...
ActiveX plugin installation
| Section | |||||||||||||||||||||||||
|---|---|---|---|---|---|---|---|---|---|---|---|---|---|---|---|---|---|---|---|---|---|---|---|---|---|
|
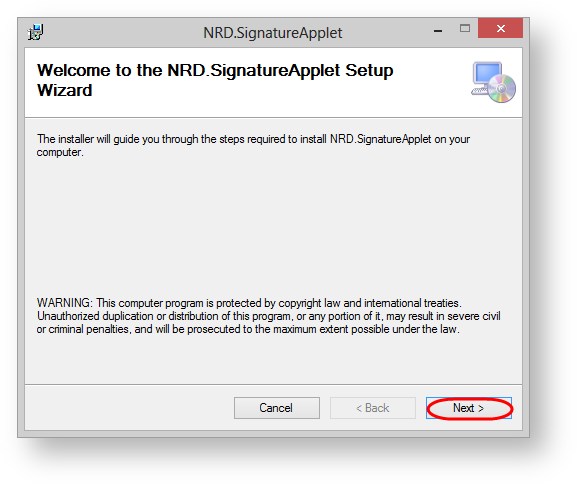
Рисунок 1 – начало установки плагина
Далее на экране отобразится окно, в котором необходимо:
...
| Info |
|---|
ActiveX plugin installation is carried out under an administrator account. You must have .NET Framework 4.5 installed on your computer. |
Figure 1 – the Setup Wizard window
In the next window you need to:
click the Browse button to select the folder (Fig. 2,1)
с помощью кнопки Browse. (по умолчанию(by default: С:\Program Files (x86)\IT Global\ (
рисFig. 2,2));
- выбрать уровень доступа (рисchoose the type of installation (Fig. 2,3):
- для всех пользователей – плагин будет запускаться на данном компьютере для всех пользователей;
- только для данной учетной записи – плагин будет запускаться только для пользователя, от имени которого производится установка.
- Everyone – the plugin will run on this computer for all users;
- Just me – the plugin will run only for the current user.
- click the Next button (Fig. 2,4).
...
| Info |
|---|
Для успешной установки и дальнейшей работы плагина не рекомендуется менять параметры, установленные по умолчанию. |
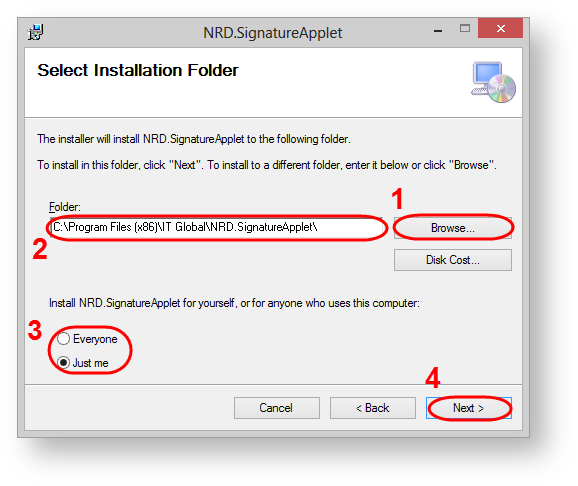
Рисунок 2 – выбор папки установки
It's recommended to use default settings. |
Figure 2 – select the folder
Then click Next to install components (Fig. 3).
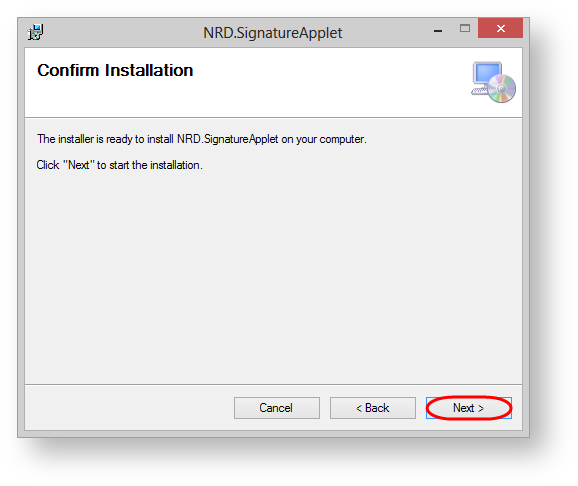
Рисунок 3 – продолжение установки
Процесс инсталляции плагина занимает несколько минут (рис. 4).
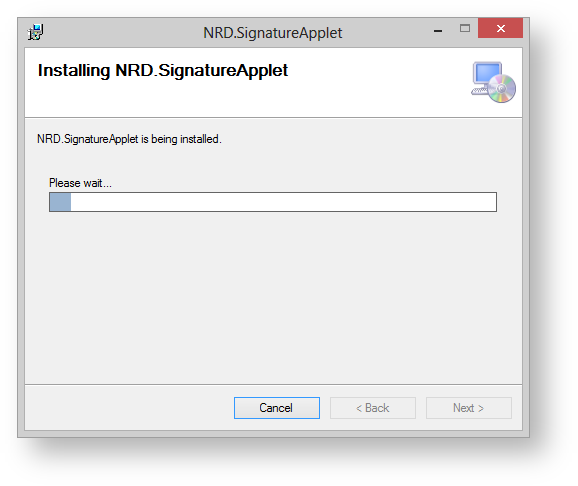
Рисунок 4 – инсталляция компонентов
По окончании инсталляции отобразится окно об успешной установке всех компонентов (рис. 5).
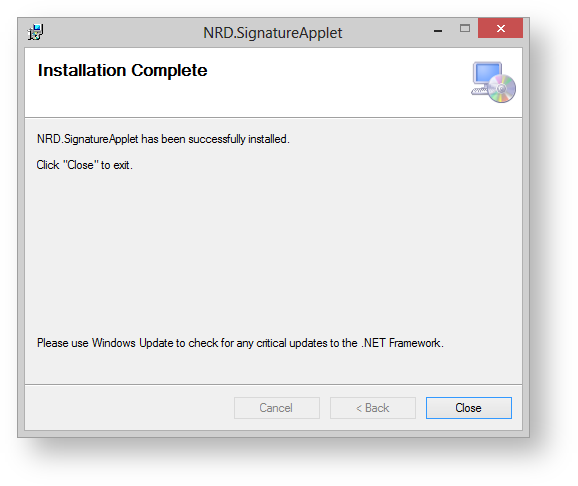
Рисунок 5 – завершение установки
Далее необходимо выполнить дополнительные настройки браузера для работы плагина.
Дополнительные настройки
Для возможности запуска ActiveX в браузере Internet Explorer необходимо:
...
Далее требуется активировать плагин ActiveX в браузере. Для этого следует:
- перейти в меню Сервис→Надстроить надстройки;
- найти в списке расширений плагин ActiveX (рис. 8,1);
- нажать кнопку Включить (рис. 8,2).
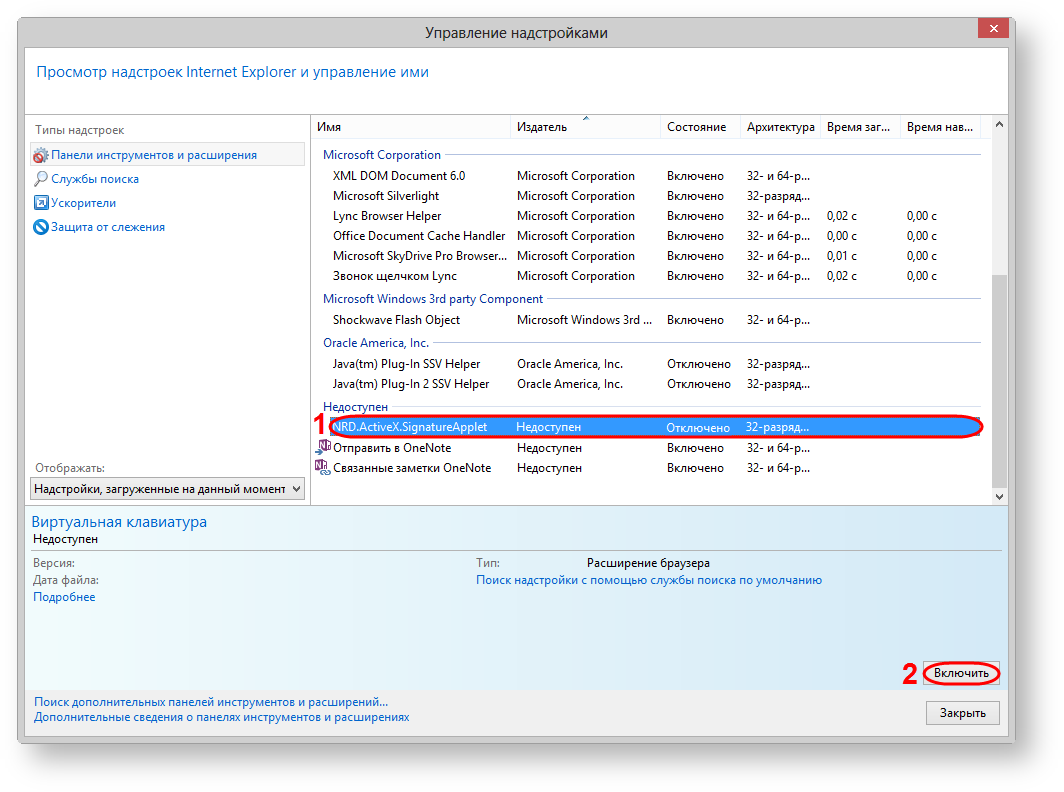
Рисунок 8 – активация плагина
В результате выполненных настроек реализация ЭЦП будет производиться с помощью плагина ActiveX.
Figure 3 – run the installation of components
The installation process might take a few minutes.
Figure 4 – installation progress
After completing the installation an information window will be displayed (Fig. 5), where you should click Close to exit the installation wizard.
Figure 5 – completing installation
Next, you need to perform the browser's security settings.
Internet Explorer settings
To run ActiveX plugin in Internet Explorer, you must:
- go to menu Tools → Internet Options → Security;
- select the Trusted sites (Fig. 6,1) and click the Sites (Fig. 6,2);
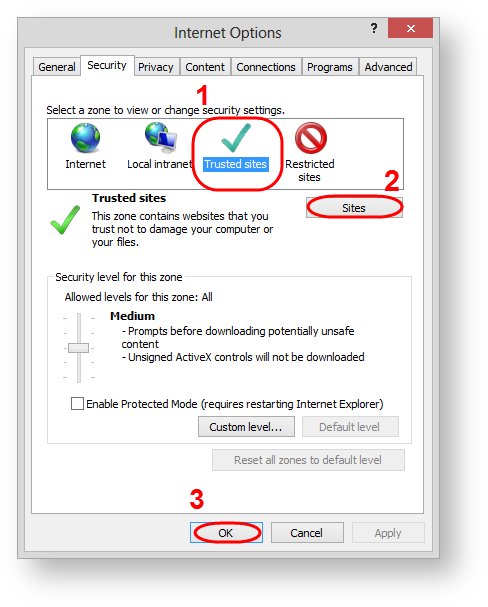
Figure 6 – go to security settings
- remove the switch box (Fig. 7,1) to add the URL with the http-protocol. URL with https-protocol are added regardless activated switch box or not;
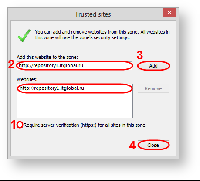
Figure 7 – add the URL of the Web office in the list of trusted sites specify the URL of the Web-client (Fig. 7,2) and click the Add button (Fig. 7,3). As the result, the URL will be added to the list of trusted sites (Fig. 7,4);
Info If you plan to use Web-client as in the test and production environment, you must add the URL of the required versions:
- URL (test PL) – https://repository1.itglobal.ru/lkr;
- URL (test GUEST) – https://repository3.itglobal.ru/lkr;
- URL (production) RSA and GOST – https://cabinet.nsd.ru/repository/.
- click the Close button (Fig. 7,5);
- click the ОК button in the Internet Option (Fig. 6,3).
Сhecking of the ActiveX plugin
After that you need to check that the ActiveX plugin is enabled. To do this:
- go to the Web-client site (see Authentication in the Web-client);
- go to browser menu Tools → Manage add-ons;
- find in the list the ActiveX plugin (Fig. 8). The status of the plugin must be Enabled. Click the Enable button, if the ActiveX plugin is disabled.
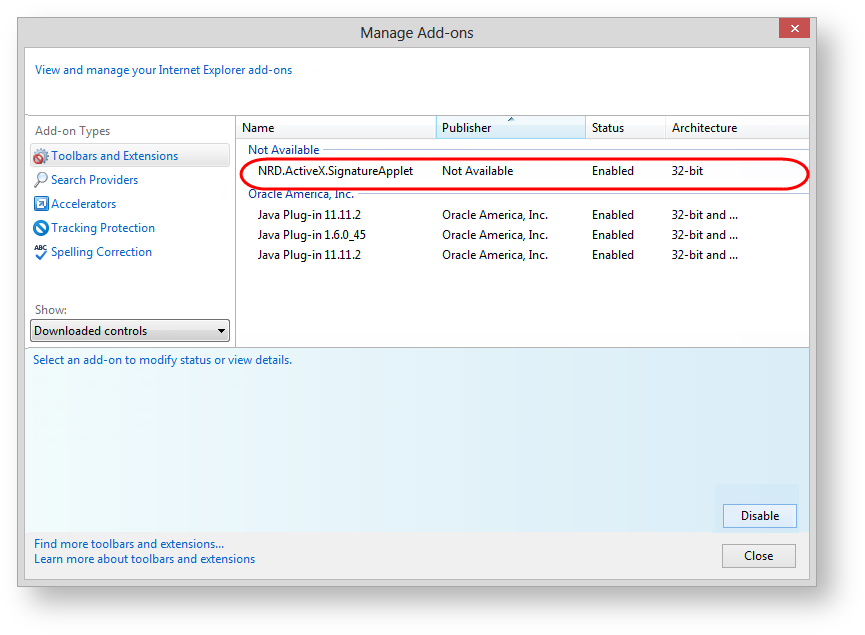
Figure 8 – plugin activation
As a result the ActiveX plugin will be used as the implementation of the EDS.
Possible errors
When you login into the Web-client the ActiveX plugin error occurs you need to perform an additional security settings. To do this:
- go to menu Tools → Internet Options → Security;
- set the security level to Medium (Fig. 9,1);
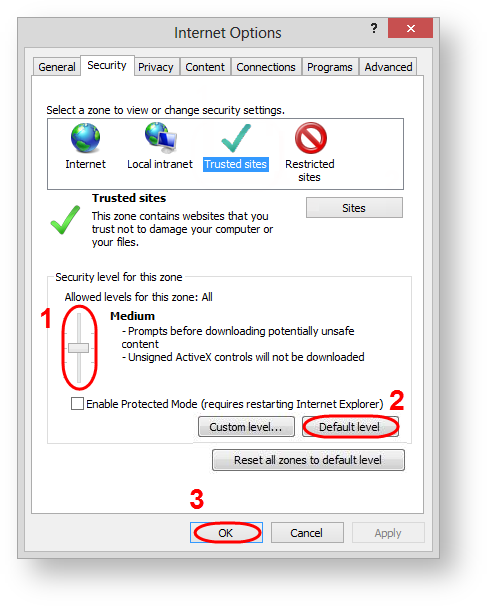
Figure 9 – security settings
- click the Default level button (Fig. 9,2) to return to the original browser settings. This button is active if you have changed Default security settings;
- click the OK button (Fig. 9,3).
Next, you need to repeat the login. Authorization in the Web-client must be completed successfully.
Overview
Content Tools