Page History
...
Master agreement identifier
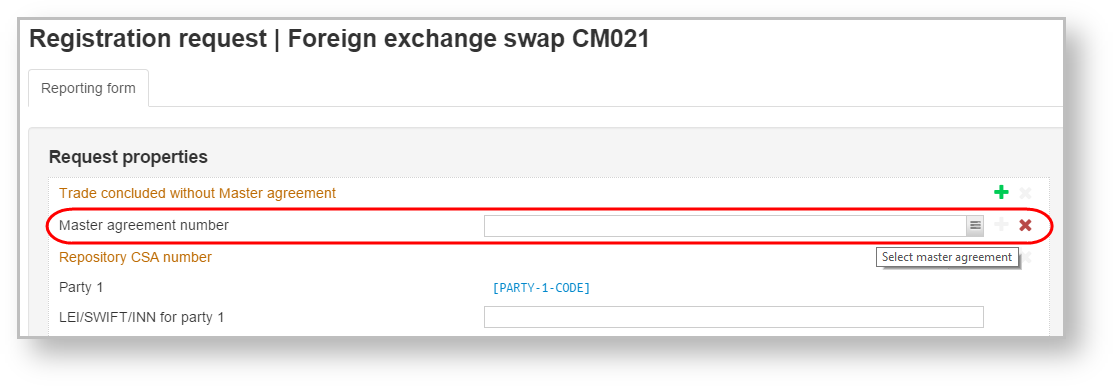
Agreements can be concluded within the framework of without MA. Therefore, a Master agreement number field is an optional field. To activate the field, click the button next to the field name.The Master agreement identifier field can be filled out by:Anchor НомерГС НомерГС
- manually typing the data into the row, to the right from the NONREF link (Fig. 8,1);
- selecting data in the pop-up window that opens by clicking on the NONREF link (Fig. 8,2)the button.
...
Fig. 8 – filling out the Master Agreement Number field
...
To change the MA identifier delete the current number with button and choose another one, following the instructions on filling out the Master agreement number field.
Trade concluded without MA
To conclude agreement without MA you need on the Message creation/editing form activate the Trade concluded without Master agreement field. You do not need to activate the Master agreement number field.
Fig. 12 – Trade without MA
Parties of the master agreement
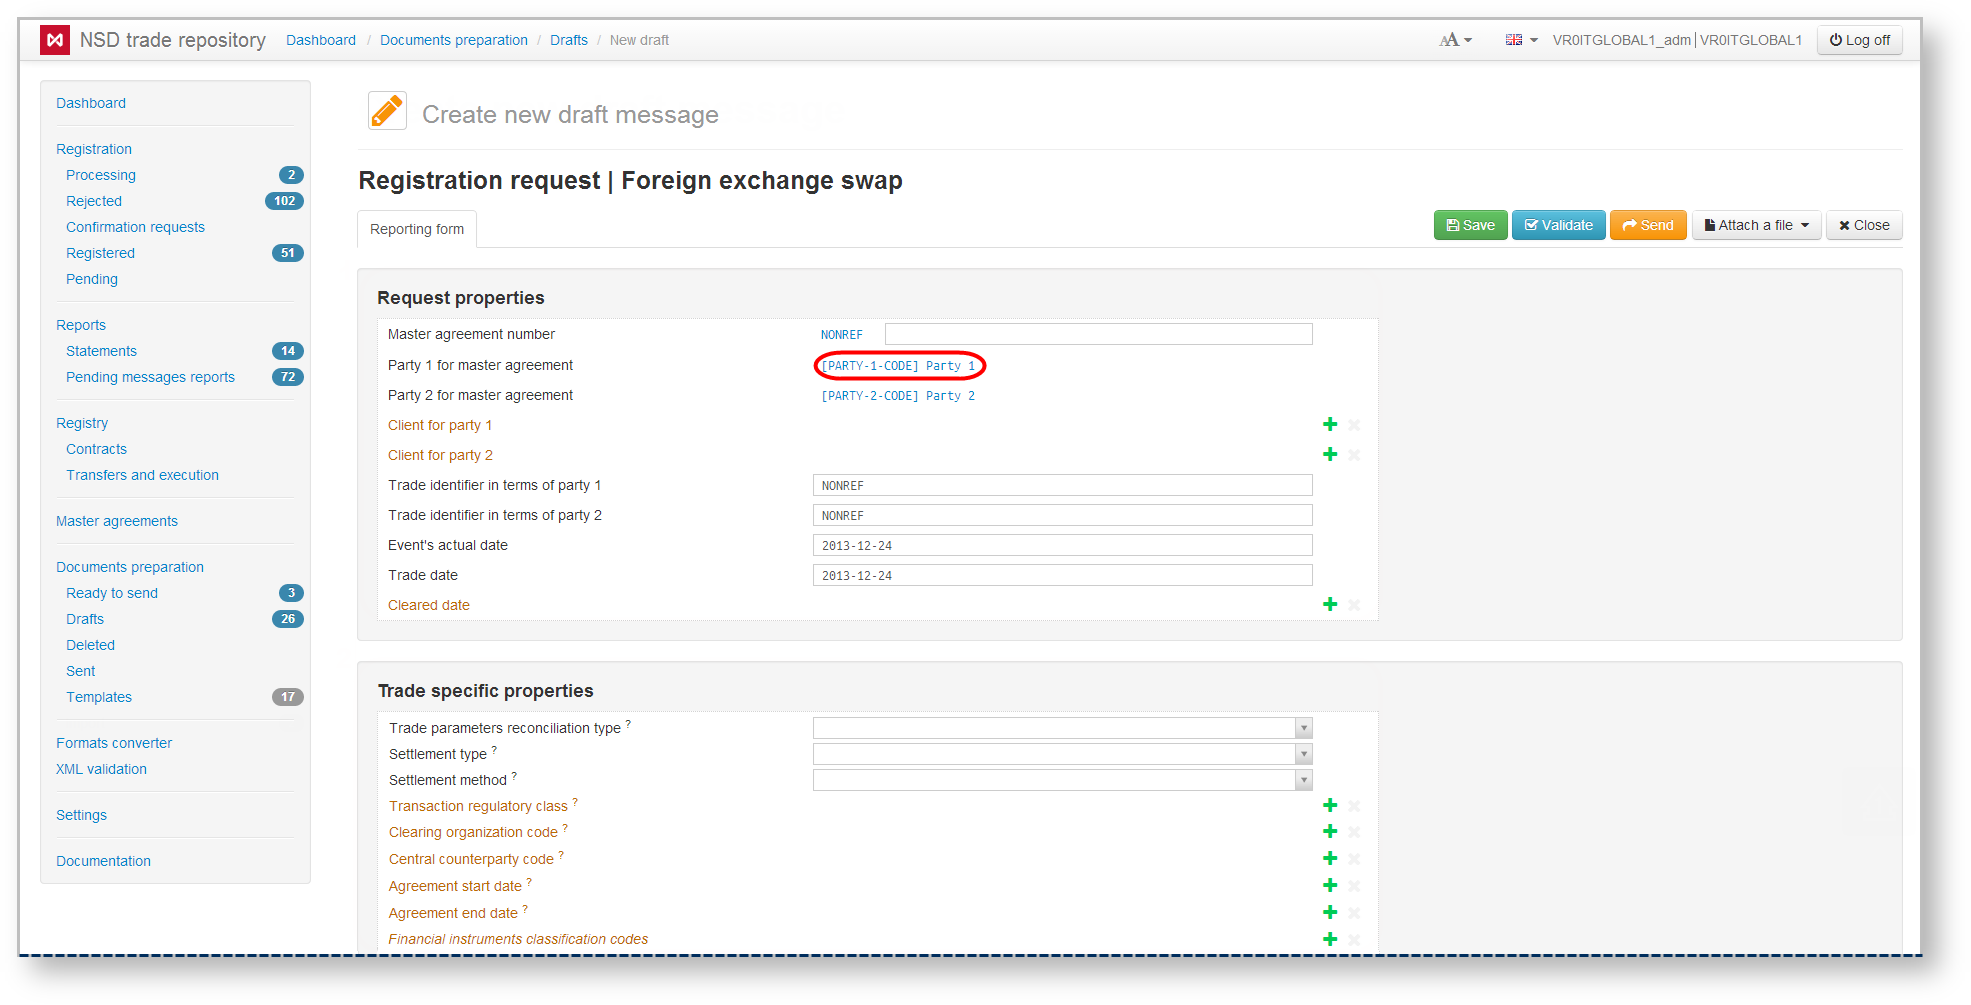
If the MA identifier was entered manually (see Fig. 8,1), fields Party 1 of the master agreement and Party 2 of the master agreement will be filled in from the list of the Choose counterparties pop-up window (Fig. 1314), which is opened by clicking on the link [PARTY-1-CODE] Party 1 (Fig. 1213).Anchor сторонаГС сторонаГС
Fig. 12 13 – filling in the Party of the master agreement field
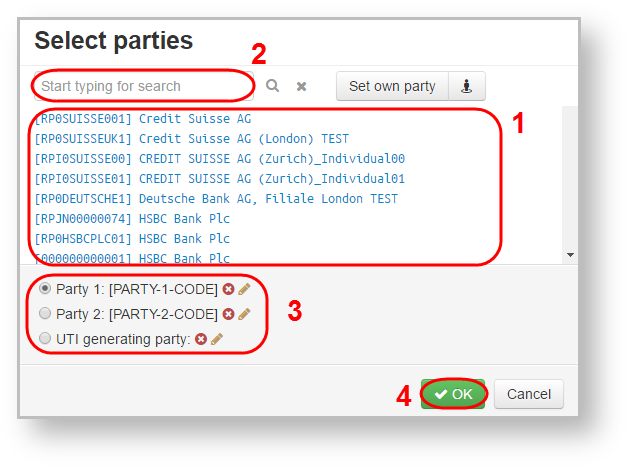
The Choose a party window contains a list of all organizations that are clients of the repository (Fig. 1314,1).
Fig. 13 14 – choose parties of the MA
...
- select the company from the list or enter the company name in the search box (see Fig. 1314,2). As a result, the customer list will display companies whose names fully or partially match the name typed in the search box.
- select the necessary company.
- click OK to fill in the main form field (see Fig. 1314,5).
The second party of the MA can be simultaneously selected in this window. To do this:
- check the Party 2 box (see Fig. 1314,3).
- choose the necessary organization from the list.
- click OK to save the data.
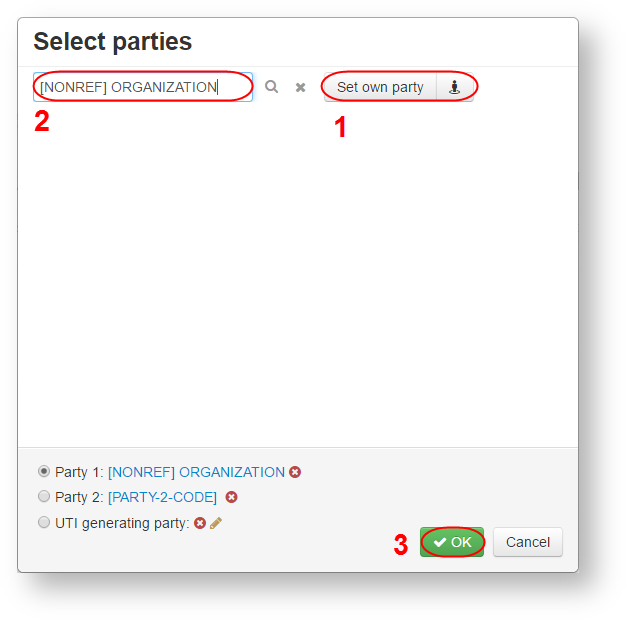
If you need to specify the organization, which is not in the list, click the Set own party button (Fig. 1415,1). The [NONREF] will be added to the field. Next, enter the organization name (Fig. 1415,2) and click OK.
Fig. 14 15 – NONREF
For details on how to fill in the fields Party 1 of the master agreement or Party 2 of the master agreement in case of registering a transaction with non-clients of the repository, see section Registration of transactions with non-repository clients (russian version).
...
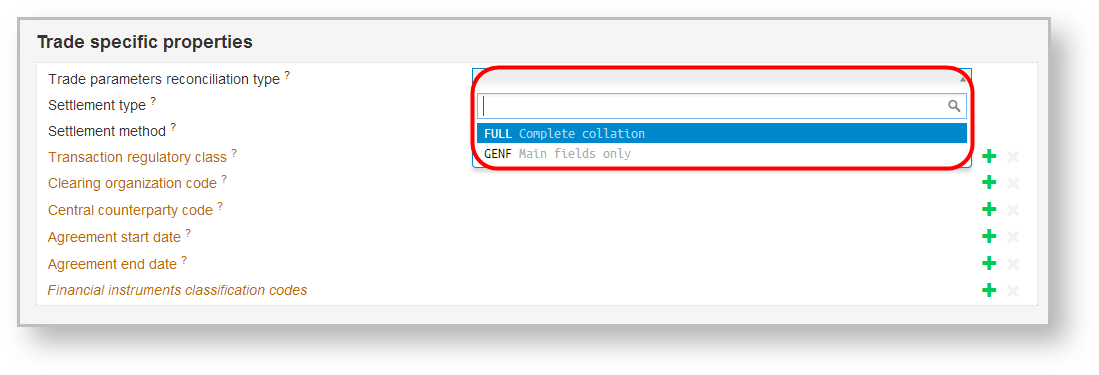
Some of the fields are filled in with values from the system’s internal directories, for example, comparison modes, currency codes. To see the list of values click . This will open the list (Fig. 1516), in which the values are displayed in alphabetical order. If you enter the value in the search box (see Fig. 1617,1), the list will display values that partially or fully match the indicated one (Fig. 1617,2). To fill in the fields, select the necessary value from the list. For a detailed description of the directories see the documentation NSD’s trade repository messages specifications. Anchor справочники справочники
Fig. 15 16 – example of filling the fields using directories Fig. 16 17 – searching a value in the list
...
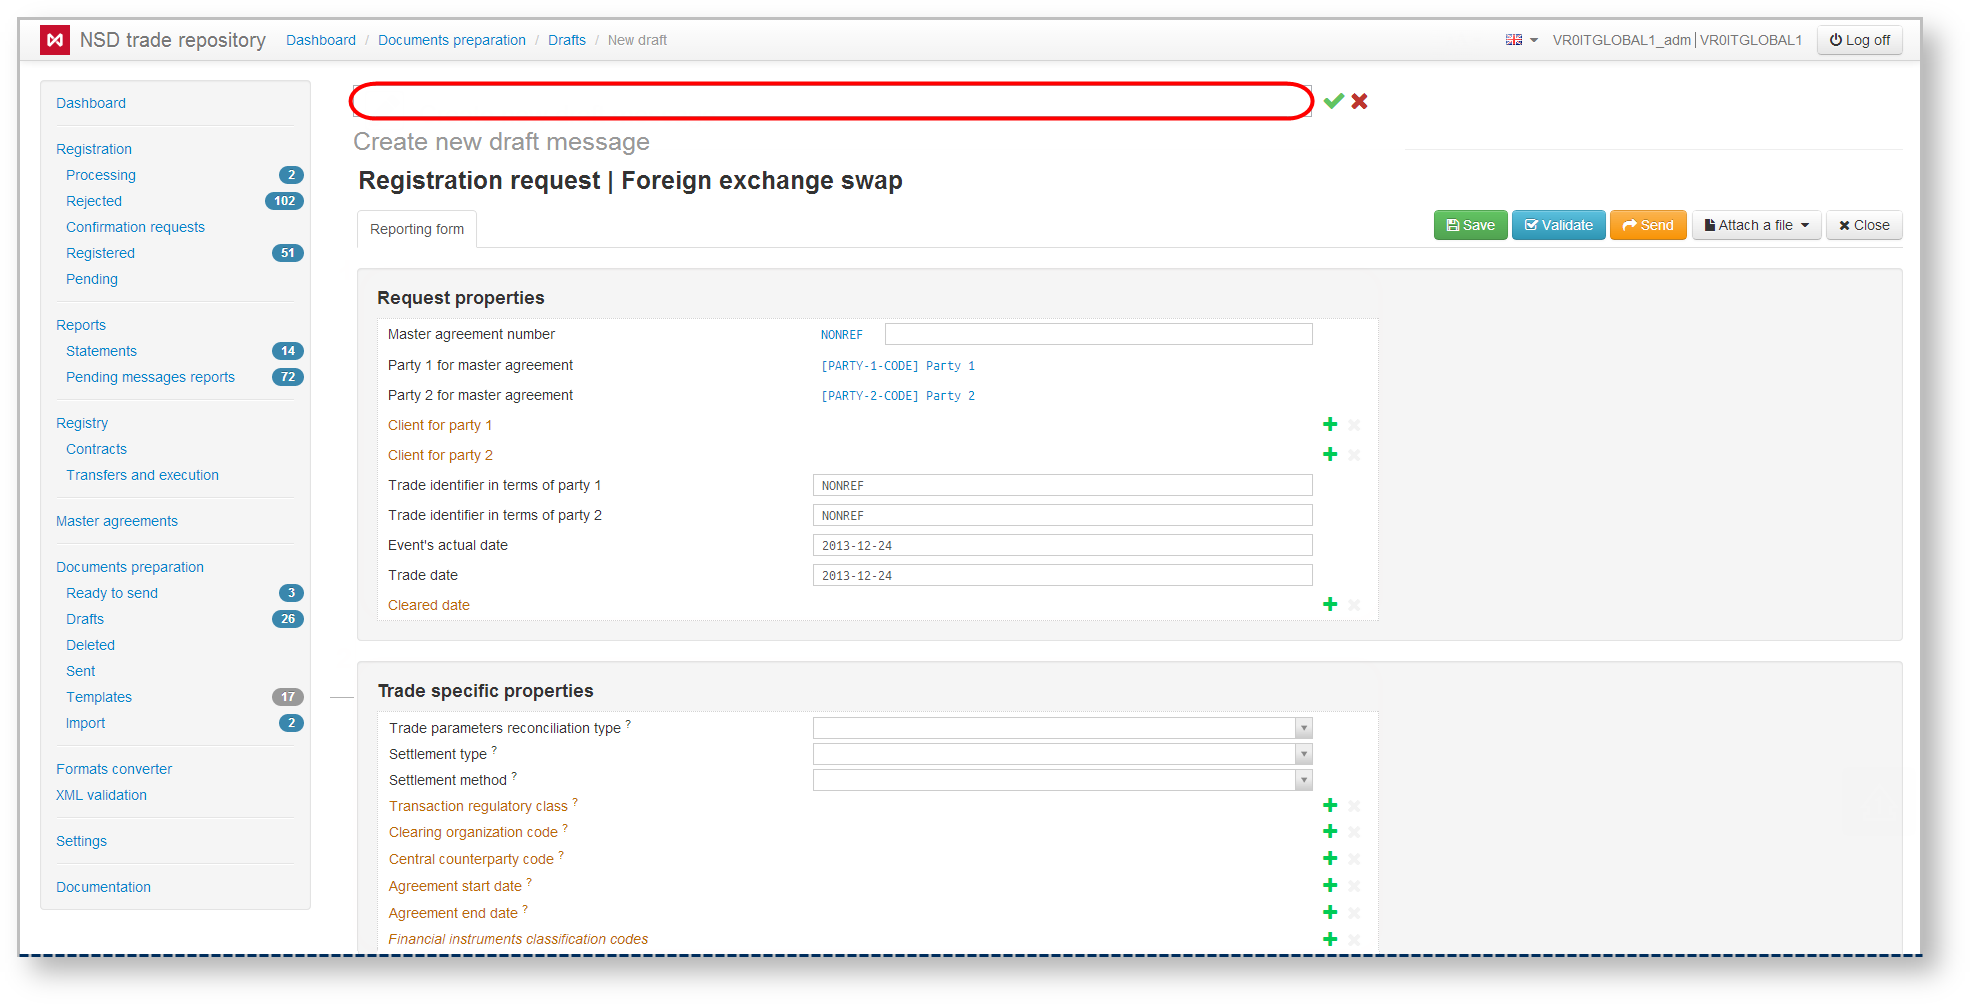
To specify the draft name (also for modal window form), activate the name input field by clicking (Fig. 1718), enter the order name into the field (Fig. 1819) and click button to save the changes. To discard changes, click .
Fig. 17 18 – button enable the name input field
Fig. 18 19 – order name input field
The draft name will be displayed in the drafts list after saving.
...
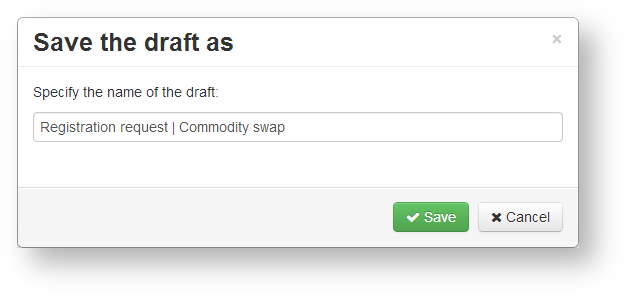
After clicking the button the order gets to the Drafts form. If at the creation of a new message the name was not specified, the Save window will open, where you must enter the draft name and confirm saving by clicking on the Save button.
Fig. 19 20 – saving changes
– checking for format compliance.
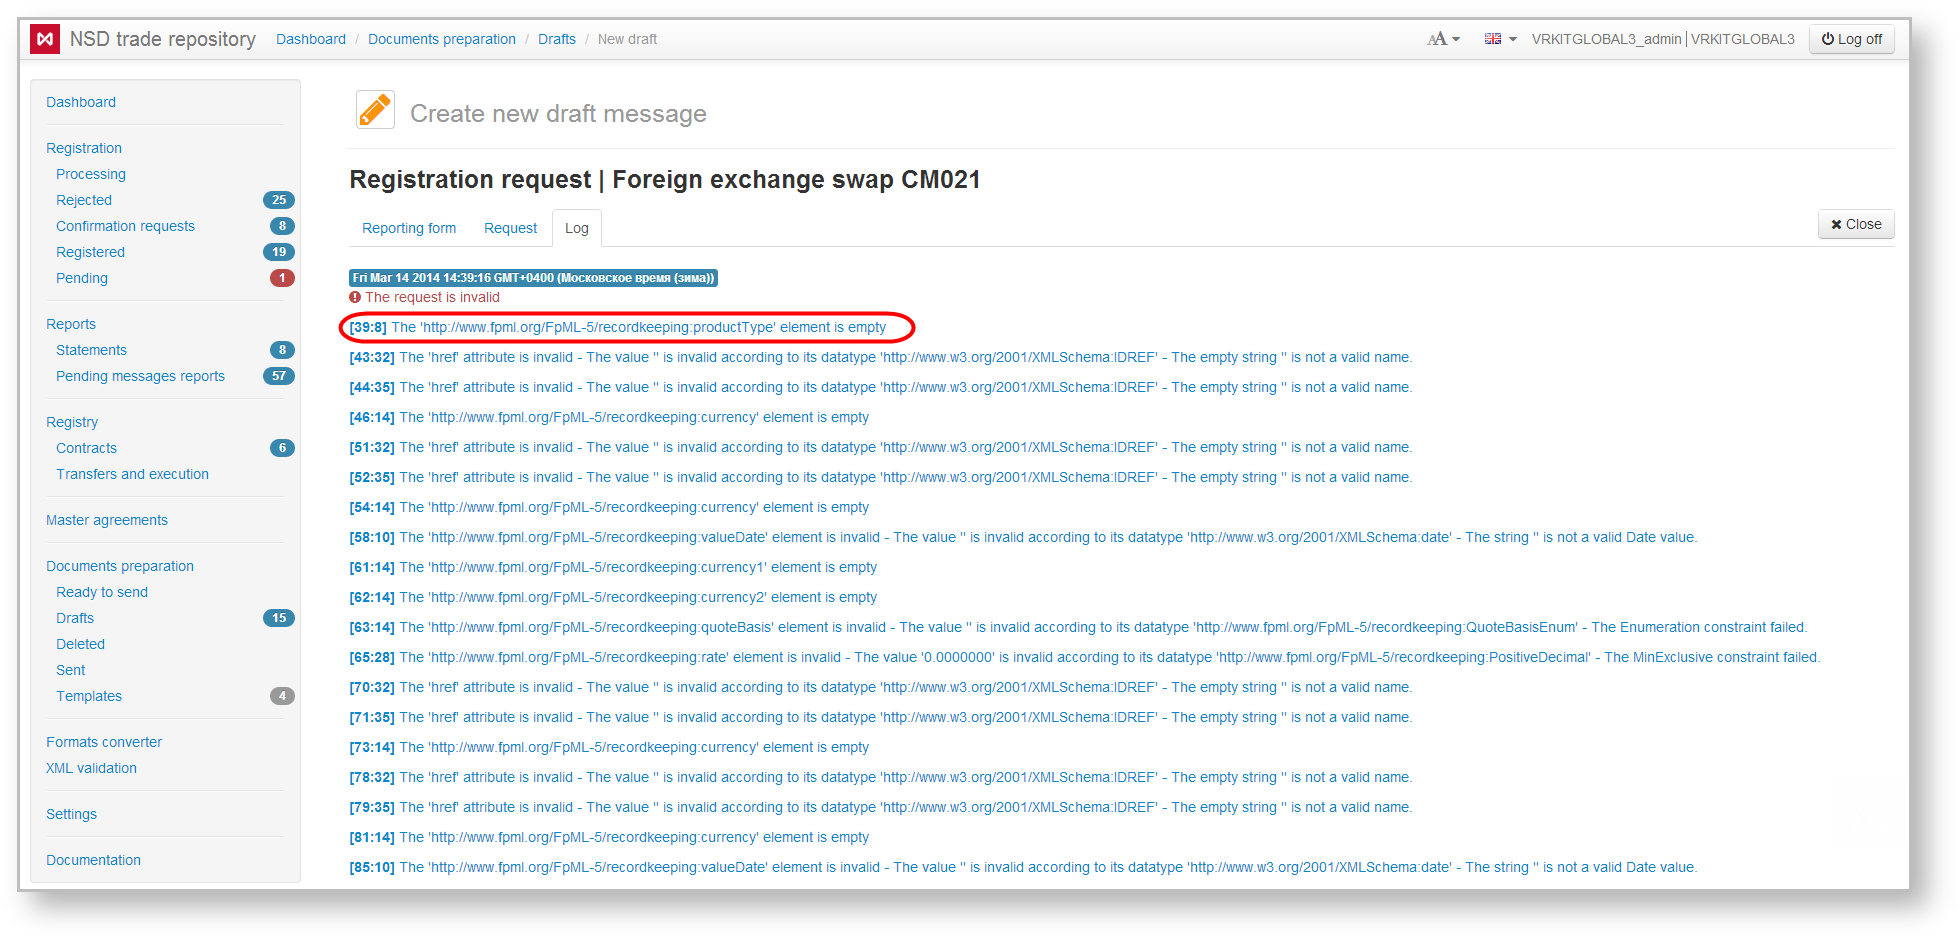
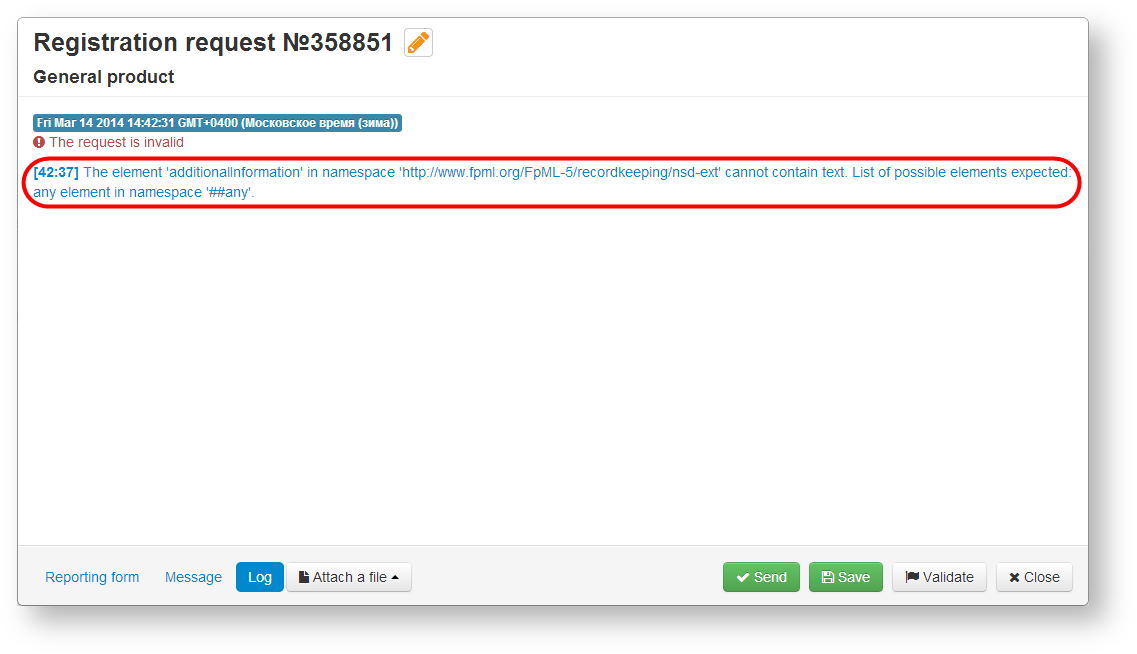
After clicking the button, the system will automatically check the order for compliance with NSD formats. Check results will be displayed in the Log tab in the form of a list of system errors. (Fig. 20 21 and 21 22 – modal window).
Fig. 20 22 – Log tab
Fig. 21 22 – modal window
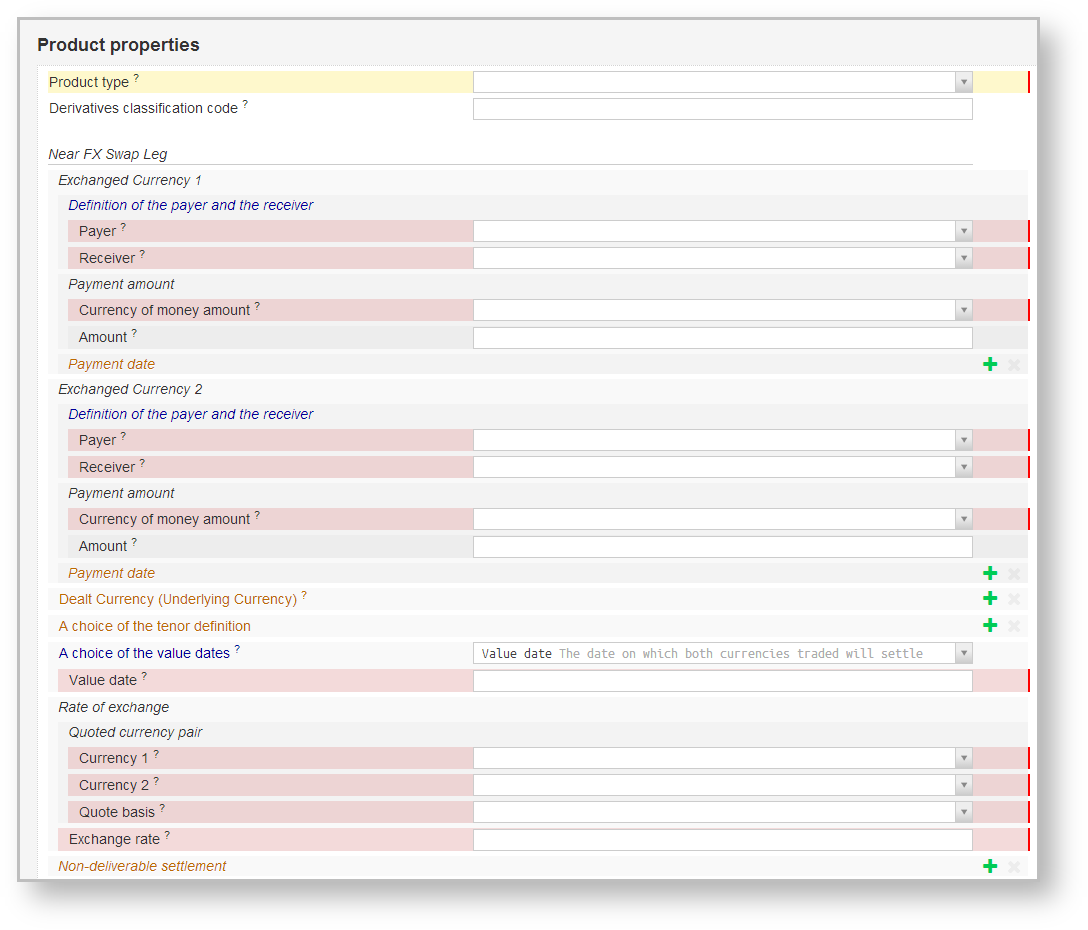
Click on the error takes the user to the Reporting form. The incorrectly filled fields will be highlighted in red. The specific error, on which you have clicked, will be highlighted in yellow (Fig. 2223).
Fig. 22 23 – Reporting form
If the check does not detect any errors, the Log tab will indicate that the order is valid. The validation is also performed automatically when clicking Send. An invalid order cannot be sent to the repository.
...
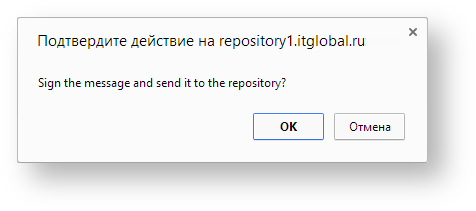
After clicking on the button a confirmation screen appears, where you need to click OK to place a DS (digital signature) and send the message to the repository (Fig. 2324). The Send button is not available when creating, editing orders based on a template.
Fig. 23 24 – sending order
– adding a file to an order.
...
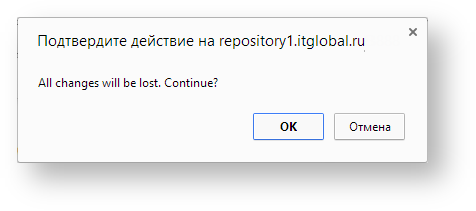
After clicking the button the confirmation window will appear, where you should click OK to exit form. You will be taken to the form which was opened to create or edit an order (Fig. 2425).
Fig. 24 25 – exit the order creation/editing form


